Introduction
High Dynamic Range (HDR) photography is a technique used to capture and display an image in greater detail than would otherwise be possible. It allows photographers to capture more information from a scene, by combining multiple exposures of the same scene into one image. HDR photography has become increasingly popular in recent years, as it can produce stunning visuals that are not achievable with traditional photography techniques. In this article, we will explore what HDR photography is, its benefits, and how to get started.
Exploring the Basics of HDR Photography
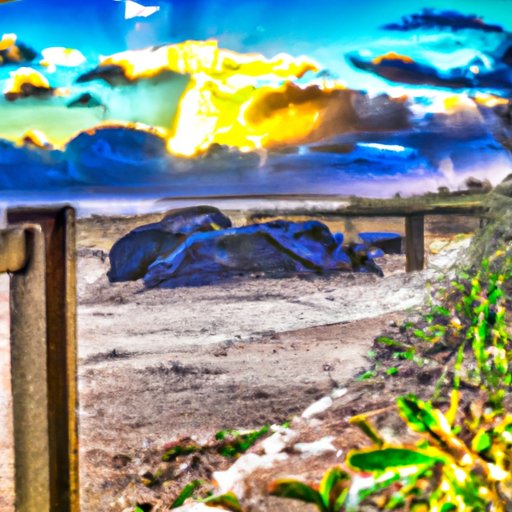
The term “High Dynamic Range” refers to the range of luminance values that can be captured and displayed in an image. A standard digital camera captures the brightness of a scene within a limited range, which can lead to certain parts of the image being too dark or too bright. By combining multiple exposures of the same scene, HDR photography captures a much wider range of luminance values, resulting in an image with greater detail and more accurate colors.
The process of capturing HDR images involves taking multiple photographs of the same scene at different exposure levels. These images are then combined together using specialized software, resulting in an image with a full range of luminance values. The end result is an image that looks more realistic and vibrant than a single exposure could ever achieve.
An Introduction to High Dynamic Range (HDR) Photography
HDR photography can be divided into two main categories: naturalistic and artistic. Naturalistic HDR photography focuses on accurately capturing the colors and details of a scene, while artistic HDR photography uses creative techniques such as color grading, tonemapping and saturation to create surreal or abstract images. Both types of HDR photography have their own advantages and disadvantages, so it’s important to understand both before deciding which approach to take.
When shooting HDR images, it’s important to understand the different exposures involved. Most cameras have three settings: normal, overexposed, and underexposed. Each setting captures a different range of luminance values, and by combining these exposures you can create an image with a greater dynamic range. Additionally, many cameras also offer the option to shoot in RAW format, which can provide even more flexibility when editing your photos.
Once you’ve taken your photos, the next step is to edit them. There are a variety of software packages available for editing HDR images, each with its own set of features and capabilities. Popular choices include Adobe Lightroom, Photomatix Pro, and Aurora HDR. These programs allow you to tweak the colors, contrast and other aspects of your images to create the perfect look.
How to Get Started with HDR Photography
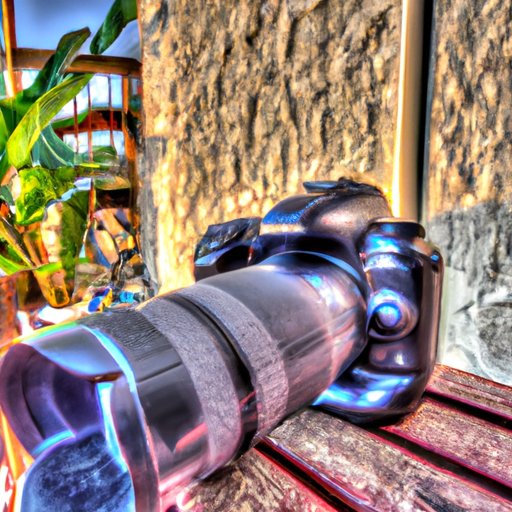
Before you can start capturing stunning HDR photos, there are a few things you need to consider. Firstly, you need to choose the right camera and lenses for the job. For most HDR photography, a DSLR or mirrorless camera is recommended. You’ll also need a range of lenses, depending on the type of shots you want to take. Wide angle lenses are great for landscapes, while telephoto lenses are ideal for capturing details in the distance.
Once you’ve chosen your camera and lenses, the next step is to set up your camera for HDR photography. This involves adjusting the shutter speed, aperture and ISO settings to ensure that you’re capturing the correct range of luminance values. Additionally, it’s important to use a tripod when shooting HDR images, as this will reduce any camera shake and ensure that all of your exposures are perfectly aligned.
Unlocking the Power of HDR Photography
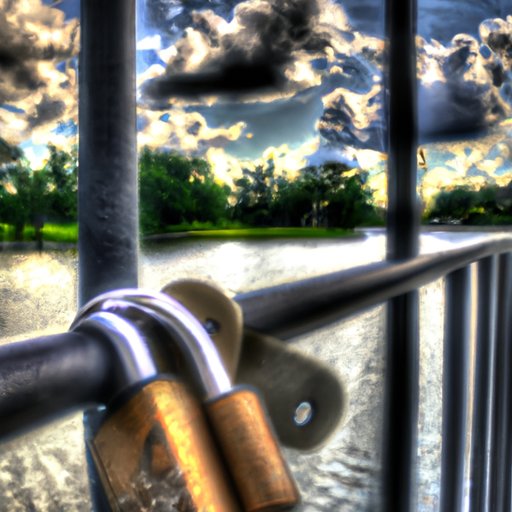
When shooting HDR images, it’s important to consider how to enhance them further. One way to do this is by using filters. Neutral density filters can help to reduce the amount of light entering the lens, allowing you to capture longer exposures in bright conditions. Polarizing filters can also help to reduce glare and increase the saturation of colors in your images.
Another way to enhance your HDR photos is by using editing software. There are a variety of programs available for editing HDR images, each with its own set of features and capabilities. Popular choices include Adobe Photoshop, Nik Software Color Efex Pro, and Topaz Labs Adjust. These programs allow you to adjust the colors, contrast and other aspects of your images to create the perfect look.
Tips and Tricks for Creating Professional-Looking HDR Photos
Creating stunning HDR images isn’t just about having the right equipment and software. It’s also important to understand the fundamentals of light and contrast, and how to compose an image for maximum impact. When shooting HDR images, pay attention to the direction of light, as this can drastically affect the look of your images. Additionally, try to avoid overly harsh shadows and blown out highlights.
Composition is also key when it comes to creating professional-looking HDR photos. Look for interesting angles, leading lines and points of interest that will draw viewers into your images. Additionally, take advantage of the extra dynamic range of HDR photography to add depth to your images. Try experimenting with different perspectives and focal lengths to see what works best for your style.
Finally, it’s important to understand the different approaches to HDR post-processing. Some prefer to use a more subtle approach, while others opt for more dramatic effects. Experiment with different techniques to find the one that suits your style. Popular techniques include tone mapping, color grading and saturation.
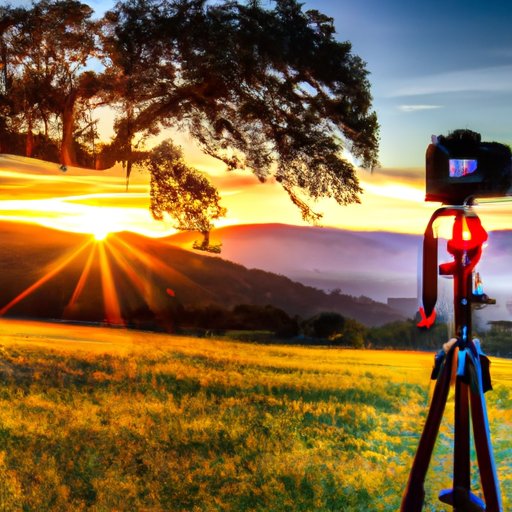
A Guide to Capturing Stunning HDR Landscapes
If you’re looking to capture stunning HDR landscapes, preparation is key. Before heading out on a photoshoot, research potential locations and plan your route accordingly. Make sure to check the weather forecast and bring the necessary gear, such as a tripod, ND filters and spare batteries. Also, make sure to bring plenty of water and snacks, as you may be out in the elements for several hours.
When you arrive at your destination, take some time to scout the area and look for inspiring locations. Keep an eye out for interesting compositions, such as leading lines and points of interest. Once you’ve chosen your spot, it’s time to start shooting. Set up your camera and take several exposures of the same scene, making sure to keep the horizon level and the composition balanced.
Once you’ve captured the perfect shot, the last step is to post-process your image. Use editing software to adjust the colors, contrast and other aspects of your image to create the perfect look. If you’re new to HDR photography, it’s worth investing in a tutorial or course to learn the basics. With practice, you’ll soon be able to create stunning HDR landscapes that stand out from the crowd.
Conclusion
In conclusion, HDR photography is a powerful technique that allows you to capture and display an image in greater detail than would otherwise be possible. By combining multiple exposures of the same scene, you can create an image with a full range of luminance values. Additionally, you can use filters and editing software to enhance your photos and create the perfect look. Finally, remember to prepare well before heading out on a photoshoot and take the time to scout out interesting locations. With the right knowledge and practice, you’ll soon be able to capture stunning HDR landscapes.
(Note: Is this article not meeting your expectations? Do you have knowledge or insights to share? Unlock new opportunities and expand your reach by joining our authors team. Click Registration to join us and share your expertise with our readers.)