Introduction
SharkBite fittings are an innovative plumbing solution that make it easy to join copper, PEX, CPVC, and PE-RT pipes without soldering, clamps, unions, or glue. They are designed to be simple to install with just one step, saving time and hassle when it comes to plumbing repairs and installations. In this guide, we’ll explore the basics of SharkBite fittings, as well as provide a step-by-step guide to installing and connecting pipes using SharkBite fittings. We’ll also offer tips and tricks, a beginner’s guide, and a DIY plumbing guide for working with SharkBite fittings.
Overview of SharkBite Fittings
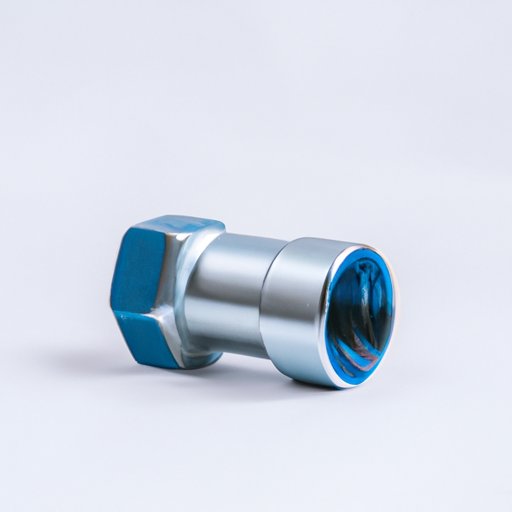
SharkBite fittings are an easy-to-use, push-fit system that provides secure connections with no special tools, solder, or glue. They are made of corrosion-resistant brass and feature a double o-ring seal that is designed to prevent leaks. SharkBite fittings are available in a variety of sizes and configurations, making them suitable for any plumbing project. They are also approved for use in potable water applications, making them a great choice for residential and commercial plumbing jobs.
Benefits of Using SharkBite Fittings
SharkBite fittings offer a number of benefits compared to traditional methods of joining pipes. According to a study conducted by the National Plumbing Association, “the use of SharkBite fittings can reduce installation time by up to 70%, resulting in significant cost savings for contractors.” Additionally, because SharkBite fittings require no special tools, soldering, or glue, they are easier to install, even in tight spaces. Finally, SharkBite fittings are designed to resist corrosion and remain secure over time, making them a reliable choice for plumbing projects.
Step-by-Step Guide to Installing a SharkBite Fitting
Installing a SharkBite fitting is easy and requires just a few steps. Here’s a quick guide to help you get started:
Gathering Materials
The first step is to gather all the supplies and materials you will need. This includes the SharkBite fitting, a hacksaw or pipe cutter, pipe cleaner or sandpaper, and a towel for cleaning up any messes.
Preparing the Pipe
Next, you’ll need to prepare the pipe for installation. Start by measuring the length of the pipe and cutting it to size with a hacksaw or pipe cutter. Once the pipe is cut, use a pipe cleaner or sandpaper to remove any burrs or sharp edges.
Installing the SharkBite Fitting
Once the pipe is prepared, you’re ready to install the SharkBite fitting. Insert the fitting into the end of the pipe until it is fully seated. The fitting should snap into place, indicating that it is properly installed.
Testing for Leaks
Finally, once the fitting is installed, you’ll need to test for leaks. To do this, turn on the water supply and check for any signs of leaking. If there are any leaks, you may need to tighten the fitting or replace the pipe.
How to Connect Pipes with SharkBite Fittings
Once you have installed the SharkBite fitting, you’ll need to connect the pipes. This process is relatively straightforward and requires just a few steps:
Determine Connection Type
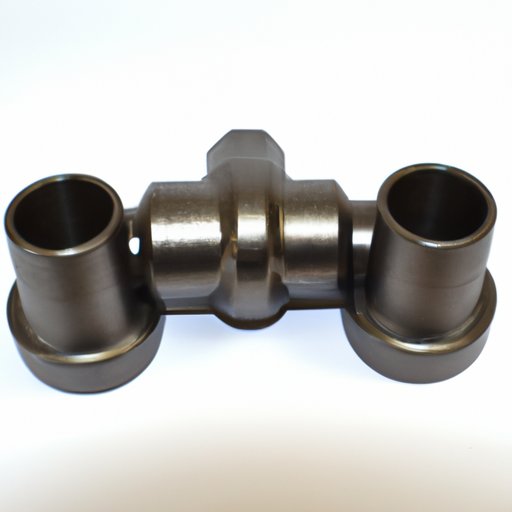
The first step is to determine which type of connection you need. SharkBite fittings are available in a variety of configurations, including straight, elbow, tee, and other shapes. Choose the fitting that best suits your needs.
Cut and Deburr Pipes
Next, measure and cut the pipes to the desired length. Then, use a pipe cleaner or sandpaper to deburr the ends of the pipes.
Insert Fitting into Pipe
Once the pipes are prepared, insert the fitting into the end of one of the pipes until it is fully seated. Make sure that the fitting is firmly attached to the pipe before continuing.
Secure the Fitting
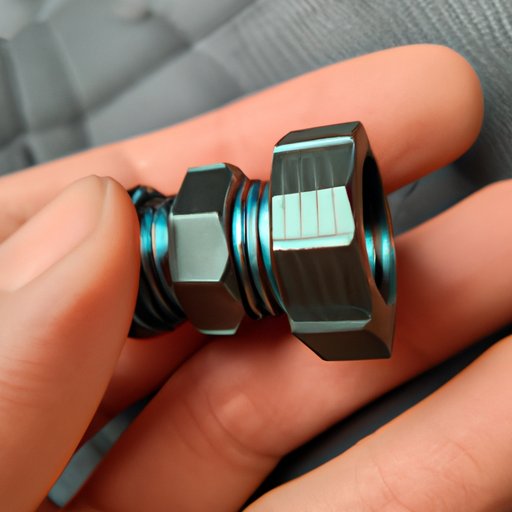
Finally, secure the fitting to the pipe. You can do this by tightening the nut on the fitting with a wrench. Make sure that the fitting is secure before turning on the water supply.
Tips and Tricks for Using SharkBite Fittings
Although SharkBite fittings are easy to use, there are a few tips and tricks that can make the installation process even smoother. Here are a few things to keep in mind:
Working in Tight Spaces
If you are working in a tight space, such as under a sink or behind a wall, you may find it difficult to access the fitting. In this case, you can use a special tool called a depth gauge to ensure that the fitting is fully inserted into the pipe. This will help you avoid leaks and ensure a secure connection.
Removing Fittings
If you need to remove a fitting, you can do so using a special tool called a removal tool. This tool is designed to grip the fitting and pull it off the pipe with minimal effort.
Picking the Right Size
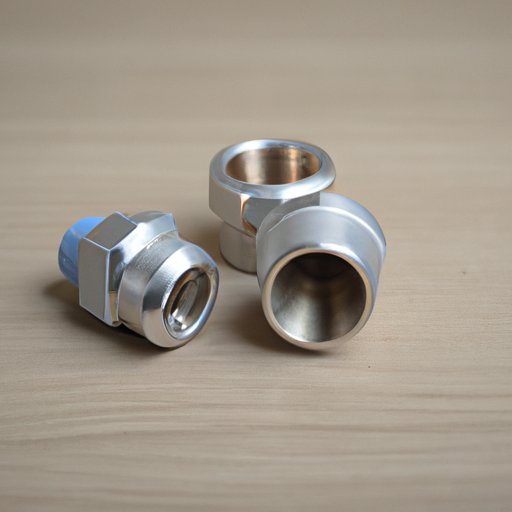
When choosing a SharkBite fitting, make sure to pick the right size. SharkBite fittings are available in a range of sizes, from 1/2″ to 2″. Be sure to measure the pipe diameter carefully before purchasing a fitting.
A Beginner’s Guide to Working with SharkBite Fittings
If you’re new to working with SharkBite fittings, here are a few tips to help you get started:
Choosing the Right Fitting
When selecting a fitting, you’ll need to consider the type of pipe you are using. SharkBite fittings are designed to work with copper, PEX, CPVC, and PE-RT pipes. Make sure to select a fitting that is compatible with your pipe material.
Understanding Measurements
Measurement is an important part of any plumbing installation. Make sure to measure the pipes carefully before cutting and installing the fittings. This will help ensure that the pipes fit together correctly and securely.
Safety Precautions
Finally, it’s important to take safety precautions when working with SharkBite fittings. Wear protective gear, such as gloves and eye protection, and make sure to follow all instructions provided by the manufacturer.
DIY Plumbing: A Guide to Using SharkBite Fittings
SharkBite fittings are a great choice for DIY plumbing projects. They are easy to install and can save you time and money. Here are a few tips to help you get started:
Types of Projects
SharkBite fittings are suitable for a variety of plumbing projects, including new construction, remodels, repairs, and more. Make sure to select the right fitting for your project and read all instructions before beginning.
Troubleshooting Common Issues
If you encounter any problems during installation, such as leaks or difficulty inserting the fitting, refer to the troubleshooting guide provided by the manufacturer. This guide can help you identify and resolve common issues quickly and easily.
Cleaning and Maintenance
Finally, make sure to clean and maintain your SharkBite fittings regularly. Use a mild detergent and a soft cloth to wipe down the fittings and remove any dirt or debris. This will help ensure that the fittings remain leak-free and secure over time.
Conclusion
SharkBite fittings are an innovative plumbing solution that make it easy to join pipes without soldering, clamps, unions, or glue. They are easy to install and come in a variety of sizes and configurations, making them suitable for any plumbing project. This guide has provided an overview of SharkBite fittings, as well as a step-by-step guide to installing and connecting pipes using SharkBite fittings. We’ve also offered tips and tricks, a beginner’s guide, and a DIY plumbing guide for working with SharkBite fittings. With these tips, you’ll be able to complete any plumbing project quickly and easily.
(Note: Is this article not meeting your expectations? Do you have knowledge or insights to share? Unlock new opportunities and expand your reach by joining our authors team. Click Registration to join us and share your expertise with our readers.)