Introduction
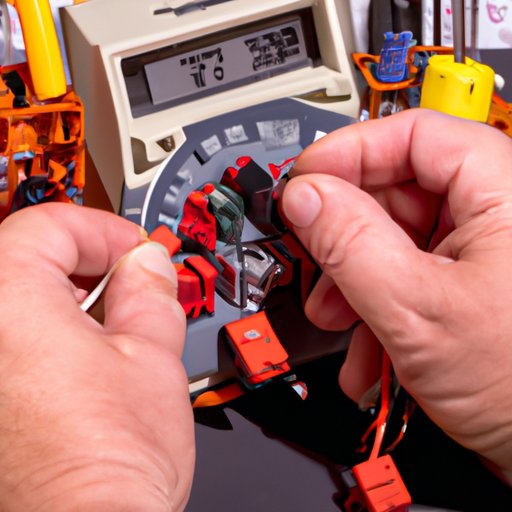
A starter relay is an electrical component that is used in vehicles to help start the engine. It is responsible for controlling the flow of electricity from the battery to the starter motor. To ensure that your vehicle’s starter relay is working properly, it is important to regularly test it using a multimeter. This article will provide a step-by-step guide on how to test a starter relay.
Check the Voltage Supply
The first step in testing a starter relay is to check the voltage supply. This can be done by identifying the battery terminals and then testing the voltage with a multimeter. To do this, you should set the multimeter to its DC voltage setting, which is usually marked as “V” or “Vdc”. Then, connect the red lead of the multimeter to the positive terminal of the battery and the black lead to the negative terminal. The multimeter should read 12 volts if the battery is fully charged.
Test the Relay with a Multimeter
The next step is to test the relay with a multimeter. To do this, you will need to identify the relay terminals and then test the resistance on the relay terminals. To identify the terminals, look for the two small metal posts on the side of the relay. These are the terminals. Once you have identified the terminals, set the multimeter to its ohms setting and connect the red lead to one terminal and the black lead to the other. The multimeter should read between 0.3 and 0.7 ohms.
Inspect Connectors and Wiring
It is also important to inspect the connectors and wiring for any visible signs of damage, such as frayed wires or broken connectors. To do this, disconnect the battery and examine the connectors and wiring for any signs of damage. You can also use a multimeter to test the wires and connectors for continuity. To do this, set the multimeter to its continuity setting and connect the leads to each end of the wire or connector. If the multimeter beeps, then the wire or connector is good. If not, then you may need to replace the wire or connector.
Test the Ground Circuit
The next step is to test the ground circuit. This can be done by locating the ground wire and then using a multimeter to test the ground circuit. To locate the ground wire, look for the black wire connected to the negative terminal of the battery. Once you have located the ground wire, set the multimeter to its ohms setting and connect the red lead to the ground wire and the black lead to the negative terminal of the battery. The multimeter should read 0 ohms if the ground circuit is good.
Check for Blown Fuses
It is also important to check for blown fuses. To do this, you should check the fuse box for any blown fuses. If there are any blown fuses, you should replace them with new ones. It is also important to make sure that all the fuses are the correct size for the circuit that they are protecting.
Test the Solenoid Windings
The next step is to test the solenoid windings. To do this, you will need to identify the solenoid windings and then use a multimeter to test the solenoid windings. To identify the solenoid windings, look for the two small metal posts on the side of the relay. These are the terminals. Once you have identified the terminals, set the multimeter to its ohms setting and connect the red lead to one terminal and the black lead to the other. The multimeter should read between 0.3 and 0.7 ohms.
Perform a Continuity Test
The last step is to perform a continuity test. To do this, you will need to connect the multimeter to the starter relay and then perform the continuity test. To connect the multimeter to the starter relay, set the multimeter to its continuity setting and connect the red lead to one terminal and the black lead to the other. If the multimeter beeps, then the starter relay is good. If not, then you may need to replace the starter relay.
Conclusion
Testing a starter relay is an important part of maintaining your vehicle. By following the steps outlined in this article, you can easily test your starter relay and ensure that it is working properly. From identifying the battery terminals and testing the voltage to inspecting the connectors and wiring and performing a continuity test, these steps will help you ensure that your starter relay is functioning correctly.
Final Thoughts
Regularly testing your starter relay is an essential part of vehicle maintenance. By following the steps outlined in this article, you can easily test your starter relay and ensure that it is working correctly. Additionally, if you have any questions about testing your starter relay, it is best to consult a professional mechanic.
(Note: Is this article not meeting your expectations? Do you have knowledge or insights to share? Unlock new opportunities and expand your reach by joining our authors team. Click Registration to join us and share your expertise with our readers.)
