Introduction
A starter solenoid is an electrical component that helps power up the engine of your car. It is located near the battery and is responsible for transferring electricity from the battery to the starter motor, which in turn powers up the engine. Testing a starter solenoid is an important part of diagnosing and troubleshooting any electrical issues in your car.
This article aims to provide a comprehensive overview of how to test a starter solenoid. We will discuss the different steps involved in the process, as well as tips for troubleshooting and diagnosing potential issues.
Step-by-Step Guide to Testing a Starter Solenoid
Testing a starter solenoid is not an overly complicated process, but it does require some preparation and knowledge of the components involved. Here is a step-by-step guide on how to test a starter solenoid:
Gathering the Necessary Tools
Before starting the testing process, it is important to have the right tools on hand. You will need a multimeter, a wrench, and a set of pliers. Make sure you have them ready before you begin.
Locating the Starter Solenoid
The starter solenoid can be found near the battery. It is usually connected to a bracket that is attached to the firewall or the chassis.
Disconnecting the Battery
Before removing the starter solenoid, it is essential to disconnect the battery. Doing so will prevent any electric shock and ensure the safety of the user.
Removing the Starter Solenoid
Once the battery is disconnected, you will need to remove the starter solenoid. Use the wrench to loosen the bolts that are holding it in place. Then use the pliers to disconnect the wires from the terminal posts.
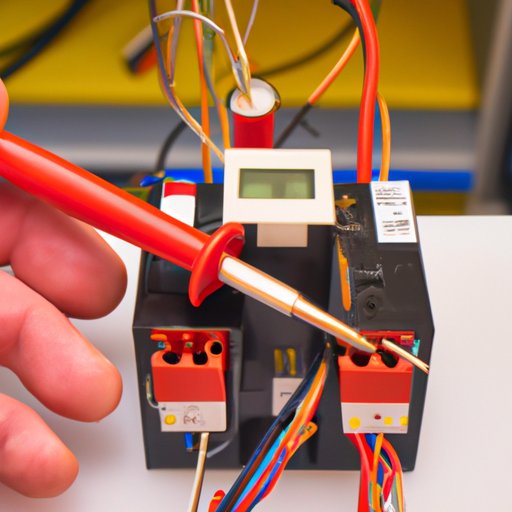
Testing the Starter Solenoid
Once the starter solenoid is removed, you can now start the testing process. Connect one lead of the multimeter to the ground terminal post and the other lead to the terminal post marked “S”. If the reading on the multimeter is 12 volts, then the starter solenoid is working properly.

How to Troubleshoot a Faulty Starter Solenoid
If the starter solenoid is not functioning properly, there are several steps you can take to troubleshoot the issue. Here are some tips for troubleshooting a faulty starter solenoid:
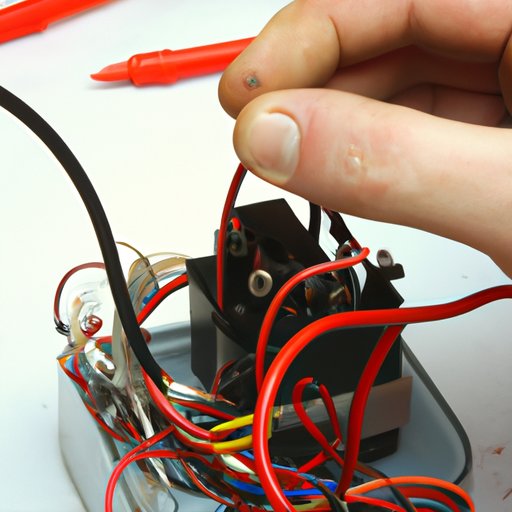
Checking the Connections
The first step is to check the connections between the starter solenoid and the battery. Make sure all connections are secure and free of corrosion.
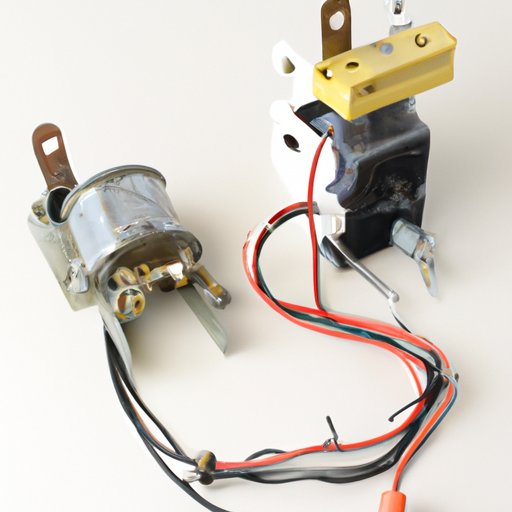
Inspecting the Components
Next, inspect the starter solenoid itself. Look for signs of wear and tear, such as cracks or frayed wires. If any of these issues are present, then it is time to replace the starter solenoid.
Replacing the Starter Solenoid
If the starter solenoid is damaged or worn out, then it needs to be replaced. Make sure to get a replacement starter solenoid that is compatible with your car. Once the new starter solenoid is installed, reattach the wires, reconnect the battery, and test the starter solenoid again.
How to Identify and Diagnose Starter Solenoid Problems
It is important to know how to identify and diagnose starter solenoid issues in order to fix them quickly and effectively. Here are some common signs of starter solenoid problems:
Common Signs of Starter Solenoid Issues
If the starter solenoid is not working properly, you may notice symptoms such as slow engine cranking, dim headlights, or a clicking noise coming from the starter solenoid.
Testing for Voltage Issues
Using a multimeter, you can test the starter solenoid for voltage issues. If the voltage reading is lower than 12 volts, then the starter solenoid may be faulty.
Testing for Continuity Issues
You can also test for continuity issues by connecting the multimeter leads to the terminal posts. If the reading is infinite, then there may be a continuity issue with the starter solenoid.
Tips for Diagnosing Starter Solenoid Issues
Diagnosing starter solenoid issues can be tricky, but with the right tools and knowledge, you can do it quickly and accurately. Here are some tips for diagnosing starter solenoid issues:
Utilizing a Multimeter
A multimeter is an invaluable tool when it comes to diagnosing starter solenoid issues. It can measure voltage, current, and resistance, allowing you to pinpoint the source of the problem quickly.
Keeping an Eye out for Wear and Tear
Starter solenoids are prone to wear and tear over time. Check the starter solenoid for signs of damage, such as cracks or frayed wires.
Paying Attention to Other Electrical Components
When diagnosing starter solenoid issues, it is important to pay attention to other electrical components as well. This includes checking the battery, alternator, and wiring for any signs of damage or wear and tear.
Understanding How to Test a Starter Solenoid
Testing a starter solenoid is a straightforward process, but it is important to understand what to expect from the test. Here are some things to keep in mind when testing a starter solenoid:
Expected Results from the Test
When testing a starter solenoid, the expected result is a voltage reading of 12 volts. If the reading is lower than 12 volts, then the starter solenoid may be faulty.
Potential Reasons for Unsuccessful Tests
If the test fails, there could be several potential causes. These include a faulty connection, corroded terminals, or a worn out starter solenoid.
Testing Basics for a Starter Solenoid
In order to get accurate results from the test, it is important to follow certain safety precautions and guidelines. Here are some testing basics for a starter solenoid:
Types of Tests
When testing a starter solenoid, you will need to perform two tests: one to measure the voltage and one to measure the continuity.
Safety Precautions
Before performing any tests, make sure to disconnect the battery and wear protective gear, such as gloves and goggles.
Common Issues with Starter Solenoids and How to Test Them
Starter solenoids can experience a variety of issues, such as low voltage, corrosion, and loose connections. Here is an overview of some of the most common starter solenoid issues and how to test for them:
Low Voltage
Low voltage is one of the most common starter solenoid issues. To test for low voltage, connect the multimeter leads to the terminal posts and measure the voltage. If the voltage reading is lower than 12 volts, then the starter solenoid may be faulty.
Corrosion
Corrosion can cause a variety of issues with the starter solenoid. To test for corrosion, inspect the terminals and look for any signs of rust or discoloration.
Loose Connections
Loose connections can prevent the starter solenoid from functioning properly. To test for loose connections, inspect the terminals and make sure all wires are firmly attached.
Conclusion
Testing a starter solenoid is an important step when diagnosing electrical problems in your car. With the right tools and knowledge, you can easily test a starter solenoid and identify any potential issues. This article has provided a step-by-step guide on how to test a starter solenoid, as well as tips for troubleshooting and diagnosing potential issues.
(Note: Is this article not meeting your expectations? Do you have knowledge or insights to share? Unlock new opportunities and expand your reach by joining our authors team. Click Registration to join us and share your expertise with our readers.)