Introduction
A start capacitor is an electrical device used in many motor applications to help increase the torque of the motor during startup. In order to ensure that the start capacitor is functioning properly and providing the necessary power, it must be tested regularly. Testing a start capacitor is a relatively simple process that can be completed with the proper tools and knowledge.
Testing a Start Capacitor: Step-by-Step Guide
The following steps should be taken when testing a start capacitor:
Preparing to Test the Start Capacitor
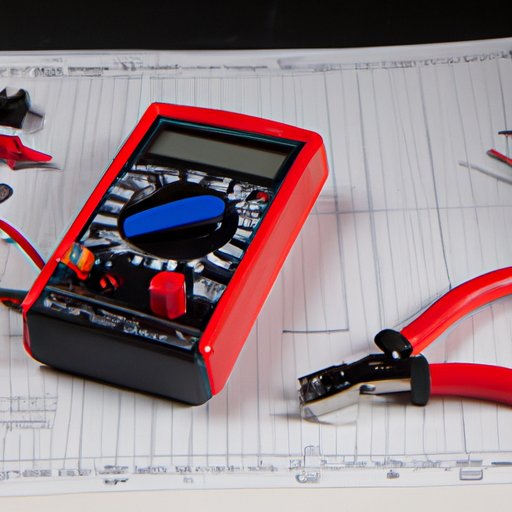
Before beginning the testing process, it is important to make sure that all of the necessary tools are on hand. The most important tool for testing a start capacitor is a multimeter, which is used to measure electrical current. Other tools that may be required include screwdrivers, pliers, and a voltage tester. It is also important to make sure that the area where the testing is taking place is clean and free from any debris or obstructions.
Taking Safety Precautions
When working with any type of electrical device, it is important to take safety precautions. Before beginning the testing process, make sure that the power to the device has been turned off. Additionally, it is important to wear protective gear such as gloves, goggles, and a face shield to protect against any potential hazards.
Testing the Start Capacitor
Once all of the necessary tools and safety precautions have been taken, the start capacitor can be tested. To do this, the multimeter is connected to the terminals of the start capacitor and the readings are taken. The multimeter will display a voltage reading, which can then be compared to the manufacturer’s specifications. If the voltage reading is too low, the start capacitor may need to be replaced.
A Comprehensive Guide to Testing a Start Capacitor
In order to effectively test a start capacitor, it is important to understand the components of the device. A start capacitor is made up of two capacitors, a start winding, and a run winding. The start winding is responsible for providing the initial power to the motor, while the run winding is responsible for providing continuous power to the motor. In addition, the start capacitor also contains a diode, which helps regulate the flow of electricity.
Identifying the Components of a Start Capacitor
In order to effectively test a start capacitor, it is important to be able to identify the various components of the device. The start capacitor contains two capacitors, a start winding, and a run winding. The start winding is typically larger than the run winding and is usually located near the top of the device. The run winding is typically located near the bottom of the device and is smaller than the start winding. The diode is located between the two windings and is responsible for regulating the flow of electricity.
How to Read a Multimeter
A multimeter is a device used to measure electrical current. In order to effectively use a multimeter when testing a start capacitor, it is important to know how to read the device. When using a multimeter, the first step is to set the device to the appropriate voltage range. Once the device is set, the red lead should be attached to the positive terminal of the start capacitor, and the black lead should be attached to the negative terminal. The multimeter will then display a voltage reading, which can be compared to the manufacturer’s specifications.
Using a Multimeter to Test a Start Capacitor
Using a multimeter to test a start capacitor is a relatively simple process. First, the power to the device should be turned off. Next, the multimeter should be set to the appropriate voltage range. Then, the red lead should be connected to the positive terminal of the start capacitor, and the black lead should be connected to the negative terminal. The multimeter will then display a voltage reading, which can be compared to the manufacturer’s specifications.

How to Test a Start Capacitor in 4 Easy Steps
Testing a start capacitor is a relatively simple process that can be completed in four easy steps:
Step 1: Turn off Power
The first step in testing a start capacitor is to turn off the power to the device. This can be done by unplugging the device from the wall or by turning off the power switch.
Step 2: Discharge the Start Capacitor
Once the power has been turned off, the start capacitor must be discharged. This can be done by shorting out the terminals of the start capacitor with a screwdriver. Once the start capacitor has been discharged, the multimeter can be connected to the terminals.
Step 3: Connect the Multimeter to the Start Capacitor
The next step is to connect the multimeter to the start capacitor. The red lead should be connected to the positive terminal of the start capacitor, and the black lead should be connected to the negative terminal.
Step 4: Read the Results
Once the multimeter is connected to the start capacitor, the voltage reading should be taken. The voltage reading should then be compared to the manufacturer’s specifications. If the voltage reading is too low, the start capacitor may need to be replaced.
Troubleshooting a Start Capacitor: A Step-by-Step Guide
If the start capacitor is not functioning properly, it may need to be replaced. Before replacing the start capacitor, it is important to troubleshoot the device in order to determine the cause of the issue. The following steps should be taken when troubleshooting a start capacitor:
Troubleshooting a Faulty Start Capacitor
The first step in troubleshooting a faulty start capacitor is to check the wiring of the device. Make sure that all of the wires are securely connected and that there are no loose connections. If the wiring appears to be in good condition, the next step is to test the start capacitor using a multimeter. The voltage reading should be compared to the manufacturer’s specifications. If the voltage reading is too low, the start capacitor may need to be replaced.
Replacing a Faulty Start Capacitor
If the start capacitor needs to be replaced, it is important to purchase a replacement that is the same size and voltage rating as the original. Once the new start capacitor has been installed, it is important to test the device using a multimeter to ensure that it is functioning properly.

Testing a Start Capacitor: A Quick and Easy Guide
Testing a start capacitor is a relatively simple process that can be completed in just a few steps. First, the power to the device should be turned off. Next, the start capacitor should be discharged. Then, the multimeter should be connected to the terminals of the start capacitor and the voltage reading should be taken. Finally, the voltage reading should be compared to the manufacturer’s specifications. If the voltage reading is too low, the start capacitor may need to be replaced.
Tips for Troubleshooting a Start Capacitor
When troubleshooting a start capacitor, it is important to check the wiring of the device and test the device using a multimeter. Additionally, if the start capacitor needs to be replaced, it is important to purchase a replacement that is the same size and voltage rating as the original.
Conclusion
Testing a start capacitor is a relatively simple process that can be completed with the proper tools and knowledge. By understanding the components of a start capacitor, knowing how to read a multimeter, and taking safety precautions, testing a start capacitor can be a quick and easy process. With this comprehensive guide, anyone can learn how to test a start capacitor in just a few steps.
(Note: Is this article not meeting your expectations? Do you have knowledge or insights to share? Unlock new opportunities and expand your reach by joining our authors team. Click Registration to join us and share your expertise with our readers.)