Introduction
A weed eater is a tool used to trim grass and weeds along the edges of lawns, gardens, and other areas. It typically consists of a long shaft with a motor at one end and a cutting head at the other. The cutting head is equipped with either a string trimmer head or a blade for cutting tough vegetation. Taking the head off a weed eater is a relatively simple process that can be accomplished in just a few steps.
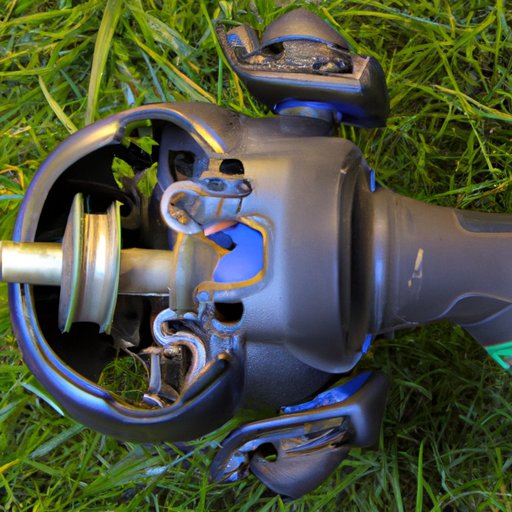
Step-by-Step Visual Guide to Removing the Head of a Weed Eater
Before attempting to take the head off a weed eater, it is important to gather the necessary tools. These include a wrench, screwdriver, and possibly an adjustable wrench. Once all the required tools are on hand, the next step is to disconnect the spark plug.
Once the spark plug has been disconnected, the next step is to locate the release mechanism. In most cases, this will be a lever or button located near the base of the shaft. Once the release mechanism has been identified, use the wrench to unscrew the head from the shaft.
A Comprehensive Guide to Taking the Head Off a Weed Eater
Preparation
The first step in taking the head off a weed eater is to gather the necessary tools. This includes a wrench, screwdriver, and possibly an adjustable wrench. Once all the tools have been gathered, the next step is to disconnect the spark plug from the power source.
Procedure
After the spark plug has been disconnected, the next step is to locate the release mechanism. This is usually a lever or button located near the base of the shaft. Once the release mechanism has been identified, use the wrench to unscrew the head from the shaft. It may be necessary to use the screwdriver to loosen any stubborn bolts.
Troubleshooting
If the head does not come off easily, there are a few things that can be done. First, make sure that the release mechanism is engaged properly. If it is not, then the head may be stuck due to the pressure from the release mechanism. If this is the case, try loosening the screws slightly and then reengaging the release mechanism. If the head still does not come off, then it may be necessary to use an adjustable wrench to loosen the head further.

How to Safely Remove a Weed Eater Head in 5 Easy Steps
Removing the head of a weed eater is a relatively simple task that can be completed in five easy steps. Here’s how to do it:
Step 1 – Disconnect the Spark Plug
The first step is to disconnect the spark plug from the power source. This will prevent any accidental starts while the head is being removed.
Step 2 – Locate the Release Mechanism
Once the spark plug has been disconnected, the next step is to locate the release mechanism. This is usually a lever or button located near the base of the shaft.
Step 3 – Unscrew the Head
Once the release mechanism has been identified, use the wrench to unscrew the head from the shaft. It may be necessary to use the screwdriver to loosen any stubborn bolts.
Step 4 – Clean the Threads
Once the head has been unscrewed, it is important to clean the threads on both the shaft and the head. This will ensure a tight fit when the head is reattached.
Step 5 – Reattach the Head
Finally, use the wrench to reattach the head to the shaft. Make sure to tighten the bolts securely before reconnecting the spark plug.

An Illustrated Guide to Taking the Head Off a Weed Eater
For those who prefer a visual representation, here is an illustrated guide to taking the head off a weed eater.


Tips and Techniques for Taking the Head Off a Weed Eater
When taking the head off a weed eater, it is important to take a few safety precautions. Here are some tips and techniques to keep in mind:
Wear Protective Gear
It is important to wear protective gear such as safety glasses and gloves when taking the head off a weed eater. This will help protect you from flying debris and sharp edges.
Use the Correct Tools
Make sure to use the correct tools for the job. Using the wrong size wrench or screwdriver could result in stripped threads or damaged parts.
Take Your Time
Finally, take your time when taking the head off a weed eater. Rushing through the process could result in injury or damage to the tool.
Conclusion
Taking the head off a weed eater is a relatively simple process that can be accomplished in just a few steps. Begin by gathering the necessary tools and disconnecting the spark plug. Then, locate the release mechanism and unscrew the head from the shaft. Finally, clean the threads and reattach the head. By following these steps and taking the proper safety precautions, you can safely and effectively remove the head of a weed eater.
With the right tools and a little bit of patience, anyone can take the head off a weed eater. Just remember to take your time and be careful, and you’ll have no problem getting the job done.
(Note: Is this article not meeting your expectations? Do you have knowledge or insights to share? Unlock new opportunities and expand your reach by joining our authors team. Click Registration to join us and share your expertise with our readers.)