Introduction
Stringing a weed eater with two holes can be a tricky task. It requires patience, precision, and a basic understanding of the tools and supplies that are needed. If done correctly, it will ensure that your weed eater will operate properly and safely. This article provides a step-by-step guide for stringing a weed eater with two holes.

Gather Necessary Tools and Supplies
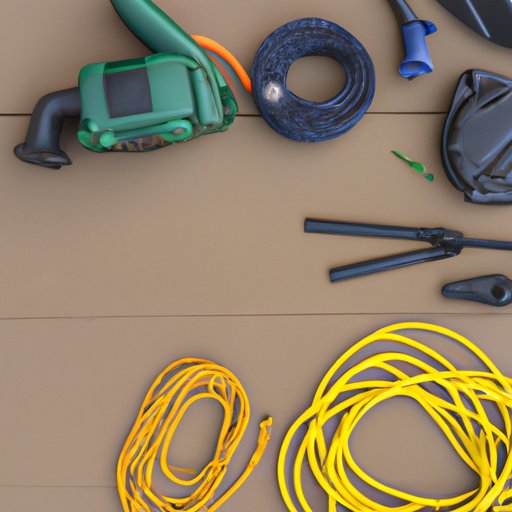
Before you begin stringing your weed eater, you will need to gather the necessary tools and supplies. The most important tool is the weed eater itself. You will also need a pair of scissors or shears, a measuring tape, and a spool of trimmer line. Depending on your model of weed eater, you may need additional tools such as a screwdriver, pliers, or a hex wrench.
When it comes to trimmer line, there are several different types to choose from. Most trimmer lines come in standard sizes ranging from 1.5 mm to 3.0 mm. You’ll want to select a line that is appropriate for your weed eater. For example, if you have a heavy-duty weed eater, you may want to opt for a thicker line. Trimmer line can be found at most hardware stores or online retailers.

Cut Trimmer Line to Desired Length
Once you have gathered all of the necessary tools and supplies, you can begin cutting the trimmer line. Start by measuring the desired length of the line. This should be long enough to reach both eyelets on your weed eater. Once you have measured the desired length, use a pair of scissors or shears to cut the line. Be sure to make clean, straight cuts so that the line will fit securely in the eyelets.
There are a few different types of trimmer line to choose from. Standard nylon line is a good choice for most weed eaters, but you can also opt for a more durable line such as braided line or twisted line. Braided line is made of multiple strands of line twisted together for added strength, while twisted line is a single strand of line that has been twisted for increased flexibility.
Thread Trimmer Line Through Eyelets
Once you have cut the line to the desired length, you can begin threading it through the eyelets on your weed eater. Start by inserting one end of the line into one of the eyelets. Be sure to push the line all the way through the eyelet until you feel resistance. Then, pull the line tight and make sure it is secure.
Next, insert the other end of the line into the second eyelet. Again, be sure to push the line all the way through the eyelet until you feel resistance. Once both ends of the line are securely in place, give the line a gentle tug to make sure it is secured.

Tie Knots at Each End of Trimmer Line
Now that the trimmer line is threaded through both eyelets, you can tie knots at each end of the line. This will help keep the line secure and prevent it from slipping out of the eyelets. There are a few different types of knots that can be used, but the most common is the overhand knot. To tie an overhand knot, simply take the end of the line and wrap it around the base of the line three times. Then, pass the end of the line through the loop and pull it tight.
Another option is the double knot. To tie a double knot, start by tying an overhand knot. Then, tie a second overhand knot directly above the first. Pull the knots tight and make sure they are secure. This type of knot is stronger than the overhand knot and is often recommended for heavier duty applications.
Insert One End of Trimmer Line into One of the Holes
Once the knots have been tied, you can begin inserting the trimmer line into the holes on your weed eater. Start by inserting one end of the line into one of the holes. Make sure that the line is pushed all the way in and that it is secure. If you are having difficulty, you may need to use a tool such as a screwdriver, pliers, or a hex wrench.
Once the line is securely in place, you can move on to the next step. Make sure to check the line periodically to ensure that it is still secure and that the knots are still tight.

Pull Trimmer Line Through Both Holes
Now that one end of the line is in place, you can begin pulling the line through the other hole. Start by holding the line in one hand and gently pulling it through the hole. Be sure to pull the line tight so that it is secure. If the line is too loose, it may slip out of the holes and cause damage to your weed eater.
Once the line is pulled through both holes, you can move on to the next step. Make sure to check the line periodically to ensure that it is still secure and that the knots are still tight.
Secure Line to Weed Eater with Second Knot
The final step is to secure the line to the weed eater with a second knot. Start by tying an overhand knot at the end of the line. Pull the knot tight and make sure it is secure. This will help keep the line in place and prevent it from slipping out of the holes.
Once the knot is in place, you can check the line to make sure it is secure. If everything looks good, you can start using your weed eater. Remember to always wear protective gear when operating any power tool and to follow all safety instructions.
Conclusion
Stringing a weed eater with two holes can be a tedious task, but with the right tools and supplies, it is possible to do it yourself. This article provided a step-by-step guide for gathering the necessary tools and supplies, cutting the trimmer line to the desired length, threading the line through the eyelets, tying knots at each end of the line, inserting one end into one of the holes, pulling the line through both holes, and securing the line to the weed eater with a second knot. Remember to always wear protective gear and to follow all safety instructions when operating any power tool.
(Note: Is this article not meeting your expectations? Do you have knowledge or insights to share? Unlock new opportunities and expand your reach by joining our authors team. Click Registration to join us and share your expertise with our readers.)