Introduction
Installing vinyl plank flooring is a great way to give any room in your home a fresh, modern look. But before you get started, it’s important to understand the basics of the installation process. In this article, we’ll take a look at the steps involved in installing vinyl plank flooring, from gathering materials and tools to preparing the subfloor and finishing with trim pieces and sealing caulk.
Identify Necessary Materials and Tools for Installing Vinyl Plank Flooring
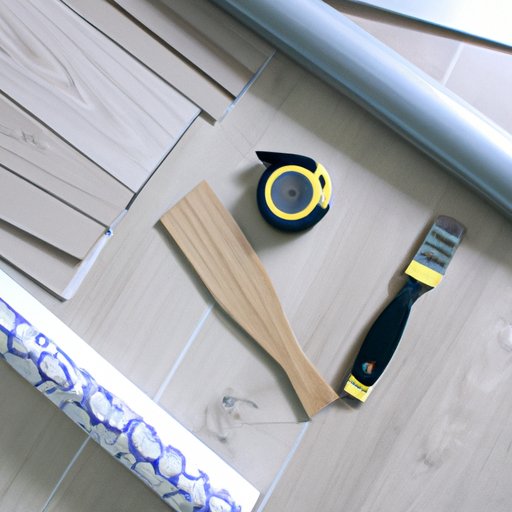
Before beginning your project, make sure you have the necessary materials and tools on hand. You’ll need vinyl planks, adhesive, transition strips, caulk, and a variety of cutting and measuring tools. Here is a list of items you’ll need to complete your installation:
- Vinyl planks
- Adhesive
- Transition strips
- Caulk
- Measuring tape
- Chalk line
- Utility knife
- Circular saw
- Jigsaw
- Hammer
- Pry bar

Consider Layout of Room Before Getting Started
Once you have the necessary materials and tools, the next step is to consider the layout of the room. You’ll want to establish a starting point, measure the dimensions of the room, and determine the placement of the vinyl planks. This will ensure that your installation goes smoothly and that you end up with a professional looking job.
To establish a starting point, draw an imaginary line down the center of the room. This will be your reference point as you begin laying the planks. Then, use a measuring tape to measure the length and width of the room so that you know how many planks you’ll need. Finally, decide where you’d like to place the planks. If you’re working with a smaller room, you may choose to lay them perpendicular to the walls; if you’re working with a larger room, you may opt for a diagonal pattern.
Prepare Subfloor Before Installing Vinyl Plank Flooring
The next step is to prepare the subfloor before installing the vinyl planks. Start by removing any old flooring such as carpet or tile. Be sure to check the subfloor for levelness, and then clean and vacuum it to remove any debris. If there are any gaps or cracks, fill them with a wood filler before continuing.
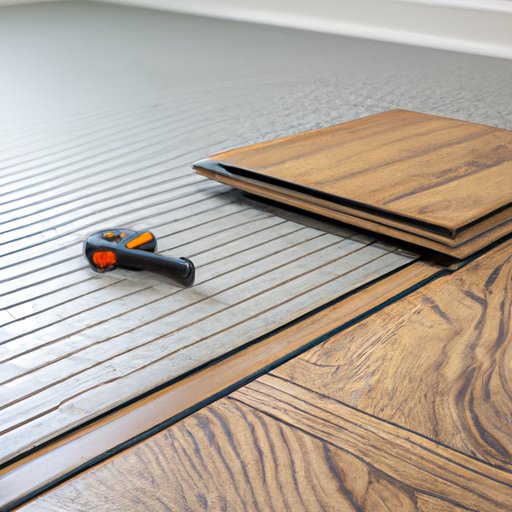
Begin Laying Vinyl Plank Flooring in a Corner
Now it’s time to start laying the vinyl planks. Begin in a corner of the room and dry fit the planks to ensure a proper fit. If necessary, cut the planks to size using a utility knife or circular saw. Once you have a good fit, use adhesive to adhere the planks to the subfloor. Make sure to press down firmly to ensure a secure bond.
Install Vinyl Planks with Careful Measurement and Cutting
Continue installing the vinyl planks throughout the room, taking careful measurements and making precise cuts along the way. To ensure accuracy, use a chalk line to mark the planks for cutting. Use the appropriate cutting tools – a utility knife, jigsaw, or circular saw – to make the necessary cuts. When cutting the planks, be sure to wear safety glasses and work gloves.
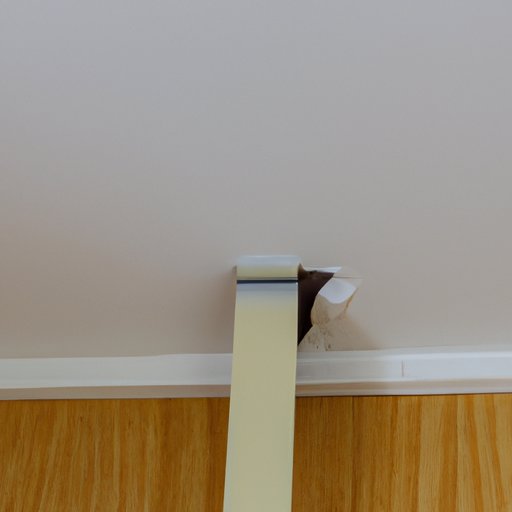
Finish Installation with Trim Pieces and Sealing Caulk
Once all the planks are in place, it’s time to finish up the installation with trim pieces and sealing caulk. Attach transition strips to cover any gaps between the planks and the walls. Use a caulking gun to seal the edges of the planks, and then apply a finishing touch with paint, stain, or wax.
Conclusion
Installing vinyl plank flooring is a relatively straightforward process that can give any room in your home a beautiful, modern look. By following the steps outlined in this article – from gathering materials and tools to preparing the subfloor and finishing with trim pieces and sealing caulk – you can ensure a successful installation. With a bit of patience and attention to detail, you’ll be well on your way to enjoying your new vinyl plank flooring.
(Note: Is this article not meeting your expectations? Do you have knowledge or insights to share? Unlock new opportunities and expand your reach by joining our authors team. Click Registration to join us and share your expertise with our readers.)