Introduction
Vinyl plank flooring is a popular choice for homeowners looking for a durable and affordable alternative to traditional hardwood flooring. It’s easy to install and can be done in a few simple steps. However, getting the first row of vinyl plank flooring right is essential for the rest of the installation process. Proper measurement and cutting are key, as well as ensuring that the subfloor is level and that planks are spaced evenly.
Step-by-Step Guide to Installing the First Row of Vinyl Plank Flooring
Before beginning any installation, it’s important to make sure you have all the necessary tools and materials. These include a tape measure, utility knife, saw (if needed), spacers, tapping block, and adhesive strips (if desired).
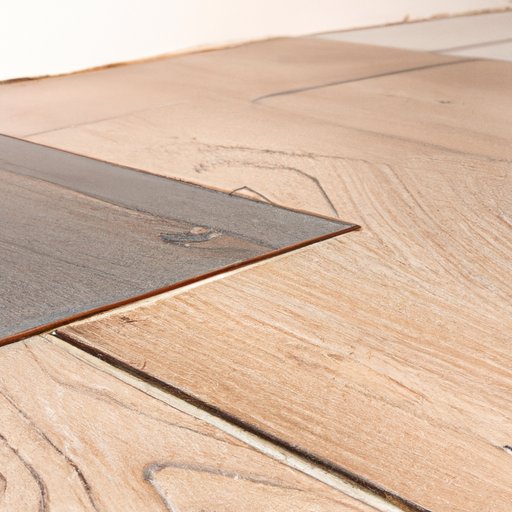
Once you have all the necessary items, accurately measure and cut the first row of flooring. Measure twice and cut once to ensure accuracy. If using a saw, make sure it’s sharp and use a straight edge guide to help keep your cut straight. If you’re cutting with a utility knife, score the back of the plank multiple times and then snap it on the scored line.
Once the first row of flooring is cut, you can begin installation. Start in one corner of the room and work your way out. Use spacers to maintain even spacing between planks. Be sure to check frequently with a level to make sure the planks are laying flat and at the same height.

How to Lay Down the Perfect Foundation with the First Row of Vinyl Plank Flooring
One of the most important aspects of getting the first row of vinyl plank flooring right is ensuring that the subfloor is level. An uneven subfloor can lead to problems down the line, such as warping or buckling of the planks. To check the subfloor, use a long straight edge and probe for low spots with a level or a piece of scrap wood.
Another important factor to consider when laying the first row of flooring is to use spacers to maintain even spacing between planks. This will help create a professional finished look and also allow for expansion and contraction of the flooring due to changes in temperature and humidity.
A Beginner’s Guide to Installing the First Row of Vinyl Plank Flooring
For those just starting out with vinyl plank flooring, measure twice, cut once. This will help ensure accuracy and reduce the risk of having to redo the first row of flooring. Also, take your time during the installation process. Rushing through the installation can lead to mistakes that may not be visible until it’s too late.
Tips and Tricks for Starting the First Row of Vinyl Plank Flooring
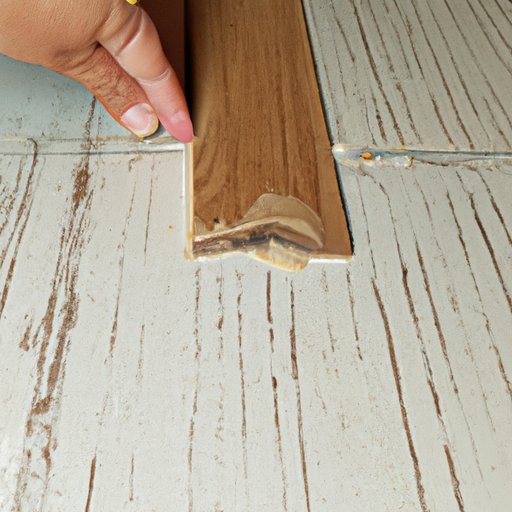
When installing the first row of vinyl plank flooring, use a tapping block to ensure a secure fit. The tapping block helps prevent damage to the planks while also helping to achieve a tight fit between planks. Additionally, it’s important to stagger planks to create a more natural look. Staggering planks also helps to provide strength and stability to the floor.
Get It Right the First Time: Installing the First Row of Vinyl Plank Flooring
The most important thing to remember when installing the first row of vinyl plank flooring is to double check measurements before cutting. This will help ensure accuracy and save time and money in the long run. Additionally, if possible, use adhesive strips to help secure the planks. Adhesive strips will help ensure a secure fit and prevent any shifting or movement of the planks.
Conclusion
Installing the first row of vinyl plank flooring is an important part of the overall installation process. Properly measuring and cutting the plank, ensuring the subfloor is level, using spacers to maintain even spacing, and using adhesive strips when possible are all key elements of a successful installation. With these tips in mind, you can get the first row of vinyl plank flooring right the first time.
(Note: Is this article not meeting your expectations? Do you have knowledge or insights to share? Unlock new opportunities and expand your reach by joining our authors team. Click Registration to join us and share your expertise with our readers.)