Introduction
Starting a worm bin is a great way to reduce household waste while also creating nutrient-rich soil for your garden or plants. Composting with worms is an effective and efficient form of composting that can be done in any size space. In this article, we’ll discuss the basics of starting a worm bin, as well as provide tips on creating the ideal environment for your worms.
Overview of Starting a Worm Bin
Composting with worms is a type of composting known as vermicomposting, which uses worms to break down organic material. Vermicomposting is a great way to reduce the amount of waste you produce, while also creating nutrient-rich soil for your garden or plants. The worms will eat the organic material, such as vegetable scraps, and turn it into nutrient-rich castings. These castings are then used as fertilizer for your plants.
Benefits of Composting with Worms
There are many benefits to composting with worms, including:
- Reduce the amount of waste sent to landfills
- Produce nutrient-rich soil for your garden or plants
- Create a natural habitat for beneficial insects
- Save money by not having to buy soil or fertilizer
- Reduce the need for chemical fertilizers
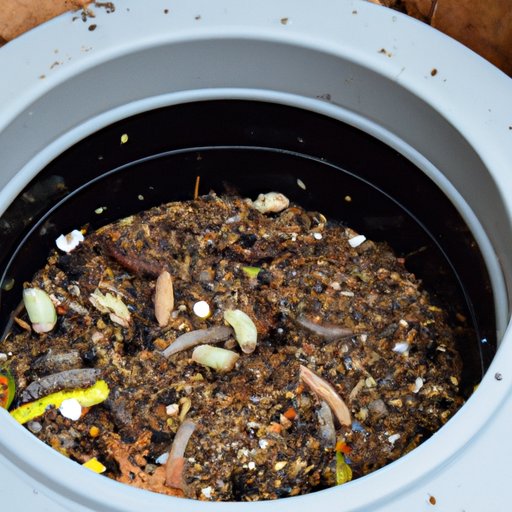
Choosing the Right Container for Your Worm Bin
The first step in starting a worm bin is selecting the right container. When selecting the container, you’ll want to consider two main factors: size and material.
Considerations for Size and Material
When choosing the size of the container for your worm bin, you’ll want to make sure it’s large enough to accommodate the number of worms you plan to have. A good rule of thumb is one square foot of surface area per pound of worms. You’ll also want to make sure the container has enough depth for the worms to burrow.
When it comes to the material of the container, you’ll want to choose a non-toxic material that won’t leach chemicals into the soil. Some good options include plastic, wood, or metal. Avoid using containers made of galvanized metal, as these can contain zinc, which is toxic to worms.
Where to Purchase
You can purchase containers for your worm bin from most home improvement stores, online retailers, or even build one yourself. If you decide to build your own container, make sure to use untreated wood, as treated wood can contain chemicals that are toxic to worms.
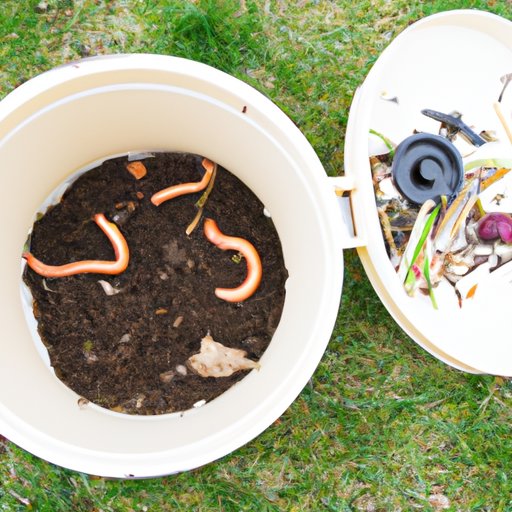
Creating an Ideal Environment for Your Worms
Once you have your container, you’ll need to create an ideal environment for your worms. This includes making sure the temperature, moisture, and light levels are just right.
Temperature
The optimal temperature range for worms is between 55-77 degrees Fahrenheit. If the temperature gets too hot or too cold, the worms may die. Make sure to keep the container away from direct sunlight, as this can cause the temperature to rise quickly.
Moisture
The ideal moisture level for a worm bin is between 70-85%. Too much moisture can cause the worms to drown, while too little moisture can cause them to dry out. You can monitor the moisture level by squeezing a handful of bedding in your hand; if water droplets form, then the moisture level is too high. If no water droplets form, then the moisture level is too low.
Light
Worms prefer to live in dark places, so make sure to keep the container away from direct sunlight. If the container does get exposed to sunlight, make sure to cover it with a light-colored cloth or blanket to help keep the temperature and moisture levels in check.
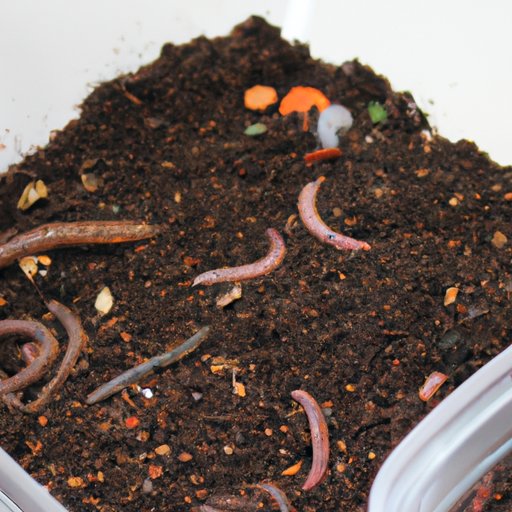
Adding Food and Bedding to the Worm Bin
Once you’ve created the ideal environment for your worms, you’ll want to add food and bedding to the worm bin. This will provide the worms with the nutrients they need to survive.
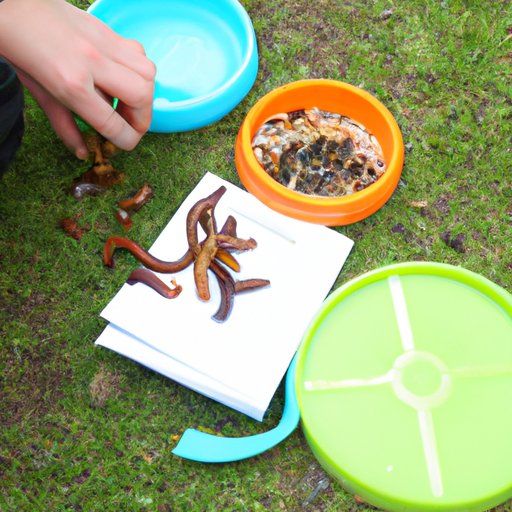
Types of Foods to Provide
You can feed your worms a variety of foods, including fruits and vegetables, grains, eggshells, coffee grounds, and tea bags. Avoid feeding your worms dairy products, meat, or oily foods, as these can attract pests and create an unpleasant odor.
Amount of Food to Feed
When feeding your worms, you’ll want to make sure you don’t overfeed them. Start by providing a small amount of food and slowly increase the amount as the worms eat it. A good rule of thumb is to provide enough food for the worms to consume within a week.
Types of Bedding to Use
In addition to food, you’ll want to provide the worms with bedding. Bedding provides the worms with a place to burrow and helps regulate the moisture level in the bin. Some good options for bedding include shredded newspaper, coconut coir, peat moss, or straw.
Conclusion
Starting a worm bin is a great way to reduce household waste while also creating nutrient-rich soil for your garden or plants. To start a worm bin, you’ll need to select the right container, create an ideal environment for your worms, and add food and bedding to the bin.
(Note: Is this article not meeting your expectations? Do you have knowledge or insights to share? Unlock new opportunities and expand your reach by joining our authors team. Click Registration to join us and share your expertise with our readers.)