Introduction
Starting a rose bush from a cutting is a great way to propagate your favorite varieties and create more plants for your garden. The process is relatively simple and can be done with minimal effort and cost. This article provides an overview of the steps needed to start a rose bush from a cutting, including selecting the right type of cutting, gathering materials, preparing the cutting, and providing the right environment for it to take root.
Research the Best Type of Rose Cutting to Use for Propagation
The first step in starting a rose bush from a cutting is to research the best type of cutting to use. According to the National Gardening Association, “Softwood cuttings are usually taken from stems that are actively growing. The youngest, softest stems are best for making cuttings.” 1 Softwood cuttings are typically taken from spring growth and tend to root more quickly than hardwood cuttings, which are taken from dormant wood in late winter or early spring.
When selecting a type of cutting, you should also consider the size of the stem and the number of leaves on the stem. Smaller stems are easier to work with and have a better chance of rooting successfully. It’s also important to remove any leaves from the lower part of the stem before planting, as these can rot and cause the cutting to fail.
Gather Materials Needed
Once you’ve selected the type of cutting you want to use, you’ll need to gather the materials needed to get started. These include a rooting hormone, potting soil, and a container. Rooting hormone helps encourage root growth and can be purchased at most garden stores or online. Potting soil is important to provide the proper environment for the cutting to take root. You’ll also need a container to plant the cutting in; this can be anything from a plastic pot to an old coffee can.
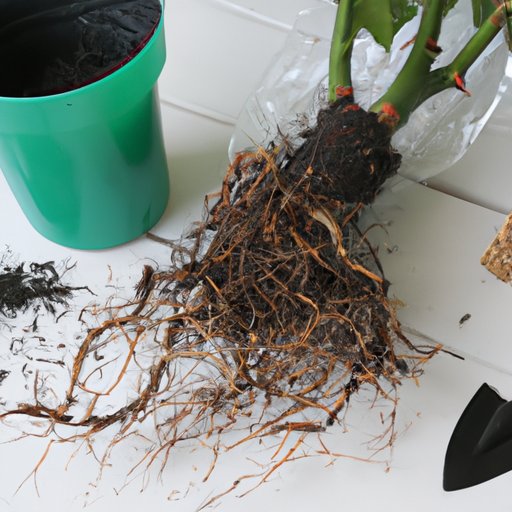
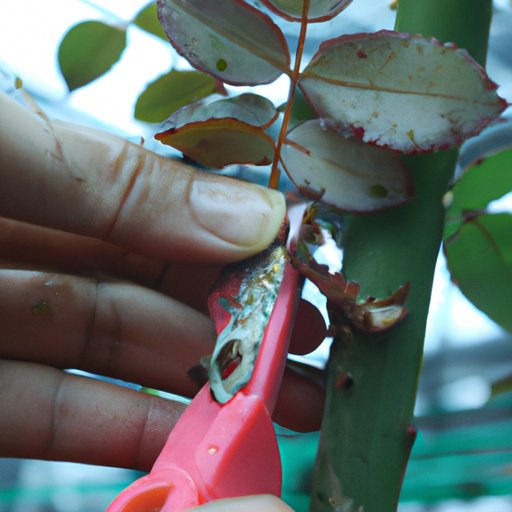
Prepare the Cutting
Before planting the cutting, it’s important to prepare it properly. Begin by trimming off any leaves from the lower part of the stem; these can rot and prevent the cutting from taking root. Then, using a sharp knife or pruning shears, cut the stem at an angle just below a leaf node. This will help the cutting take root more easily. Finally, dip the cut end of the stem in rooting hormone to encourage root growth.
Fill the Container with Potting Soil
Once the cutting is prepared, it’s time to fill the container with potting soil. Using your fingers or a spoon, make a hole in the center of the soil and place the cutting in the hole. Gently press the soil around it to secure it in place. If desired, you can add a stake or other support to help keep the cutting upright.
Water the Cutting
It’s important to keep the cutting moist while it takes root. Water the cutting regularly, but be careful not to overwater, as this can cause the roots to rot. Generally, the cutting should be watered once a week, or when the top of the soil is dry.
Place Cutting in a Warm, Sunny Spot
Once the cutting is planted and watered, it’s important to place it in a warm, sunny spot. A south-facing window or a greenhouse is ideal. The warmth and light will help encourage root growth and will also keep the cutting from drying out too quickly. If the cutting is placed in a cool, dark spot, it may take longer to take root and may even die.
Conclusion
Starting a rose bush from a cutting is a relatively simple process. With the right type of cutting, potting soil, and environment, you can successfully propagate your favorite rose varieties and enjoy their beauty for years to come. To ensure success, follow the steps outlined in this article: research the best type of cutting to use, gather materials needed, prepare the cutting, fill the container with potting soil, water the cutting, and place it in a warm, sunny spot.
(Note: Is this article not meeting your expectations? Do you have knowledge or insights to share? Unlock new opportunities and expand your reach by joining our authors team. Click Registration to join us and share your expertise with our readers.)