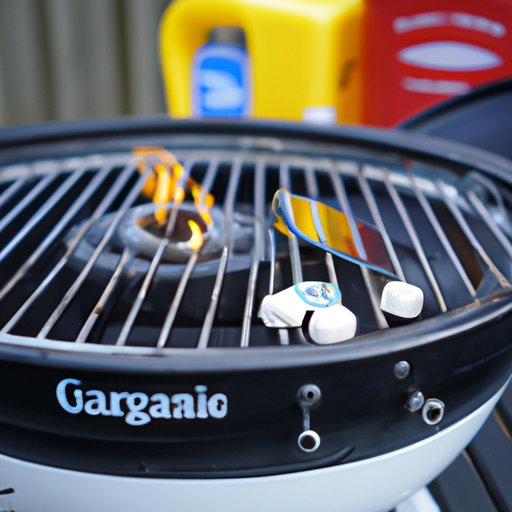
Introduction
Gas grills are a great way to enjoy outdoor cooking with friends and family. However, many people are intimidated by the process of starting a gas grill. This article will walk you through the necessary supplies and steps to get your gas grill up and running.
Gather the Necessary Supplies
Before you can begin using your gas grill, there are a few items you will need to have on hand. It is important to make sure that you have all of these supplies before you start the process.
Propane Tank
The most important item you will need is a full propane tank. Make sure that the tank is not expired or damaged. If it has been sitting for a while, you may want to get it inspected before using it.
Matches or Lighter
You will also need to have a match or lighter handy to light the grill. Be sure to keep these items away from children and stored in a safe location.
Grill Brush
Having a grill brush on hand is also important. You will use this to clean the grates before and after cooking. Regularly cleaning your grill will help ensure that it lasts longer and performs better.
Check for Gas Leaks
Before turning on the gas, you should check for any leaks. This is an important safety step and should not be skipped.
Inspect the Propane Tank and Hose
Start by inspecting the propane tank and hose for any signs of damage. Look for cracks, holes, or other signs of wear and tear. If you find any issues, do not use the tank and replace it with one that is in good condition.
Use a Soapy Water Solution
Next, mix a soapy water solution and coat the entire length of the propane hose with it. If there are any leaks, you will see bubbles forming on the hose. If you notice any bubbles, turn off the gas immediately and contact a professional to repair the leak.
Open the Grill Lid
Once you have checked for any leaks, it is time to open the grill lid.
Unlatch the Grill Lid
Most gas grills have a latch that you must unlatch before opening the lid. Be sure to read the manufacturer’s instructions to determine how to unlatch the lid.
Make Sure All Ventilation Paths are Clear
Before opening the lid, make sure that all ventilation paths are clear. This includes any vents at the top or bottom of the grill. If these are blocked, the grill may not work properly.
Turn on the Gas
Now that you have opened the lid, it is time to turn on the gas.
Connect the Propane Tank
Start by connecting the propane tank to the regulator. Make sure that the connection is tight and secure.
Turn the Valve to the “On” Position
Once the propane tank is connected, you can turn the valve to the “on” position. Be sure to read the manufacturer’s instructions to determine which way to turn the valve.
Ignite the Grill
Now it is time to ignite the grill.
Push the Ignition Button
Most gas grills have an ignition button that you must push to light the burners. You may need to press the button multiple times to get the burners to light.
Light the Burners with a Match or Lighter
If your grill does not have an ignition button, you can light the burners with a match or lighter. Be sure to keep your hands and face away from the burner as you light it.
Adjust the Heat Settings
Once the burners are lit, you can adjust the heat settings.
Set the Temperature Dials
Most gas grills have temperature dials that you can adjust to set the desired heat level. You can typically choose between low, medium, or high heat.
Position the Burners
Depending on the type of food you are cooking, you may want to adjust the position of the burners. For example, if you are cooking steak, you may want to position the burners so that they are closer together. This will create a hotter cooking environment.
Preheat the Grill
Now that you have adjusted the heat settings, it is time to preheat the grill.
Preheat the Grill for 10-15 Minutes
Most experts recommend preheating the grill for 10-15 minutes before beginning to cook. This will help ensure that the food cooks evenly.
Clean the Grates Before Cooking
Before preheating the grill, make sure to clean the grates with a grill brush. This will help prevent sticking and give you the best results when cooking.
Conclusion
Starting a gas grill doesn’t have to be intimidating. With the right supplies and steps, you can easily get your grill up and running for your next cookout. Always remember to check for gas leaks and preheat the grill before cooking for the best results.
(Note: Is this article not meeting your expectations? Do you have knowledge or insights to share? Unlock new opportunities and expand your reach by joining our authors team. Click Registration to join us and share your expertise with our readers.)