Introduction
Friendship bracelets are one of the most iconic symbols of friendship. The colorful strings are woven together in intricate patterns that represent the bond between two people. They can be simple or complex, depending on the design you choose. Whether you’re making one for yourself or for a friend, this article will provide you with all the steps necessary to get started.
What is a Friendship Bracelet?
A friendship bracelet is a type of jewelry made by interweaving several strands of embroidery floss or other thread into a pattern. It is traditionally given as a token of friendship and symbolizes the strong bond between two people. The colors used to make the bracelet have special meanings, such as red for passion, blue for loyalty, and yellow for happiness. These days, friendship bracelets come in a variety of styles, materials, and designs.
Purpose of Article
This article will provide step-by-step instructions on how to start a friendship bracelet. From gathering supplies to tying off ends, everything you need to know will be covered. You will learn about the basic knots used, how to create simple patterns, and how to add details with beads and charms.
Gather Supplies
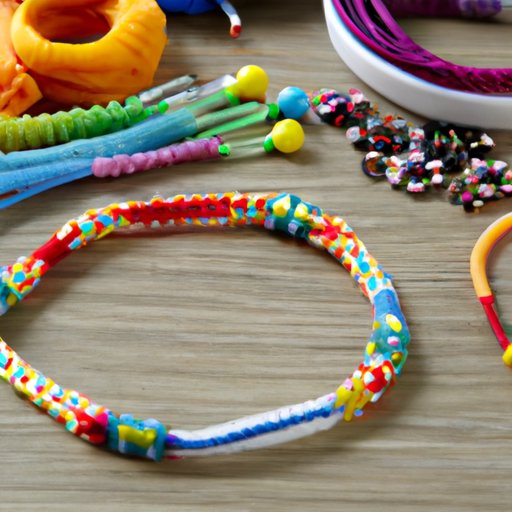
The first step in making a friendship bracelet is to gather the necessary supplies. You will need embroidery floss, scissors, beads, charms, and a ruler. Depending on the type of bracelet you want to make, you may also need a needle and thread.
Choose Colors and Type of Thread
The color of the thread you use will depend on the look you are trying to achieve. Choose colors that represent the friendship between you and your recipient, such as pink and purple for a girly look, or black and white for a more classic look. You can also mix and match different colors to create a unique design. As for the type of thread, embroidery floss is the most common choice, but you can also use other types of thread such as cotton or nylon.
Beads and Charms
Beads and charms can be added to the bracelet to give it an extra special touch. You can find them in a wide range of shapes, sizes, and colors. Choose beads and charms that reflect the personality of the recipient, such as stars, hearts, and flowers. You can also use charms that have a special meaning, such as initials or birthstones.
Learn the Basics
Once you have gathered the necessary supplies, it’s time to start learning the basics of knotting. There are several different types of knots used to make friendship bracelets, including square knots, half-hitch knots, and loop knots. Each of these knots has its own unique look, so experiment with them to see which one you like best.
Start Simple
When you are just starting out, it’s best to begin with a simple pattern in two colors. This will help you practice the knots and get a feel for the process. To create a basic pattern, tie a series of square knots, alternating the colors each time. For example, you could use red and blue in a repeating pattern.
Weave and Knot
Now it’s time to start weaving and knotting the threads together. Begin by creating a base pattern with the two colors. Then start tying knots in between the two colors to create a more complex pattern. As you become more comfortable with the process, you can add more colors and layers of complexity to the design.
Add Details
Once you’ve created the base pattern, you can add details such as beads and charms. These can be used to add texture and interest to the bracelet. Thread the beads onto the threads before you start knotting and then move them around to create different patterns. You can also add charms to the bracelet for an extra special touch.
Finish Up
Once the bracelet is complete, all that’s left to do is tie off the ends and trim away any excess thread. Make sure to tie multiple knots at the end to ensure the bracelet stays secure. Finally, check that all the knots are tight and that the bracelet fits comfortably around the wrist.
Conclusion
Making a friendship bracelet is a great way to show someone you care. With the right supplies and some patience, you can create a beautiful and meaningful piece of jewelry. Follow the steps outlined in this article to get started: gather supplies, learn the basics, start simple, weave and knot, add details, and finish up.
(Note: Is this article not meeting your expectations? Do you have knowledge or insights to share? Unlock new opportunities and expand your reach by joining our authors team. Click Registration to join us and share your expertise with our readers.)