Introduction
The starter and flywheel are two important components of an engine. The starter is responsible for initiating the combustion cycle, while the flywheel stores rotational energy that helps keep the engine running. In order for the starter to function correctly, it must be properly aligned with the flywheel. Shimming a starter closer to the flywheel is one way to ensure proper alignment and performance.
Analyzing the Starter and Flywheel for Proper Alignment
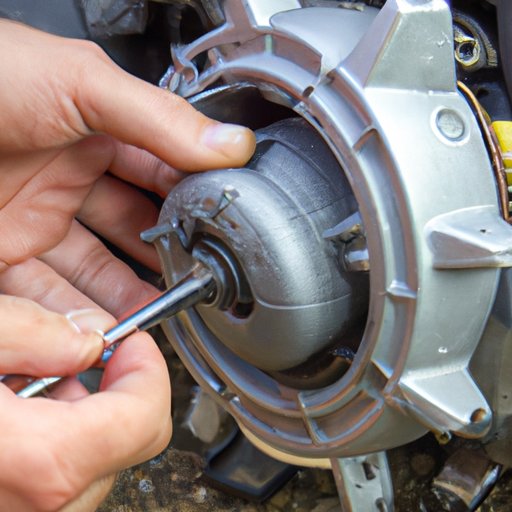
Before attempting to shim the starter closer to the flywheel, it’s important to first analyze both components to make sure they are properly aligned. This can be done by checking the distance between the starter and the flywheel and identifying any interference between the two components.
Checking the Starter’s Distance from the Flywheel
The first step in analyzing the starter and flywheel is to measure the distance between them. This can be done using a ruler or measuring tape. The ideal distance should be no more than 1/8 of an inch. If the distance is greater than this, then the starter needs to be adjusted.
Identifying any Interference Between the Two Components
In addition to measuring the distance between the starter and flywheel, it is also important to identify any interference between the two components. This can be done by visually inspecting the area around the starter and flywheel for any obstructions. If any obstructions are present, they should be removed before attempting to shim the starter closer to the flywheel.
Adjusting the Starter to Bring It Closer to the Flywheel
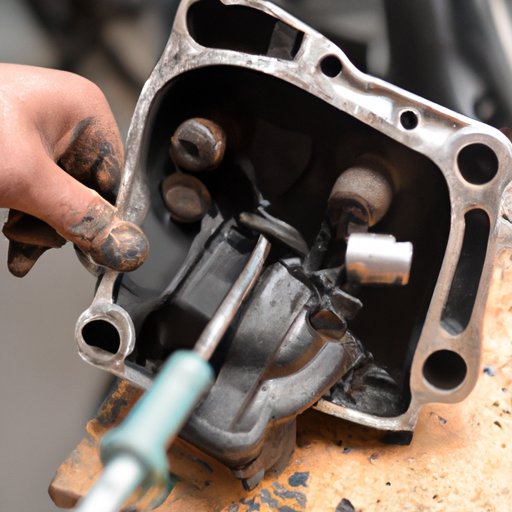
Once the starter and flywheel have been analyzed and any obstructions have been removed, the next step is to adjust the starter in order to bring it closer to the flywheel. This can be done by loosening the starter bolts and moving the starter as close as possible to the flywheel.
Loosening the Starter Bolts
The first step in adjusting the starter is to loosen the bolts that secure it to the engine block. This can be done using a ratchet and socket. Make sure to only loosen the bolts enough to allow the starter to move freely, but not so much that they become completely detached from the engine block.
Moving the Starter as Close as Possible to the Flywheel
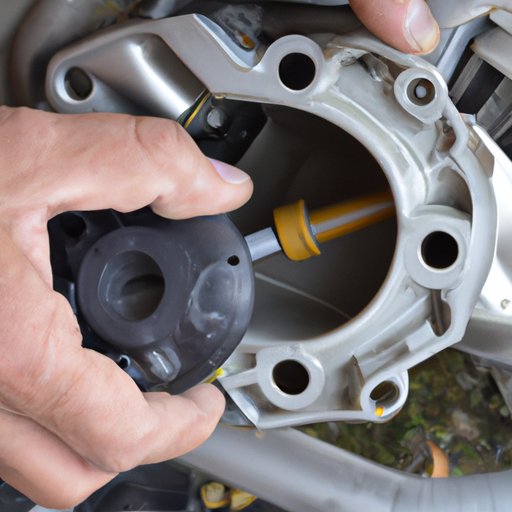
Once the starter bolts have been loosened, the next step is to move the starter as close as possible to the flywheel. This can be done by manually pushing the starter towards the flywheel. Make sure to take caution when doing this, as the starter may suddenly move due to its weight.
Utilizing Shims to Evenly Support the Starter
Once the starter has been adjusted and brought as close as possible to the flywheel, it is important to utilize shims in order to evenly support the starter. Shims come in various sizes and thicknesses, so it is important to select an appropriately sized shim for the job.
Selecting an Appropriately Sized Shim
When selecting a shim, it is important to make sure it is the correct size for the job. Generally speaking, the smaller the gap between the starter and flywheel, the thicker the shim should be. It is also important to make sure the shim is made of a durable material, such as steel or aluminum.
Installing the Shim between the Starter and the Flywheel
Once an appropriately sized shim has been selected, the next step is to install it between the starter and the flywheel. This can be done by carefully sliding the shim into place. Make sure to take caution when doing this, as the shim could be damaged if not handled properly.
Using a Feeler Gauge to Verify Clearance
Once the shim has been installed, it is important to use a feeler gauge in order to verify that the proper clearance has been achieved. This can be done by measuring the gap between the starter and flywheel with the feeler gauge. The ideal gap should be no more than 1/8 of an inch.
Measuring the Gap between the Starter and the Flywheel
The first step in verifying the clearance is to measure the gap between the starter and flywheel with the feeler gauge. This can be done by inserting the feeler gauge into the gap and measuring the amount of resistance. If the gap is too small, the feeler gauge will not fit; if the gap is too large, the feeler gauge will slide through without any resistance.
Ensuring the Proper Clearance is Achieved
Once the gap has been measured with the feeler gauge, the next step is to ensure that the proper clearance has been achieved. This can be done by adjusting the shim until the desired gap is achieved. If the gap is still too large, additional shims may need to be added in order to achieve the desired clearance.
Tightening the Starter Bolts to Secure the Shim
Once the clearance has been verified, the next step is to tighten the starter bolts in order to secure the shim. This can be done using a torque wrench and socket. Make sure to apply the right amount of torque to the starter bolts, as too little or too much torque can cause damage to the starter or flywheel.
Applying the Right Amount of Torque to the Starter Bolts
When tightening the starter bolts, it is important to make sure the right amount of torque is being applied. Generally speaking, the ideal torque for most starters is around 65 ft-lbs. It is also important to check the manufacturer’s specifications to make sure the proper torque is being applied.
Fastening the Starter Bolts to the Flywheel
Once the right amount of torque has been applied, the next step is to fasten the starter bolts to the flywheel. This can be done by threading the bolts into the flywheel and tightening them until they are secure. Make sure to take caution when doing this, as over-tightening the bolts can cause damage to the flywheel.
Testing the Starter to Ensure Proper Operation
Once the starter bolts have been tightened, the next step is to test the starter in order to ensure proper operation. This can be done by turning on the ignition and observing the starter’s performance. If the starter does not function properly, then it may need to be replaced.
Turning on the Ignition to Activate the Starter
The first step in testing the starter is to turn on the ignition. This will activate the starter and allow it to begin spinning. Make sure to take caution when doing this, as the starter can get very hot during operation.
Observing the Starter’s Performance
Once the starter has been activated, the next step is to observe its performance. This can be done by listening for any strange noises or watching for any signs of excessive vibration or wear. If any of these issues are present, then the starter may need to be replaced.
Replacing the Starter if Necessary
If the starter is not functioning properly after testing, then it may need to be replaced. This can be done by removing the old starter and installing a new one. Make sure to take caution when doing this, as improper installation can lead to further damage to the engine.
Evaluating the Starter’s Performance
The first step in replacing the starter is to evaluate its performance. This can be done by listening for any strange noises or watching for any signs of excessive vibration or wear. If any of these issues are present, then the starter should be replaced.
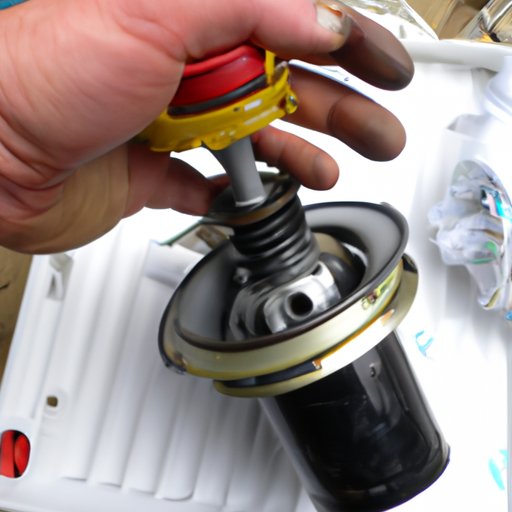
Removing the Starter and Installing a New One
Once the decision to replace the starter has been made, the next step is to remove the old starter and install a new one. This can be done by loosening the starter bolts, removing the old starter, and installing the new starter. Make sure to follow the manufacturer’s instructions when doing this, as improper installation can lead to further damage to the engine.
Conclusion
Shimming a starter closer to the flywheel is an important part of ensuring proper alignment and performance. This process involves analyzing the starter and flywheel, adjusting the starter, utilizing shims, using a feeler gauge, tightening the bolts, and testing the starter. By following these steps, you can ensure that your starter is shimmed correctly and performing optimally.
(Note: Is this article not meeting your expectations? Do you have knowledge or insights to share? Unlock new opportunities and expand your reach by joining our authors team. Click Registration to join us and share your expertise with our readers.)