Introduction
Lighting plays a key role in creating beautiful photographs. From portraits to still life shots, lighting is one of the most important elements that can make or break an image. Understanding the basics of photography lighting and how to set it up is essential for any photographer looking to take their skills to the next level.
In this article, we’ll explore the different types of photography lighting, how to set them up, and the benefits of each. We’ll also provide examples of creative photography lighting techniques to help you take your images to the next level.

Different Types of Photography Lighting and How to Set Them Up
When setting up photography lighting, there are two main types of light sources – natural and artificial. Natural lighting includes sunlight, moonlight, and other sources of light that occur naturally. Artificial lighting includes lamps, flashes, strobes, and other sources of light created by humans.
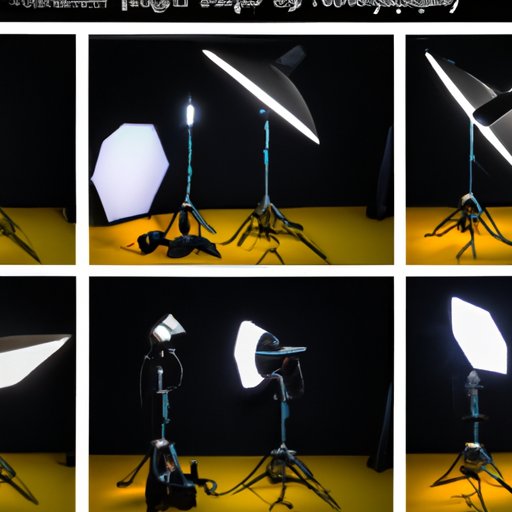
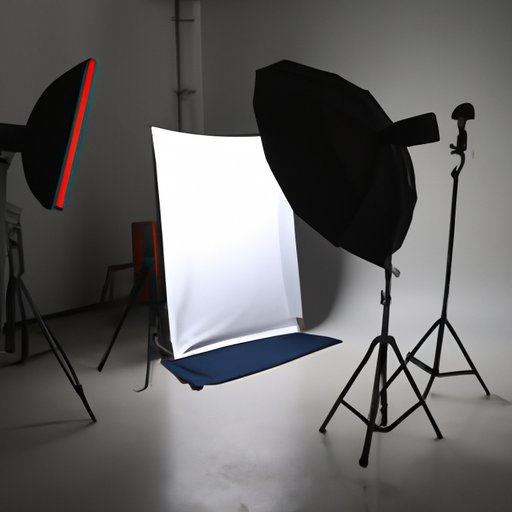
Softboxes are a type of artificial lighting often used in photography. Softboxes diffuse the light, creating a softer, more even illumination. This makes them ideal for portrait and product photography, as they produce beautiful, flattering results.

Benefits of Using Softboxes for Photography Lighting
Softboxes have several benefits when it comes to photography lighting. The first is that they provide diffused light. Diffused light is softer, more even, and less harsh than direct light, making it ideal for photography. It also helps to reduce shadows and create a more flattering look.
Another benefit of using softboxes for photography lighting is that they allow you to control the intensity of the light. You can adjust the distance between the light source and the subject to create different looks. You can also add or remove light modifiers like grids and gels to further refine the light.
Steps to Setting Up a Three-Point Lighting System
The three-point lighting system is a popular technique used in photography. This system uses three lights – a key light, a fill light, and a back light – to create an evenly lit image. Here are the steps to setting up a three-point lighting system:
Key light: The key light is the main light source. It should be placed slightly above the subject, at a 45-degree angle from the camera. This light provides the majority of the illumination for the scene.
Fill light: The fill light is used to fill in any dark areas caused by the key light. It should be placed at a lower angle than the key light, usually around 30 degrees, and should be slightly dimmer than the key light.
Back light: The back light is used to separate the subject from the background. It should be placed directly behind the subject and should be slightly brighter than the fill light.
Principles of High-Key and Low-Key Lighting
High-key lighting and low-key lighting are two popular techniques used in photography. High-key lighting is a bright, even illumination with minimal shadows. It is often used for portrait and fashion photography, as it creates a very flattering look.
Low-key lighting is a darker, more dramatic style of lighting. It is often used for moody, atmospheric shots. It is characterized by deep shadows and bright highlights.
Using Reflectors and Diffusers in Photography Lighting
Reflectors and diffusers are two tools commonly used in photography lighting. Reflectors are used to bounce light back onto the subject, while diffusers are used to soften the light. Here’s how to use each of these tools:
Using a reflector: Place the reflector opposite the light source and angled towards the subject. This will bounce the light back onto the subject, filling in any shadows and creating a more even illumination.
Using a diffuser: Place the diffuser between the light source and the subject. This will soften the light, reducing shadows and creating a more flattering look.

Examples of Creative Photography Lighting Techniques
Once you’ve mastered the basics of photography lighting, you can start experimenting with more creative techniques. Here are some examples of creative lighting techniques you can try:
Rim lighting: Rim lighting is a technique where the light is placed behind the subject, creating a halo of light around the edges of the subject. This technique is often used in portrait photography to create a dramatic, eye-catching look.
Split lighting: Split lighting is a technique where the light is positioned to one side of the subject, creating a strong contrast between the light and the shadow side of the face. This technique is often used in portraiture to create a more dramatic look.
Silhouette lighting: Silhouette lighting is a technique where the light is placed behind the subject, creating a strong outline of the subject against a bright background. This technique is often used to create dramatic, mysterious images.
Conclusion
Photography lighting is essential for creating beautiful photographs. In this article, we explored the different types of photography lighting, how to set them up, and the benefits of each. We also discussed principles of high-key and low-key lighting, how to use reflectors and diffusers, and provided examples of creative photography lighting techniques.
By understanding the basics of photography lighting and experimenting with different techniques, you can take your images to the next level. With practice and creativity, you’ll be able to create stunning photos every time.
(Note: Is this article not meeting your expectations? Do you have knowledge or insights to share? Unlock new opportunities and expand your reach by joining our authors team. Click Registration to join us and share your expertise with our readers.)
