
Introduction
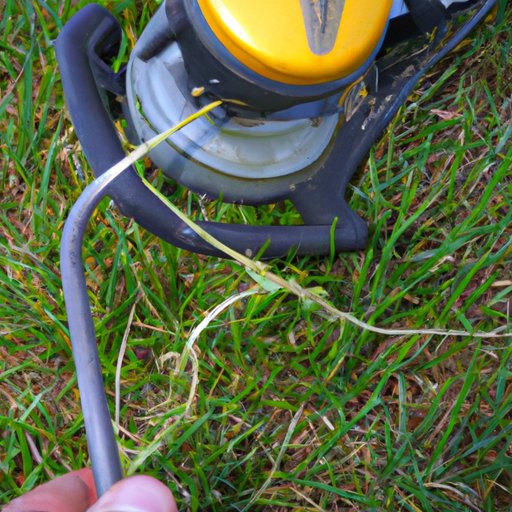
A weed eater, also known as a string trimmer, is a gardening tool used to trim grass and weeds around fences, trees, and other hard-to-reach areas of your yard. The most important part of the weed eater is the string, which needs to be replaced periodically. Replacing the string can seem like a daunting task, but with the right tools and knowledge, anyone can do it.
In this article, we’ll explore how to restring a weed eater. We’ll cover the benefits of restringing your weed eater, a step-by-step guide to the process, troubleshooting common problems, and tips and tricks for ensuring a successful job.

Benefits of Restringing Your Weed Eater
Restringing your weed eater regularly has many benefits. For one, it keeps the machine running smoothly and efficiently. When the string wears out, it can cause the machine to vibrate more, leading to decreased performance and increased wear and tear on the motor. Additionally, having a sharp and properly installed string will help you get a better cut when trimming your grass or weeds.
Another benefit of restringing your weed eater is that it can save you time and money in the long run. By changing the string regularly, you can avoid costly repairs or replacements due to worn-out parts. Plus, it only takes a few minutes to replace the string, so there’s no need to hire a professional.
Step-by-Step Guide to Restringing a Weed Eater
To restring your weed eater, you’ll need the following materials: new string, scissors, pliers, and a screwdriver. If your model has a bump-feed spool, you’ll also need a flathead screwdriver.
Once you have all the necessary materials, you’re ready to begin. Here’s a step-by-step guide to restringing a weed eater:
1. Prepare the weed eater
Before you start, make sure the weed eater is turned off and unplugged. Then, remove any debris from the cutting head, such as grass clippings or dirt.
2. Remove the old string
Using the pliers, carefully remove the old string from the spool. If your model has a bump-feed spool, unscrew the cap and pull the string out.
3. Install the new string
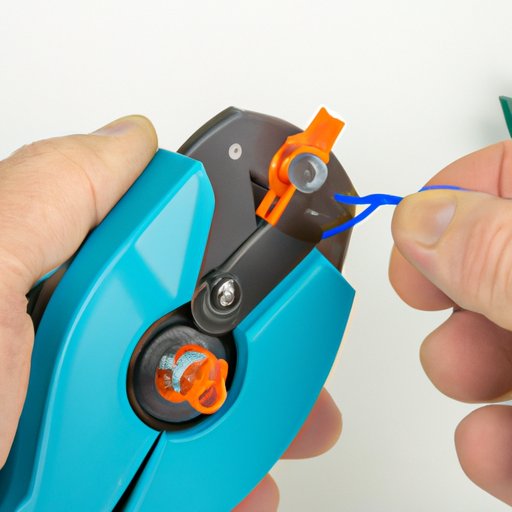
Cut the new string to the desired length (usually 15-20 feet). Then, thread the string through the eyelet on the spool and tie a knot at the end.
4. Test and adjust the trimmer line
Turn the weed eater on and check the trimmer line. If it’s too long, use the pliers to adjust the length. Make sure the line is even and tight before using the weed eater.
A Beginner’s Guide to Replacing the String on a Weed Eater
If you’re a beginner, replacing the string on a weed eater can seem intimidating. To make the job easier, it’s important to understand the parts of the weed eater and choose the right type of string for your machine.
Understand the parts of the weed eater
The most important part of the weed eater is the spool, which holds the string. The spool is usually located at the bottom of the machine, near the handle. The trimmer head is the part of the machine where the string is fed through.
Select the right type of string for your machine
When purchasing string for your weed eater, make sure to select the right type and size for your machine. Different types of string require different installation techniques, so make sure to read the instructions carefully.
Follow safety precautions when replacing the string
Replacing the string on a weed eater can be dangerous if not done properly. Always wear protective gear, such as gloves and safety glasses, and keep children and pets away from the area. Additionally, make sure the machine is turned off and unplugged before beginning.
How to Change the Trimmer Line Quickly and Easily
Changing the trimmer line quickly and easily is essential for keeping your weed eater running smoothly. Here are some tips for replacing the string on a weed eater:
Familiarize yourself with the spool and trimmer head
Before beginning, familiarize yourself with the spool and trimmer head. This will help you understand how the string is fed through the machine and how to install the new string correctly.
Make sure you have the right tools
Having the right tools is essential for replacing the trimmer line. You’ll need scissors, pliers, and a screwdriver (if your model has a bump-feed spool).
Load the trimmer line onto the spool
Cut the new string to the desired length (usually 15-20 feet) and thread it through the eyelet on the spool. Tie a knot at the end to secure the string.
Wind the trimmer line onto the spool
Carefully wind the string around the spool, making sure it’s evenly distributed. Don’t overfill the spool, as this can cause the string to jam.
Reassemble the trimmer head
Once the string is wound onto the spool, attach the end of the string to the trimmer head. Secure the trimmer head with the screws and replace the cap (if applicable).
A Comprehensive Guide to Restringing Your Weed Eater
Restringing your weed eater doesn’t have to be difficult. With the right tools and knowledge, you can replace the string quickly and easily. Here’s a comprehensive guide to restringing your weed eater:
Choose the right type and size of string
The type and size of string you choose will depend on the model of your weed eater. Make sure to select the right type and size for your machine.
Cut the string to the correct length
For most models, the string should be cut to a length of 15-20 feet. Be sure to measure the string carefully before cutting.
Lubricate the string before installation
Before installing the string, lubricate it with a few drops of oil. This will help reduce friction and make the string last longer.
Mount the spool onto the trimmer head
Thread the string through the eyelet on the spool and tie a knot at the end. Then, mount the spool onto the trimmer head and secure with the screws.
Wind the string onto the spool
Carefully wind the string around the spool, making sure it’s evenly distributed. Don’t overfill the spool, as this can cause the string to jam.
Attach the end of the string to the trimmer head
Once the string is wound onto the spool, attach the end of the string to the trimmer head. Secure the trimmer head with the screws and replace the cap (if applicable).
Tips and Tricks for Restringing a Weed Eater
Restringing a weed eater is a relatively simple process, but there are a few tips and tricks that can make the job easier. Here are some tips for ensuring a successful job:
Use the right type and size of string
Using the wrong type or size of string can lead to poor performance and decreased efficiency. Make sure to select the right type and size for your machine.
Keep extra string handy
It’s always a good idea to keep extra string on hand. That way, if you ever need to replace the string, you won’t have to wait for new supplies.
Don’t overfill the spool
When winding the string onto the spool, make sure not to overfill it. Overfilling the spool can cause the string to jam and lead to poor performance.
Replace the string often
Replacing the string regularly is essential for keeping your weed eater running smoothly. Make sure to change the string every few months or as needed.
How to Change the String on a Weed Eater Without Breaking It
Replacing the string on a weed eater can be tricky, especially if you’re a beginner. To help ensure a successful job, here are some tips for replacing the string without breaking it:
Read the user manual
Before beginning, it’s important to read the user manual. This will provide valuable information about the parts of the machine and how to install the string correctly.
Wear protective gear
Always wear protective gear, such as gloves and safety glasses, when replacing the string. This will help protect you from any potential hazards.
Use the right tools
Having the right tools is essential for replacing the trimmer line. You’ll need scissors, pliers, and a screwdriver (if your model has a bump-feed spool).
Take your time
Replacing the string on a weed eater can be a complicated process, so take your time and don’t rush. Rushing can lead to mistakes, which can cause the string to break.
Troubleshooting Common Problems When Restringing a Weed Eater
When restringing a weed eater, it’s important to be aware of potential problems that may arise. Here are some common problems and how to troubleshoot them:
Jammed spool
If the spool becomes jammed, turn the machine off and unplug it. Carefully remove the jammed string and try again. Make sure not to overfill the spool.
Broken string
If the string breaks during installation, make sure to remove all pieces of the broken string before continuing. Then, cut a new piece of string and try again.
Overfilled spool
If the spool is overfilled, the string can become jammed. Turn the machine off and unplug it. Carefully remove the jammed string and try again. Make sure not to overfill the spool.
Improperly wound string
If the string is wound incorrectly, it can cause the machine to vibrate and decrease performance. Turn the machine off and unplug it. Carefully unwind the string and try again.
Conclusion
Replacing the string on a weed eater is a relatively simple process, but it’s important to follow the steps carefully. With the right tools and knowledge, anyone can restring their weed eater quickly and easily. Regularly replacing the string can help keep your machine running smoothly and efficiently, saving you time and money in the long run.
(Note: Is this article not meeting your expectations? Do you have knowledge or insights to share? Unlock new opportunities and expand your reach by joining our authors team. Click Registration to join us and share your expertise with our readers.)