
Introduction
Restringing an Echo weed eater is a relatively simple process that can save you time and money in the long run. In this article, we’ll provide a step-by-step guide to help you restring your Echo weed eater with ease. We’ll also cover what types of strings are available, as well as tips for keeping your Echo weed eater working efficiently.

Definition of “Restringing an Echo Weed Eater”
Restringing an Echo weed eater involves replacing the existing line with new line. This process is necessary because the line wears down over time due to friction against the ground and other objects, such as rocks and tree roots. The line needs to be replaced regularly in order to keep the Echo weed eater functioning properly.
Benefits of Restringing an Echo Weed Eater
The primary benefit of restringing an Echo weed eater is that it helps maintain the machine’s performance. Over time, the line will wear down and become less effective at cutting weeds and other vegetation. By replacing the line regularly, you can ensure that your Echo weed eater is always working at its best.
In addition, restringing an Echo weed eater can save you money in the long run. Replacing the line regularly will reduce the need for more costly repairs or replacements in the future.
Step-by-Step Guide: How to Restring an Echo Weed Eater
Follow these steps to restring your Echo weed eater:
Gather the Necessary Supplies
Before you begin, make sure you have the following items:
- Replacement string
- Screwdriver
- Wire cutters
Prepare the Weed Eater for Strings
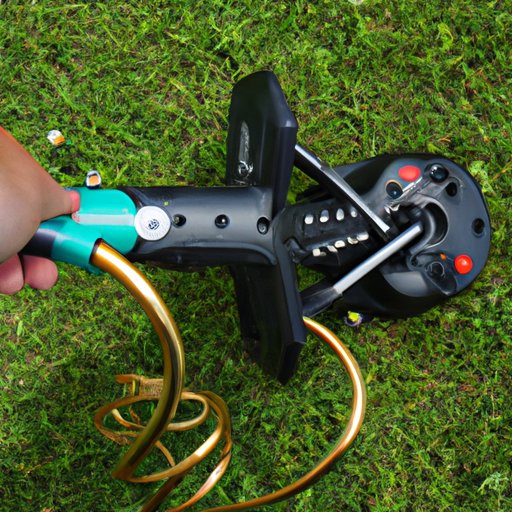
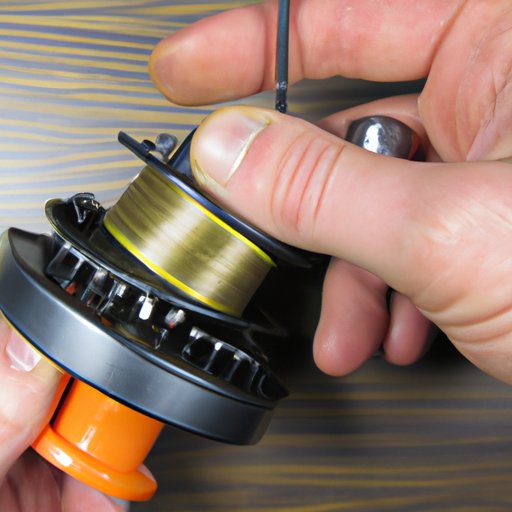
Once you have the necessary supplies, locate the spool on the Echo weed eater. Remove the screws holding the spool cover in place using the screwdriver. Once the cover is removed, remove the old string from the spool.
Installing New Strings
Next, install the new string onto the spool. Start by wrapping one end of the string around the spool three times. Then, thread the other end of the string through the hole in the spool. Pull the string tight and wrap it around the spool three more times.
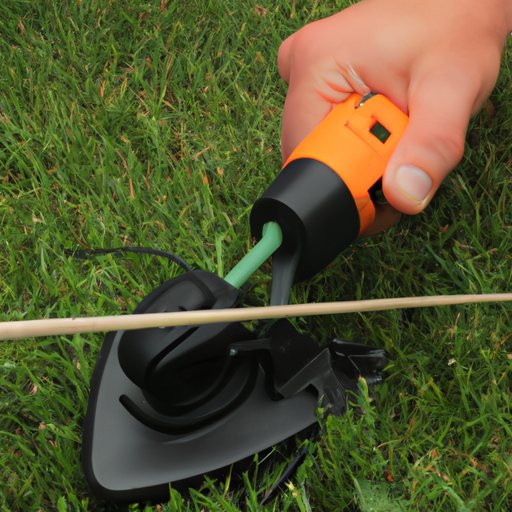
Trimming and Cutting Strings
Once the new string is installed, use the wire cutters to trim the excess string. Make sure the string is not too long, as this could cause problems when using the Echo weed eater. Finally, replace the spool cover and secure it with the screws.
An Illustrated Guide to Restringing an Echo Weed Eater
If you’re having trouble understanding the steps outlined above, take a look at this illustrated guide to restringing an Echo weed eater.

How to Keep Your Echo Weed Eater Working with a Restring
In addition to restringing your Echo weed eater, there are a few other things you can do to keep it running smoothly. Regular maintenance is essential for keeping your Echo weed eater in good condition.
Regular Maintenance
Regularly inspect your Echo weed eater for any signs of damage or wear and tear. Look for frayed strings, cracks in the housing, or other signs of damage. If you notice any of these issues, replace the parts as soon as possible to avoid further damage.
Troubleshooting Common Issues
If your Echo weed eater isn’t working properly, check the following:
- Is the string wound correctly? Check to make sure the string is wrapped securely around the spool.
- Are the strings too long? Trim the strings if they are longer than necessary.
- Are the strings frayed or damaged? Replace the strings if they are worn or damaged.
Everything You Need to Know About Restringing an Echo Weed Eater
Now that you know the basics of how to restring an Echo weed eater, here’s a closer look at the types of strings available and tips for choosing the right string for your Echo weed eater.
Overview of Restringing Process
The restringing process involves removing the old string from the spool, installing the new string, and then trimming and cutting the strings. It’s important to follow the instructions carefully to ensure that the string is installed correctly and that it won’t become tangled or frayed.
Types of Strings Available
When restringing an Echo weed eater, you have several options for the type of string you use. According to a study by the University of California, Davis, the most common types of strings used in Echo weed eaters are nylon, polyester, and Kevlar strings. Each type of string has its own unique properties and benefits.
Tips for Choosing the Right String
When selecting a string for your Echo weed eater, consider the following factors:
- Durability: Choose a durable string that won’t easily fray or break.
- Length: Make sure the string is long enough to reach all areas of the yard.
- Price: Consider the cost of the string, as well as how often you’ll need to replace it.
A Beginner’s Guide to Restringing an Echo Weed Eater
If you’re a beginner to restringing an Echo weed eater, here are some tips to help you get started:
What to Expect When Restringing
When restringing your Echo weed eater, expect the process to take approximately 15 minutes. It may take longer if you’re unfamiliar with the process or if you encounter any difficulties during the installation.
Common Mistakes to Avoid
When restringing your Echo weed eater, avoid the following mistakes:
- Using the wrong type of string: Make sure you select the correct type of string for your Echo weed eater.
- Not trimming the strings: Trimming the strings is important to prevent tangling and damage.
- Forgetting to replace the cover: Make sure to replace the cover after installing the new strings.
Tips and Tricks for Restringing an Echo Weed Eater
Here are some tips and tricks to help make the restringing process easier:
Careful Installation
When installing the new strings, take care to ensure they are properly secured. Wrap the strings firmly and evenly around the spool. Make sure the strings are not too loose or too tight.
Properly Securing Strings
After the strings are installed, make sure they are properly secured. Check to make sure the strings are not slipping off the spool and that there are no gaps in the wrapping.
Cleaning the Weed Eater
Finally, make sure to clean the Echo weed eater before and after restringing. Remove any dirt or debris on the spool and in the housing to ensure the strings are installed correctly.
The Quick and Easy Way to Restring an Echo Weed Eater
If you’re looking for a quick and easy way to restring your Echo weed eater, consider using pre-cut strings. Pre-cut strings are designed to fit perfectly on the spool, so they are much easier to install than regular strings.
Utilizing Pre-Cut Strings
When using pre-cut strings, simply insert the strings into the spool until they click into place. Make sure the strings are securely installed before replacing the spool cover.
Checking for Wear and Tear
Even when using pre-cut strings, it’s important to check for signs of wear and tear. Inspect the strings for fraying or other damage, and replace them if necessary.
Reusing Old Strings
If you’re looking to save money, you can also reuse old strings. However, it’s important to inspect the strings for signs of wear and tear before reusing them.
Conclusion
Restringing an Echo weed eater is a relatively simple process that requires minimal effort. By following the steps outlined in this article, you can easily restring your Echo weed eater and keep it running smoothly. Remember to choose the right type of string and to inspect the strings regularly for wear and tear.
By restringing your Echo weed eater regularly, you can ensure that it is always working at its best. This will save you time and money in the long run, as well as keep your Echo weed eater running smoothly.
(Note: Is this article not meeting your expectations? Do you have knowledge or insights to share? Unlock new opportunities and expand your reach by joining our authors team. Click Registration to join us and share your expertise with our readers.)