Introduction
Having a Stihl weed eater is an essential tool for maintaining your lawn. But as with any piece of machinery, it requires regular maintenance to keep it running smoothly. One of the most important tasks involved in taking care of your weed eater is restringing. If you’re not sure how to do this, you’ve come to the right place. This article will provide a step-by-step guide on how to restring a Stihl weed eater.
Overview of the Problem: Need to Restring a Stihl Weed Eater
A Stihl weed eater uses a string that rotates quickly to cut grass and weeds. Over time, the string can become worn or frayed, or the spool may become damaged. Replacing the string is an important part of regular maintenance, and it’s not difficult to do. All you need is a few simple tools and a bit of patience.

Purpose of the Article: Help the Audience Solve This Problem
The purpose of this article is to help you understand the steps involved in restringing a Stihl weed eater. We’ll go over the different types of Stihl weed eaters, the tools and supplies you need, and some essential tips for a successful restringing job. Let’s get started!
Step-by-Step Guide to Restringing a Stihl Weed Eater
Restringing a Stihl weed eater isn’t difficult, but it does require a few steps. Here’s a step-by-step guide to help you get the job done quickly and easily.
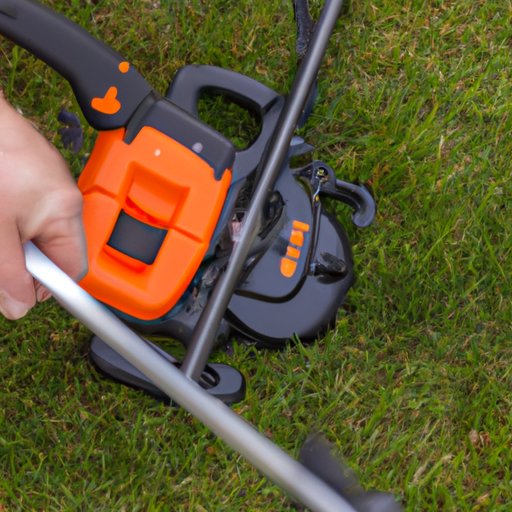
Gather Necessary Tools and Supplies
Before you start restringing your weed eater, make sure you have all the necessary tools and supplies. You’ll need a screwdriver, pliers, and a pair of scissors. You’ll also need a new spool of string and some safety goggles.
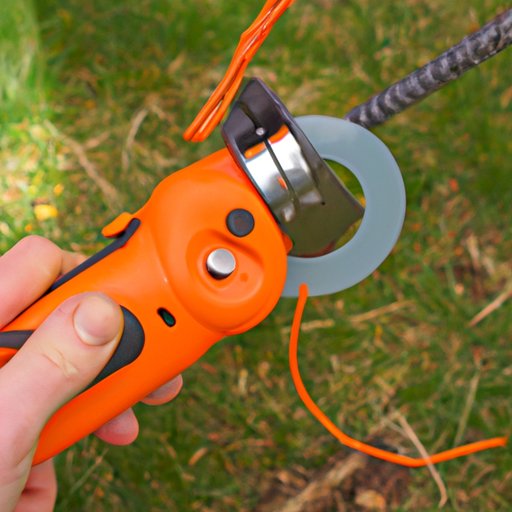
Identify the Parts of the Weed Eater
Before you start disassembling the weed eater, take a few minutes to familiarize yourself with the parts. The head is the part that holds the spool of string; the handle is where you hold the weed eater; and the shaft is the long tube connecting the two. Make sure you know which part is which before you start.
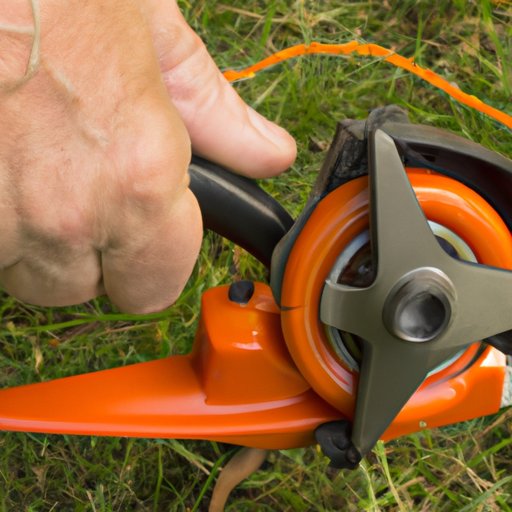
Remove the Old String
Once you’ve identified the parts, you’re ready to remove the old string. Unscrew the head and take out the spool. Then, use the pliers to pull the old string from the spool. Make sure you don’t damage the spool in the process.
Prepare the New String
Now it’s time to prepare the new string. Measure the length of the new string and cut it to size. Then, wind the string onto the spool in the same direction as the arrows on the spool. Make sure the string is wound tightly and evenly.
Insert the New String
Once the string is prepared, insert it into the weed eater. Pull the string through the hole in the head and then thread it through the eyelet on the handle. Make sure the string is pulled tight and secure.
Secure the New String
Finally, secure the string in place. Use the screwdriver to tighten the head and make sure the string is secure. Once everything is in place, you’re ready to start using your weed eater again!
How to Replace the String in a Stihl Weed Eater
Replacing the string in a Stihl weed eater is a fairly straightforward process. Here are the steps you need to follow:
Select the Right Replacement String
The first step is to select the right replacement string. Different models of Stihl weed eaters require different sizes and types of strings, so make sure you choose the right one for your model. You can find the right string at your local hardware store or online.
Unwind the Old String
Next, you’ll need to unwind the old string from the spool. Use the pliers to carefully pull the string from the spool, making sure not to damage the spool in the process.
Wind the New String
Once the old string is removed, you’re ready to wind the new string. Measure and cut the new string to size, then wind it onto the spool in the same direction as the arrows. Make sure the string is wound tightly and evenly.
Secure the String in Place
Finally, secure the string in place. Use the screwdriver to tighten the head and make sure the string is secure. Once everything is in place, you’re ready to start using your weed eater again!
Essential Tips for Restringing a Stihl Weed Eater
Here are a few essential tips to keep in mind when restringing a Stihl weed eater:
Wear Protective Gear
When working with any type of power tool, it’s important to wear the proper protective gear. Wear safety glasses or goggles to protect your eyes, and gloves to protect your hands.
Check the Spool Before Installing
Before installing the new string, make sure the spool is in good condition. Check for cracks or other damage that could cause the string to break during use.
Use the Correct Size String
Different models of Stihl weed eaters require different sizes and types of strings. Make sure you choose the right one for your model.
Maintain Proper Tension
When winding the string onto the spool, make sure it’s wound tightly but not too tightly. Too much tension can cause the string to break during use.
A Beginner’s Guide to Restringing a Stihl Weed Eater
If you’re a beginner, restringing a Stihl weed eater can seem like a daunting task. But with the right guidance, it’s actually quite easy. Here’s what you need to know:
Understand the Different Types of Stihl Weed Eaters
First, it’s important to understand the different types of Stihl weed eaters. There are electric, gas, and battery powered models, each of which requires a different type and size of string. Make sure you know which type of weed eater you have before you start restringing.
Learn the Steps of Restringing
Once you know which type of weed eater you have, it’s time to learn the steps of restringing. Read through the instructions in this article and make sure you understand each step before you start.
Practice with an Old String First
If you’re new to restringing, it’s a good idea to practice with an old string first. This will give you a chance to get comfortable with the process without having to worry about damaging your weed eater.
Familiarize Yourself with the Parts
Finally, take a few minutes to familiarize yourself with the parts of the weed eater. This will help you identify the different components and make sure you’re using the correct tools and supplies for the job.
How to Properly Restring a Stihl Weed Eater
Properly restringing a Stihl weed eater is essential for keeping it running smoothly. Here’s a quick and easy guide to help you get the job done:
Disconnect the Power Source
Before you start restringing, make sure to disconnect the power source. This is an important safety precaution to prevent injury.
Remove the Old String
Next, remove the old string from the spool. Use the pliers to carefully pull it from the spool, making sure not to damage the spool in the process.
Measure and Cut the New String
Once the old string is removed, measure and cut the new string to size. Make sure the string is long enough to reach from the spool to the eyelet on the handle.
Install the New String
Now it’s time to install the new string. Pull the string through the hole in the head and then thread it through the eyelet on the handle. Make sure the string is pulled tight and secure.
Reattach the Power Source
Finally, reattach the power source and you’re ready to start using your weed eater again!
Quick and Easy Steps to Restringing a Stihl Weed Eater
Here are the quick and easy steps to restringing a Stihl weed eater:
Gather Supplies
Gather the necessary tools and supplies, including a screwdriver, pliers, scissors, a new spool of string, and safety goggles.
Unwind the Old String
Unwind the old string from the spool and discard it. Make sure not to damage the spool in the process.
Measure and Cut the New String
Measure and cut the new string to size, then wind it onto the spool in the same direction as the arrows. Make sure the string is wound tightly and evenly.
Install the New String
Thread the new string through the hole in the head and then through the eyelet on the handle. Make sure the string is pulled tight and secure.
Secure the String
Use the screwdriver to tighten the head and make sure the string is secure. Once everything is in place, you’re ready to start using your weed eater again!
Conclusion
Restringing a Stihl weed eater is an important part of regular maintenance. With the right tools and supplies, and a bit of patience, you can have your weed eater up and running in no time. Follow these steps and you’ll be able to restring your Stihl weed eater like a pro.
In summary, the steps for restringing a Stihl weed eater are: gather supplies, unwind the old string, measure and cut the new string, install the new string, and secure the string. It’s also important to wear protective gear, check the spool before installing, use the correct size string, and maintain proper tension. With these tips, you’ll be able to properly restring your Stihl weed eater in no time.
(Note: Is this article not meeting your expectations? Do you have knowledge or insights to share? Unlock new opportunities and expand your reach by joining our authors team. Click Registration to join us and share your expertise with our readers.)