Introduction
When it comes to taking care of your yard and garden, the weed eater is essential for keeping your lawn looking neat and tidy. But over time, the line in the spool can become worn out or tangled, and you’ll need to replace it. This process is called respooling, and it’s a fairly simple task that anyone can do at home. In this article, we’ll explore what respooling is, why it’s important, and provide a step-by-step guide on how to respool your weed eater.
Definition of Respooling
Respooling refers to the process of replacing the worn out or tangled line in the spool of a weed eater with new line. The line is wound around the spool in a specific pattern, which is why it’s important to follow the manufacturer’s instructions when respooling. When done correctly, respooling will help keep your weed eater working properly and extend its life.
Benefits of Respooling Your Weed Eater
Respooling your weed eater has several benefits. For one, it will save you time and money compared to buying a new weed eater. It also helps improve efficiency, as the new line will cut through weeds more quickly and easily. Finally, the new line will last longer than the old line, giving you more bang for your buck.
Step-by-Step Guide to Respooling a Weed Eater
Respooling a weed eater isn’t complicated, but it does require some patience and attention to detail. Here’s a step-by-step guide to help you respool your weed eater like a pro:
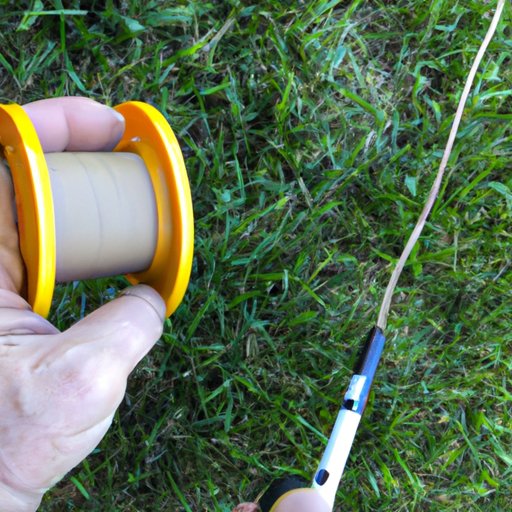
- Gather Supplies: Before you start, make sure you have all the necessary supplies. You’ll need a new spool of weed eater line, a pair of scissors, and a Phillips head screwdriver.
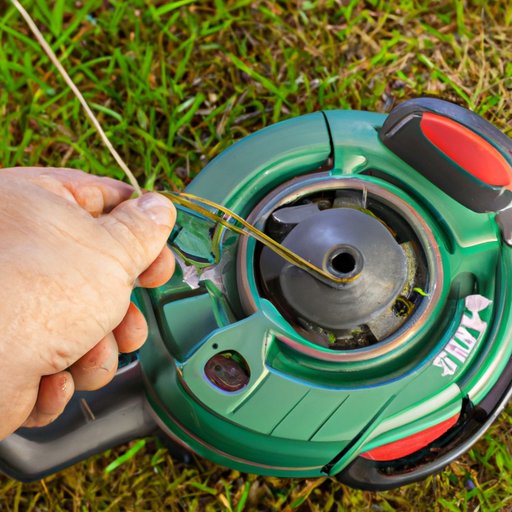
- Remove Old Line: Unscrew the cap on the bottom of the weed eater and remove the old line from the spool. Be careful not to pull too hard, as the spool may come off with the line.
- Wind New Line: Cut a length of new line and wind it around the spool in a figure 8 pattern. Make sure the line is evenly spaced and tight. Don’t wind the line too tightly, as it can cause the spool to jam.
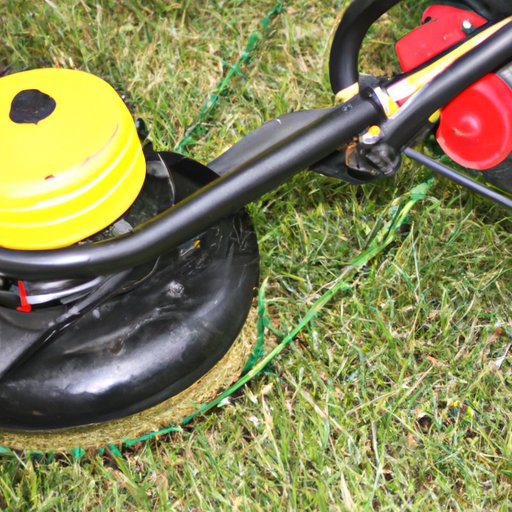
- Replace the Spool: Once the line is wound, replace the spool back into the weed eater and secure it with the cap.
- Test the Line: Turn on the weed eater and test the line to make sure it’s working properly. If everything looks good, you’re ready to start trimming your lawn.
Reel in the Benefits of Respooling Your Weed Eater
Now that you know how to respool your weed eater, let’s take a look at the benefits:
- Save Time and Money: Respooling your weed eater is much cheaper than buying a new one, and it takes less time than taking it to a repair shop.
- Improved Efficiency: With a fresh line, your weed eater will be able to cut through weeds more quickly and efficiently.
- Longer Lasting Line: A newly respooled weed eater will have a line that lasts longer than an old line, so you won’t have to replace it as often.
Learn How to Respool Your Weed Eater in 5 Easy Steps
Respooling your weed eater doesn’t have to be a daunting task. With the right supplies and a bit of patience, you can respool your weed eater in just a few easy steps:
- Gather Supplies: Start by gathering the necessary supplies, including a new spool of weed eater line, a pair of scissors, and a Phillips head screwdriver.
- Remove Old Line: Unscrew the cap on the bottom of the weed eater and remove the old line from the spool.
- Wind New Line: Cut a length of new line and wind it around the spool in a figure 8 pattern. Make sure the line is evenly spaced and tight.
- Replace the Spool: Replace the spool back into the weed eater and secure it with the cap.
- Test the Line: Turn on the weed eater and test the line to make sure it’s working properly.
Respooling Your Weed Eater – A Beginner’s Guide
If you’ve never respooled your weed eater before, don’t worry. Here are the basic supplies you’ll need, along with a step-by-step guide to help you get started:
- Basic Supplies Needed: To respool your weed eater, you’ll need a new spool of weed eater line, a pair of scissors, and a Phillips head screwdriver.
- The Process Step by Step: Unscrew the cap on the bottom of the weed eater and remove the old line from the spool. Cut a length of new line and wind it around the spool in a figure 8 pattern. Replace the spool back into the weed eater and secure it with the cap. Turn on the weed eater and test the line to make sure it’s working properly.
- Tips for Making the Job Easier: Make sure the line is wound evenly and securely, but not too tightly. Don’t forget to test the line after you’ve finished respooling.
Respooling 101: Everything You Need To Know
Ready to learn how to respool your weed eater? Here’s a comprehensive guide to help you get started:
- What Does Respooling Involve? Respooling involves replacing the old line in the spool of your weed eater with a new line. It’s important to follow the manufacturer’s instructions for winding the line correctly.
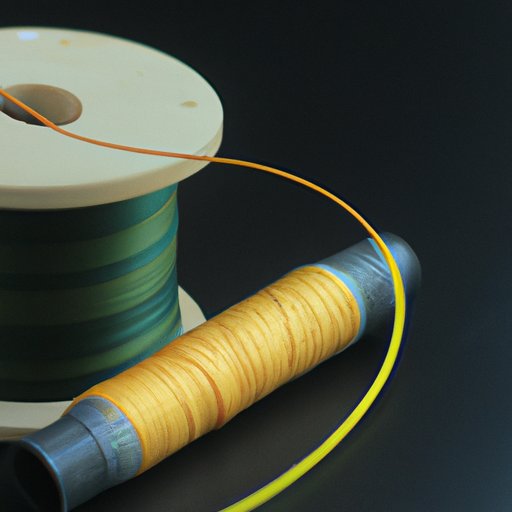
- Types of Weed Eater Line: There are several types of weed eater line available, including plastic, metal, and nylon. Each type has its own advantages and disadvantages, so be sure to research which type is best for your needs.
- Tools Needed for Respooling: To respool your weed eater, you’ll need a new spool of weed eater line, a pair of scissors, and a Phillips head screwdriver.
Save Time and Money With DIY Respooling
Respooling your weed eater yourself is a great way to save time and money. Here are a few tips to help you get the job done right:
- Gather Supplies: Make sure you have all the necessary supplies before you start, including a new spool of weed eater line, a pair of scissors, and a Phillips head screwdriver.
- Follow Instructions Carefully: Follow the manufacturer’s instructions for winding the line correctly. This will ensure that your weed eater works properly and lasts longer.
- Troubleshoot Potential Problems: If you run into any problems while respooling your weed eater, consult the manufacturer’s manual or contact a professional for help.
A Complete Guide to Respooling Your Weed Eater
Now that you know the basics of respooling, let’s dive into the details. Here’s a complete guide to help you respool your weed eater:
- Overview of the Process: Respooling involves removing the old line from the spool, winding new line around the spool, and replacing the spool back into the weed eater.
- Step-by-Step Guide: Gather the necessary supplies, unscrew the cap on the bottom of the weed eater and remove the old line from the spool, cut a length of new line and wind it around the spool in a figure 8 pattern, replace the spool back into the weed eater and secure it with the cap, and turn on the weed eater and test the line to make sure it’s working properly.
- Safety Tips: Always wear protective gloves and safety glasses when respooling your weed eater. Keep children and pets away from the area to avoid potential injuries.
Conclusion
Respooling your weed eater is a simple yet important task that can help extend its life and keep it running smoothly. With the right supplies and a bit of patience, anyone can respool their weed eater like a pro.
(Note: Is this article not meeting your expectations? Do you have knowledge or insights to share? Unlock new opportunities and expand your reach by joining our authors team. Click Registration to join us and share your expertise with our readers.)