Introduction
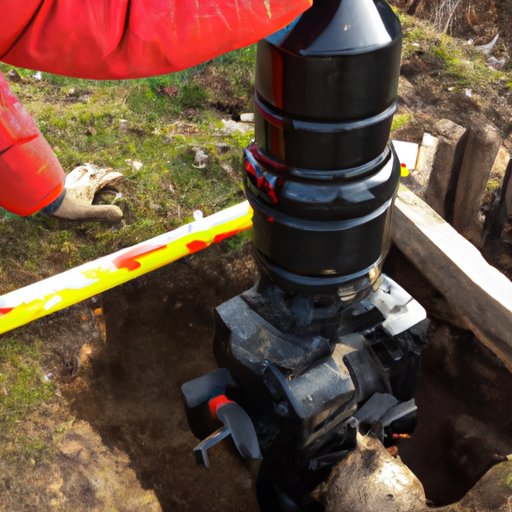
When you depend on a well for your household’s water supply, maintaining and replacing your well pump is essential. Replacing a well pump can be a complicated process, so it’s important to understand the basics of how to replace a well pump before you begin. This guide will provide a step-by-step overview of how to replace a well pump, as well as some tips to help make the process easier.
Overview of Replacing a Well Pump
Replacing a well pump involves a few basic steps. First, you’ll need to shut off the power to the pump. Then, you’ll need to identify the type of pump and remove the old one. After that, you’ll install the new pump and test it to make sure it’s working properly. Finally, you’ll restore the power to the pump. While these steps may seem straightforward, there are some important safety considerations to keep in mind when replacing a well pump.
Benefits of Replacing a Well Pump
Replacing a well pump can have several benefits. According to a study published in the Journal of Environmental Science and Health, Part A, replacing an old or damaged well pump can improve the efficiency and effectiveness of the pump, resulting in better water flow and pressure. Additionally, replacing a well pump can help reduce energy costs, since a new pump is likely to be more energy-efficient than an older one. In addition, a new pump can help reduce maintenance costs, since a newer pump is less likely to require frequent repairs.
Step-by-Step Guide to Replacing a Well Pump
Replacing a well pump is not a task that should be taken lightly. To ensure that the job is done properly, here’s a step-by-step guide to replacing a well pump:
1. Shutting off the Power
The first step in replacing a well pump is to shut off the power. This is an important safety precaution, and it should be done before any other work is started. Depending on the type of pump, the power can usually be shut off at either the circuit breaker or the fuse box.
2. Identifying the Type of Pump
Once the power is shut off, the next step is to identify the type of pump. Different types of pumps require different procedures for removal and installation, so it’s important to know what type of pump you’re dealing with. Common types of pumps include submersible pumps, jet pumps, and centrifugal pumps.
3. Removing the Old Pump
After the type of pump has been identified, the next step is to remove the old pump. This is done by disconnecting the electrical wires from the pump and then loosening the bolts that hold the pump in place. Once the pump has been removed, the next step is to install the new pump.
4. Installing the New Pump
Installing the new pump involves connecting the electrical wires to the new pump and then bolting the pump into place. If necessary, the pipe connections may also need to be adjusted to fit the new pump. It’s important to make sure that all connections are secure and that the pump is level.
5. Testing the New Pump
Once the new pump is installed, it’s time to test it to make sure it’s working properly. This can be done by turning on the power and running the pump for a few minutes. If everything is working correctly, the pump should produce a steady flow of water.
6. Restoring Power
Once the new pump has been tested and is working properly, the last step is to restore the power. This is done by flipping the circuit breaker or fuse back on. At this point, the new pump is ready to use.
DIY: How to Replace a Well Pump
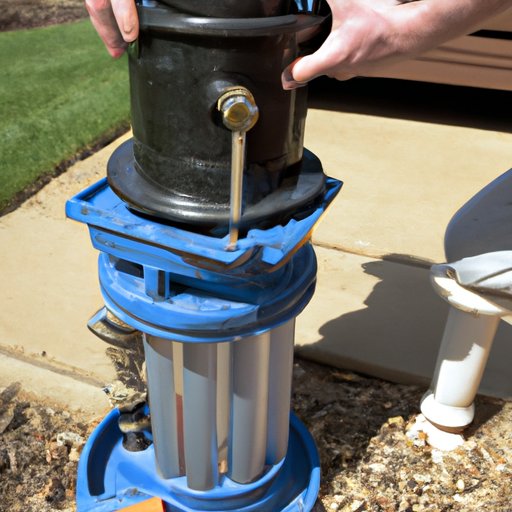
Replacing a well pump is not a task that should be attempted without proper knowledge and experience. If you’re confident in your abilities and want to tackle the project yourself, here are the tools and steps you’ll need for a successful DIY replacement:
Tools Needed
To replace a well pump, you’ll need a few basic tools, including a wrench set, wire cutters, a drill, and a screwdriver. You may also need a socket set and pliers, depending on the type of pump.
Steps for Replacing the Pump
Once you have the necessary tools, follow these steps for replacing the pump:
- Shut off the power to the pump.
- Identify the type of pump.
- Remove the old pump.
- Install the new pump.
- Test the new pump.
- Restore power to the pump.
Troubleshooting and Replacing Your Well Pump
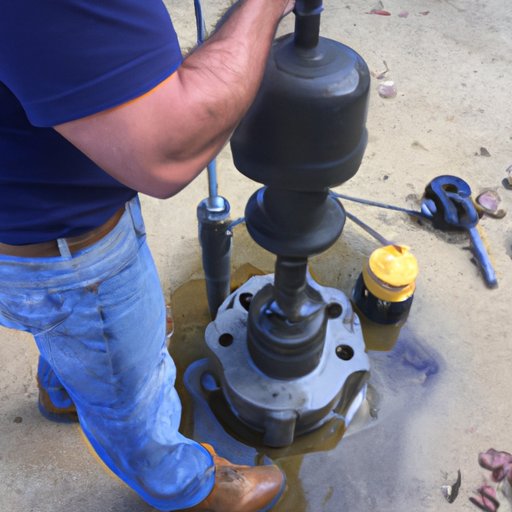
Even if you’ve followed the steps outlined above, there may still be problems with your new pump. Here are some common problems and troubleshooting tips to help you get your new pump up and running:
Common Problems
Some common problems that may arise when replacing a well pump include:
- Pump won’t start: This could be due to a faulty electrical connection or a broken switch.
- Low water pressure: This could be due to a clogged filter or a leak in the system.
- Noisy pump: This could be due to a loose connection or a worn out bearing.
Troubleshooting Tips
If you’re having trouble with your new pump, here are a few tips to help troubleshoot the problem:
- Check all electrical connections to make sure they are secure.
- Inspect the pump for any visible signs of damage or wear.
- Make sure the pump is properly primed.
- Check the pressure switch for proper operation.
When to Call a Professional
In some cases, replacing a well pump may be too complex for a DIY project. If you’re unsure of how to proceed or if you’re having difficulty troubleshooting the problem, it’s best to call a professional. A qualified technician will be able to diagnose the problem and recommend the best course of action.
Tips for Replacing a Well Pump
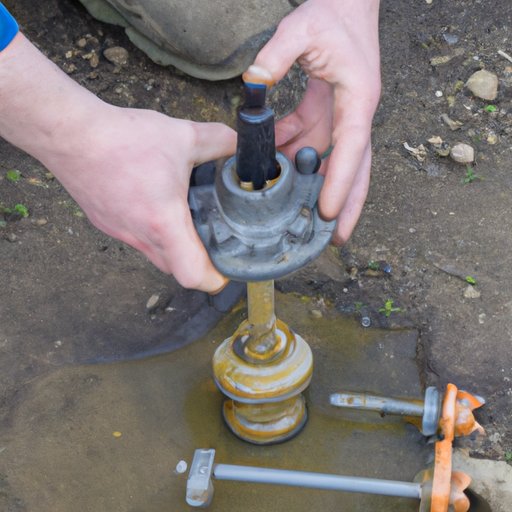
When replacing a well pump, there are a few tips to keep in mind to ensure a successful installation. Here are some of the most important tips to keep in mind:
Safety Considerations
Safety is always paramount when dealing with electricity and water. Make sure that all electrical connections are secure and that the power is off before attempting any work. Additionally, make sure to take all necessary precautions when handling the pump to avoid injury.
Preparing the Site
Before you begin the installation, it’s important to prepare the site. Make sure that the area around the well is clear of debris and that the pump is level. Additionally, make sure that all necessary materials and tools are available before starting the project.
Choosing the Right Replacement Pump
It’s important to choose the right replacement pump for your well. Make sure to select a pump with the appropriate horsepower and flow rate for your needs. Additionally, consider factors like noise level and energy efficiency when selecting a pump.
How to Choose the Right Well Pump Replacement
Choosing the right well pump replacement can be a daunting task. There are several factors to consider when selecting a new pump, including the type of pump, horsepower, and flow rate. Here’s a closer look at each of these factors:
Types of Pumps
The type of pump you choose will depend on the needs of your particular well. Submersible pumps are typically used for deep wells, while jet pumps are more commonly used for shallow wells. Centrifugal pumps are often used for large-scale applications, such as irrigation systems.
Horsepower and Flow Rate
The horsepower and flow rate of the pump are two of the most important factors to consider. The flow rate should be sufficient to meet your needs, while the horsepower should be high enough to provide adequate pressure. Make sure to consult with a professional to determine the best pump for your needs.
Other Factors to Consider
In addition to the type of pump, horsepower, and flow rate, there are a few other factors to consider when choosing a well pump replacement. Noise level and energy efficiency are two important factors to take into account. Additionally, consider the cost of the pump and any additional parts or labor that may be required.
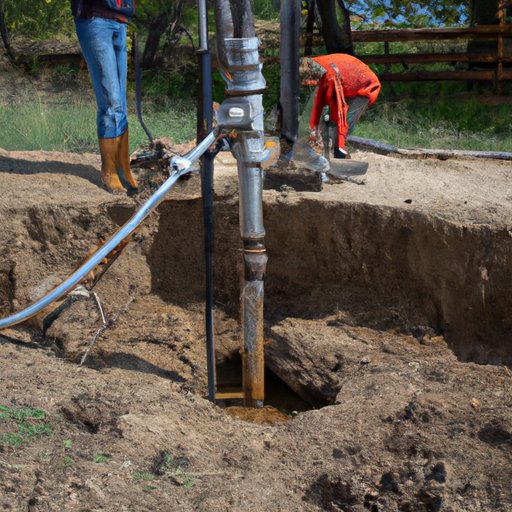
Preparing to Replace a Well Pump
Before beginning the replacement process, it’s important to make sure that you have all the necessary materials and tools. Here’s a list of things to gather before starting the project:
Gathering the Necessary Materials
Before starting the replacement process, make sure to have all the necessary materials on hand. This includes the new pump, pipe fittings, wiring, and any other necessary parts. Additionally, make sure to have a wrench set, wire cutters, a drill, and a screwdriver handy.
Inspecting the Well
Before replacing the pump, it’s important to inspect the well for any issues that may affect the installation. Check for signs of corrosion or damage, and make sure that all pipe connections are secure. Additionally, make sure that the well is properly sealed to prevent water loss.
Making Sure the Power is Off
As mentioned earlier, it’s important to make sure that the power is off before beginning any work. This can be done by turning off the circuit breaker or fuse box. Additionally, make sure to double check all connections to make sure that the power is off before proceeding.
Costs & Considerations for Replacing a Well Pump
Replacing a well pump can be a costly endeavor. Here are some of the costs and considerations to keep in mind when replacing a well pump:
Cost of Replacement Parts
The cost of the replacement parts is one of the biggest factors to consider when replacing a well pump. Make sure to research the cost of the pump itself, as well as any additional parts that may be needed. Additionally, make sure to factor in any shipping costs that may be associated with ordering the parts online.
Labor Costs
If you plan on hiring a professional to replace the pump, make sure to factor in labor costs. The cost of labor can vary widely depending on the complexity of the project, so make sure to get quotes from multiple contractors before making a decision.
Other Costs to Consider
In addition to the cost of the parts and labor, there are a few other costs to consider when replacing a well pump. Make sure to factor in the cost of any necessary permits, as well as any fees associated with disposing of the old pump.
Conclusion
Replacing a well pump can be a complex process, but understanding the basics of how to replace it properly can help ensure that the job is done correctly. By following the steps outlined in this guide and taking the necessary safety precautions, you can successfully replace your well pump and enjoy the benefits of improved water flow and pressure, reduced energy costs, and reduced maintenance costs.
(Note: Is this article not meeting your expectations? Do you have knowledge or insights to share? Unlock new opportunities and expand your reach by joining our authors team. Click Registration to join us and share your expertise with our readers.)
