I. Introduction
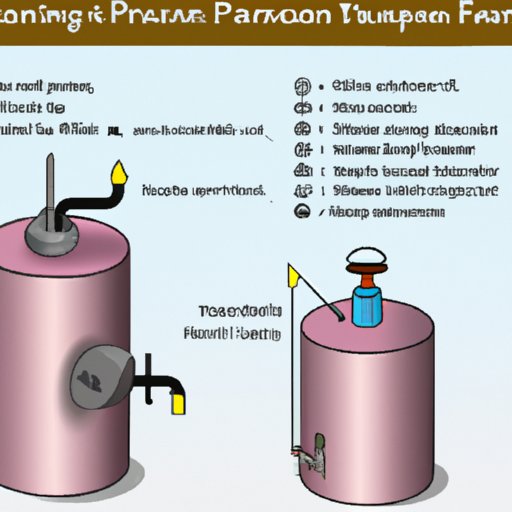
Well pressure tanks are an important part of any residential water system. The primary purpose of a well pressure tank is to store and regulate the pressure of water from your well. When the pump is running, the pressure in the tank increases, and when the pump stops, the pressure decreases. Over time, the pressure tank may become damaged or worn out, requiring it to be replaced.
When replacing a well pressure tank, it is important to know the correct process and safety precautions. This article will provide a comprehensive guide on how to replace a well pressure tank, including an overview of the process, detailed steps, and top tips.
II. Step-by-Step Guide to Replacing a Well Pressure Tank
Before beginning the process of replacing a well pressure tank, there are several safety precautions to take. First, shut off the power supply and all water sources connected to the tank. Next, gather the necessary materials, such as a new tank, pipe fittings, PVC glue, and a wrench.
Once the safety precautions are taken, follow these steps to replace the tank:
A. Shut Off the Power and Water Supply
The first step is to shut off the power to the pump. This can be done by turning off the breaker switch in the circuit box. It is also important to shut off the water supply connected to the tank. This can be done by closing the valve located at the base of the tank.
B. Gather Necessary Materials
Gather the necessary materials for the replacement, such as a new tank, pipe fittings, PVC glue, and a wrench. Make sure the new tank is the same size as the old one.
C. Remove Old Tank
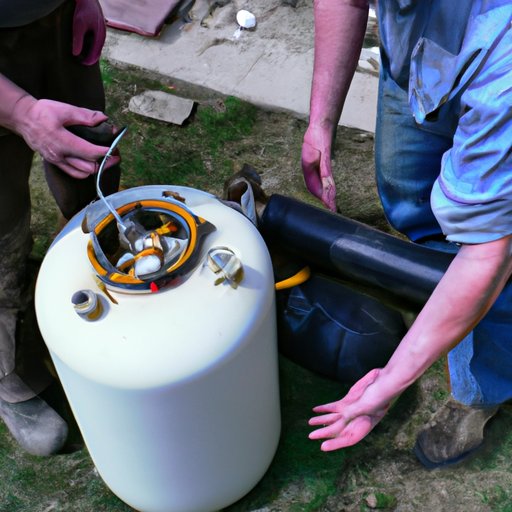
Carefully remove the old tank from its location. Disconnect the water supply lines and wiring, then unscrew the tank from the mounting bracket. If the tank is difficult to remove, use a wrench to loosen the bolts.
D. Install New Tank
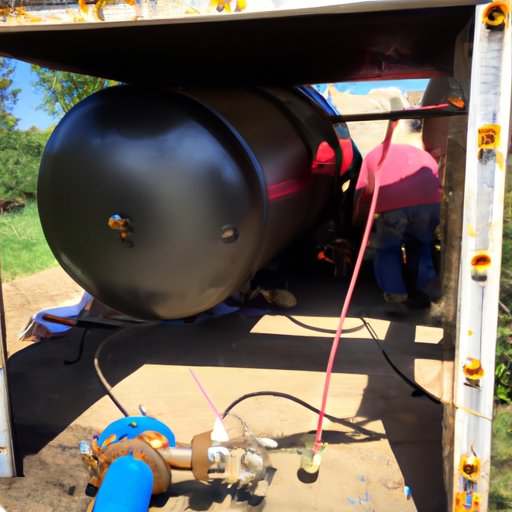
Install the new tank in the same location as the old one. Connect the water supply lines and wiring, and secure the tank to the mounting bracket with screws. Make sure the tank is level before tightening the bolts.
E. Turn On the Power and Water Supply
Turn the power back on to the pump and open the valve at the base of the tank. This will allow the water to flow through the tank and fill it up.
F. Test the System
Once the tank is filled and the power is turned on, test the system to make sure everything is working properly. Check for leaks, listen for strange noises, and observe the pressure gauge to ensure that it is working correctly.

III. Replacing a Well Pressure Tank: What You Need to Know
When replacing a well pressure tank, there are several factors to consider. It is important to choose the right type of tank and make sure it is the correct size for your needs. Here are some things to keep in mind:
A. Types of Well Pressure Tanks
There are several types of well pressure tanks available, including bladder tanks, diaphragm tanks, and galvanized steel tanks. Each type has its own advantages and disadvantages, so it is important to research each option before making a decision.
B. Sizing Considerations
It is important to choose a tank that is the right size for your needs. The tank should be large enough to hold the amount of water you need, but not too large to cause excessive pressure. It is also important to consider the amount of space available to install the tank.
C. Installation Tips
Installing a well pressure tank can be a complex process. It is important to read the instructions carefully and follow them closely. If you are unsure about any part of the installation process, it is best to consult a professional for help.
IV. A Beginner’s Guide to Replacing a Well Pressure Tank
If you are new to replacing a well pressure tank, there are a few common mistakes to avoid. It is important to make sure the tank is the correct size and properly installed. Here are some tips for beginners:
A. Common Mistakes to Avoid
One of the most common mistakes made when replacing a well pressure tank is using a tank that is too small. It is important to make sure the tank is the right size for your needs. It is also important to make sure the tank is securely attached to the mounting bracket and that all connections are tight.
B. Troubleshooting Tips
If you experience any problems with the tank after installation, it is important to troubleshoot the issue. Check the pressure gauge to make sure it is working correctly, and inspect all connections for signs of leakage. If the problem persists, it is best to contact a professional for assistance.
V. How to Replace a Well Pressure Tank: A Comprehensive Guide
Replacing a well pressure tank is a complex process that requires knowledge and skill. To ensure a successful installation, it is important to understand the process and follow the steps outlined below.
A. Overview of the Process
The process of replacing a well pressure tank consists of several steps. First, shut off the power and water supply. Then, gather the necessary materials, such as a new tank, pipe fittings, PVC glue, and a wrench. Once the materials are gathered, carefully remove the old tank and install the new one. Finally, turn on the power and water supply and test the system.
B. Detailed Steps
To replace a well pressure tank, follow these steps:
- Shut off the power and water supply.
- Gather the necessary materials.
- Remove the old tank.
- Install the new tank.
- Turn on the power and water supply.
- Test the system.

VI. Top Tips for Replacing a Well Pressure Tank
Replacing a well pressure tank is a complicated process that should not be taken lightly. Here are some top tips to keep in mind when replacing a well pressure tank:
A. Use High-Quality Equipment
It is important to use high-quality equipment when replacing a well pressure tank. Make sure the tank is the right size and made of durable material. Also, make sure all pipes and fittings are of good quality and fit properly.
B. Know Your Limitations
Replacing a well pressure tank is a complex process that requires knowledge and skill. If you are unsure of any part of the process, it is best to consult a professional for help.
C. Have an Experienced Professional Inspect the Work
Once the tank is installed, it is important to have an experienced professional inspect the work. This will ensure that the installation was done correctly and that there are no safety issues.

VII. Everything You Need to Know about Replacing a Well Pressure Tank
Replacing a well pressure tank can be a beneficial process, but there are both advantages and disadvantages to consider. Here is a look at the pros and cons of replacing a well pressure tank:
A. Advantages of Replacing a Well Pressure Tank
The primary advantage of replacing a well pressure tank is improved efficiency. A new tank can help regulate the pressure more accurately, which can reduce energy costs. Replacing a tank can also extend the life of the pump, saving money in the long run.
B. Disadvantages of Replacing a Well Pressure Tank
The main disadvantage of replacing a well pressure tank is the cost. It can be expensive to purchase a new tank and hire a professional to install it. Additionally, there is always a risk of damaging the tank during installation, which can lead to costly repairs.
VIII. Conclusion
Replacing a well pressure tank is a complex process that requires knowledge and skill. It is important to take safety precautions and follow the steps outlined above. It is also important to choose a tank that is the right size and made of high-quality materials. By following these steps, you can ensure a successful installation and improved efficiency.
In conclusion, replacing a well pressure tank can be a beneficial process, but it is important to do it correctly. With the right knowledge and preparation, you can successfully replace a well pressure tank and enjoy improved performance.
(Note: Is this article not meeting your expectations? Do you have knowledge or insights to share? Unlock new opportunities and expand your reach by joining our authors team. Click Registration to join us and share your expertise with our readers.)
