
Introduction
The starter is an important part of any vehicle’s engine, as it helps to get the engine running. When the starter begins to malfunction, it can cause a variety of problems that can lead to costly repairs. Knowing how to remove the starter on your own can help save money and time spent waiting for a repair shop to do the job.
This article will provide step-by-step instructions on how to remove the starter from your vehicle. It will cover gathering necessary tools and materials, disconnecting the battery, removing obstructions from the starter, unbolting the starter using a wrench or ratchet, pulling out the starter and inspecting for damage. By following this guide, you can safely and effectively remove the starter from your vehicle.
Gather Necessary Tools and Materials
Before beginning the process of removing the starter, it is important to gather all the necessary tools and materials. The exact list of tools needed will depend on the type of starter being removed, so it is important to consult the owner’s manual for the specific requirements for your vehicle.
Generally speaking, the tools needed for starter removal include a ratchet or wrench set, a socket set, pliers, and a screwdriver. Additionally, it is recommended to have a flashlight handy in case you need to inspect any hard-to-reach areas. You may also need a pair of safety glasses to protect your eyes from debris.
In addition to the tools, you will need some materials to complete the removal. This includes rags or towels to prevent scratches and other damage to the starter and surrounding components, as well as lubricant to help loosen any stuck bolts.
Disconnect the Battery
Once you have gathered all the necessary tools and materials, the next step is to disconnect the battery. This is an important safety precaution as it prevents any accidental short circuits that could cause serious injury or damage to the vehicle.
To disconnect the battery, locate the positive and negative terminals on the battery and use a wrench or pliers to loosen the clamps. Once the clamps are loose, carefully pull them off the terminals. Be sure to keep track of which terminal the clamps came from so you can easily reconnect them later.
Remove Obstructions from the Starter
Once the battery has been disconnected, the next step is to remove any obstructions that may be blocking access to the starter. This could include air intake hoses, wiring harnesses, or other components that may be in the way. Make sure to take note of where each component goes so you can easily reassemble them later.
Once all the obstructions have been removed, you should be able to clearly see the starter. Inspect the starter for any signs of wear or damage, such as corrosion or cracks. If any damage is found, it should be repaired or replaced before attempting to remove the starter.
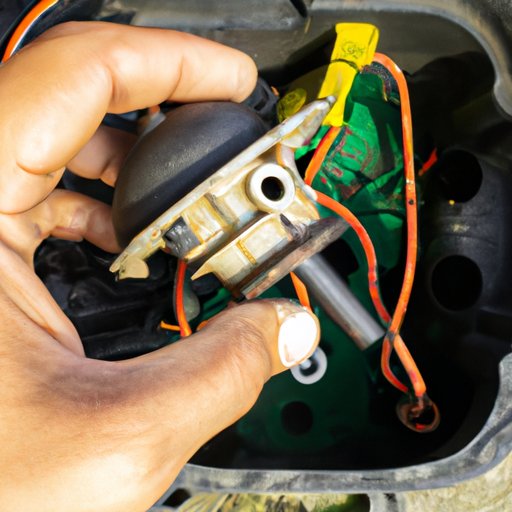
Unbolt the Starter Using a Wrench or Ratchet
Now that the obstructions have been removed, you can begin to unbolt the starter. This is done by using a wrench or ratchet to loosen the bolts that hold the starter in place. Depending on the model of your vehicle, there may be more than one bolt, so make sure to check your owner’s manual for the exact number and locations of the bolts.
Once all the bolts have been loosened, you can begin to carefully pull the starter away from the engine. Be sure to keep the starter steady as you pull it out, as any sudden jerks or movements can cause damage to the starter or other components.
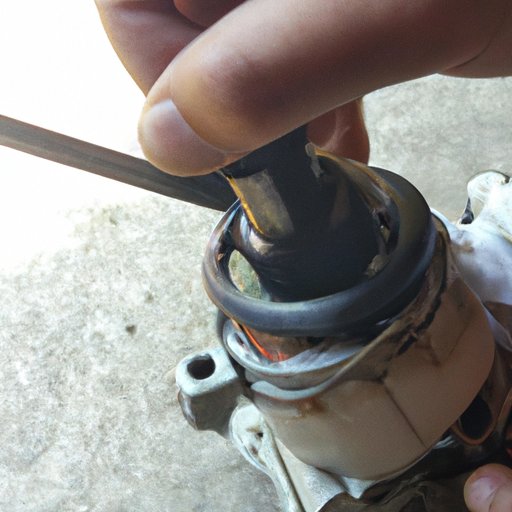
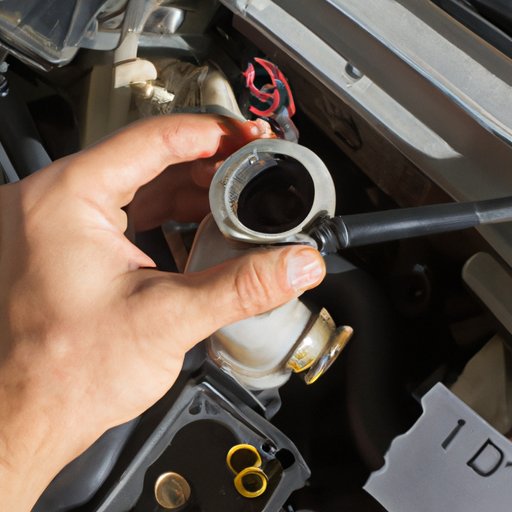
Pull Out the Starter and Inspect for Damage
With the starter now free from the engine, you can begin to inspect it for any signs of damage. Look for any cracks, corrosion, or other signs of wear that may indicate the starter needs to be replaced. If any damage is found, it is best to replace the starter rather than attempt to repair it.
Once the inspection is complete, you can begin to reassemble the components and reconnect the battery. Make sure to double check all connections and ensure the starter is securely fastened before turning the engine back on.
Conclusion
Removing a starter can seem like a daunting task, but with the right tools and knowledge it can be done quickly and safely. By following this guide, you can safely and effectively remove the starter from your vehicle. Remember to always consult the owner’s manual for specific instructions, and if any damage is found, it is best to replace the starter rather than attempt to repair it.
(Note: Is this article not meeting your expectations? Do you have knowledge or insights to share? Unlock new opportunities and expand your reach by joining our authors team. Click Registration to join us and share your expertise with our readers.)