
Introduction
Creative Cloud is an Adobe software platform that allows users to access and use a variety of creative tools and services. It includes popular programs like Photoshop, Illustrator, InDesign, and Acrobat. Creative Cloud is available for both Mac and Windows operating systems, and its features are constantly updated.
Reinstalling Creative Cloud can be beneficial for several reasons. It can help fix any errors or bugs that may occur in the program, as well as provide access to the latest version of Creative Cloud. Additionally, reinstalling Creative Cloud can free up space on your computer, allowing you to make better use of the resources available.
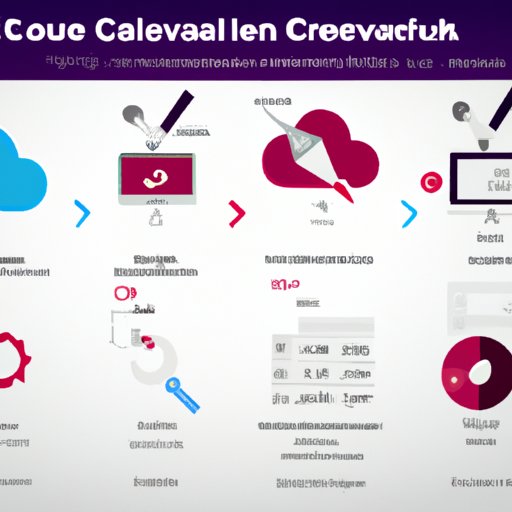
Step-by-Step Guide to Reinstalling Creative Cloud
Reinstalling Creative Cloud is a relatively simple process. Here is a step-by-step guide on how to do so:
Uninstalling Creative Cloud
The first step in reinstalling Creative Cloud is to uninstall the program from your computer. To do this, open the Control Panel by searching for it in the Start menu. Then select “Programs and Features”, find Creative Cloud in the list, and click “Uninstall”. Follow the prompts to complete the uninstallation process.
Downloading and Installing Creative Cloud
Once Creative Cloud has been uninstalled from your computer, the next step is to download and install the program. To do this, go to the Adobe website and select “Downloads”. Choose the version of Creative Cloud you want to install, and then follow the on-screen instructions to download and install the program.
Activating Creative Cloud
After Creative Cloud has been installed, the next step is to activate the program. To do this, launch Creative Cloud, enter your Adobe ID and password, and click “Sign In”. Once you have signed in, you will see a list of all the programs included with Creative Cloud. Select the ones you want to activate, and then follow the on-screen instructions to complete the activation process.
Troubleshooting Tips for Reinstalling Creative Cloud
It’s not uncommon for there to be issues when reinstalling Creative Cloud. Here are some tips on troubleshooting common problems:
Common Issues with Reinstalling Creative Cloud
One of the most common issues when reinstalling Creative Cloud is that the program fails to install properly. This can be caused by a variety of factors, such as outdated drivers, insufficient disk space, or corrupt files. Additionally, if you are using an older version of Creative Cloud, you may encounter compatibility issues with newer versions of the program.
How to Troubleshoot Problems with Creative Cloud
If you’re having issues with reinstalling Creative Cloud, the best thing to do is to update your drivers, free up disk space, and delete any corrupt files. Additionally, you should make sure that you are using the latest version of Creative Cloud. If these steps don’t resolve the issue, you can contact Adobe Support for further assistance.
Different Methods for Reinstalling Creative Cloud
There are two different ways to reinstall Creative Cloud: from the Adobe website and from the Creative Cloud app.
Reinstalling Creative Cloud from the Adobe Website
The easiest way to reinstall Creative Cloud is from the Adobe website. Simply go to the Adobe website, select “Downloads”, choose the version of Creative Cloud you want to install, and follow the on-screen instructions to download and install the program.
Reinstalling Creative Cloud from the Creative Cloud App
Another way to reinstall Creative Cloud is from the Creative Cloud app. To do this, open the app, select “Install”, and then follow the on-screen instructions to download and install the program. You can also use the Creative Cloud app to manage your apps and services, as well as update and uninstall programs.
Conclusion
Reinstalling Creative Cloud is a great way to get the most out of the program and ensure you have the latest version. It can also help fix any errors or bugs that may have occurred in the program, as well as free up disk space on your computer. The process is relatively simple and can be done from the Adobe website or the Creative Cloud app. When reinstalling Creative Cloud, make sure to update your drivers, free up disk space, and delete any corrupt files. Additionally, make sure you are using the latest version of Creative Cloud.
In summary, reinstalling Creative Cloud can help you make better use of the resources available and ensure you have the best experience possible. With a few simple steps, you can easily reinstall Creative Cloud and start taking advantage of all its features.
(Note: Is this article not meeting your expectations? Do you have knowledge or insights to share? Unlock new opportunities and expand your reach by joining our authors team. Click Registration to join us and share your expertise with our readers.)