

Introduction: Overview of the Problem and Purpose of the Article
Weed eaters are essential tools for keeping up with lawn maintenance. They are great for trimming grass, edging along sidewalks and driveways, and cutting down weeds. However, when it comes time to replace the string on your weed eater, many people find themselves confused and unsure of what to do. That is why we created this article – to provide an easy, step-by-step guide that will walk you through the process of putting string on your weed eater.
Step-by-Step Tutorial: How to Put String on a Weed Eater
This tutorial will take you through the entire process of replacing the string on your weed eater, from gathering the supplies to securing the string. Follow these steps and you’ll be ready to go in no time!
Gathering Supplies
The first step in replacing the string on your weed eater is to gather all the necessary supplies. You will need a pair of scissors, pliers, a spool of new string, and a flathead screwdriver. Once you have gathered all the supplies, you can move on to the next step.
Removing Old String
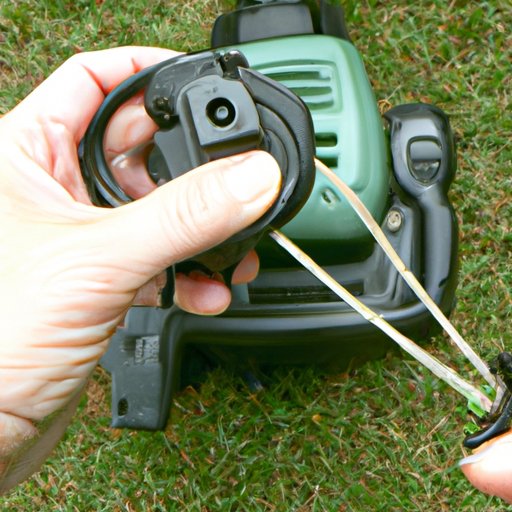
The next step is to remove the old string from the weed eater. To do this, first use the flathead screwdriver to loosen the screws on the side of the weed eater. Once the screws are loosened, carefully remove the spool of old string. Be sure to keep track of any small pieces or parts that may come off during this process.
Installing New String
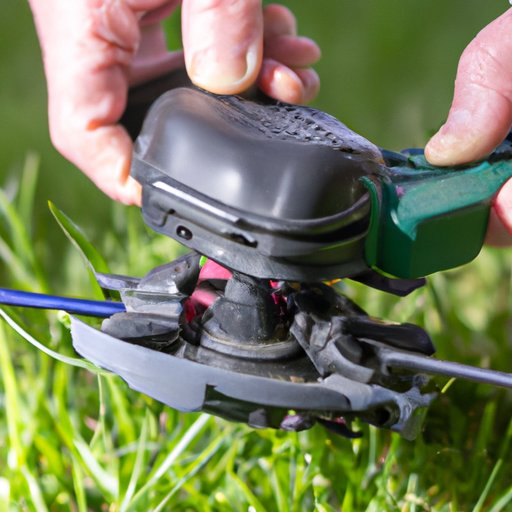
Now that you have removed the old string, it’s time to install the new string. Begin by unspooling the new string onto the ground. Cut the string to the desired length and then thread it through the eyelets on the end of the weed eater. Make sure the string is tight and secure before moving on to the next step.
Securing the String
Once the string is threaded through the eyelets, use the pliers to secure the string in place. Make sure the string is tight and secure before moving on to the next step. If the string is too loose, it may not work properly.
Final Steps
The final step is to reattach the spool of string to the weed eater. Use the flathead screwdriver to tighten the screws back into place. Once the screws are tightened, you can start using your weed eater again.
Video Guide: How to Easily Replace the String on Your Weed Eater
For a more visual guide on how to replace the string on your weed eater, check out this video: How to Easily Replace the String on Your Weed Eater. The narrator walks you through the entire process, from gathering supplies to securing the string.
Illustrated Guide: A Visual Guide to Replacing the String on a Weed Eater
If you prefer a more visual approach, this illustrated guide provides a step-by-step look at how to replace the string on your weed eater:
A Visual Guide to Replacing the String on a Weed Eater. The diagrams make it easy to understand each step of the process.
Quick Tips: How to Change the String on a Weed Eater in Minutes
These quick tips will help you get the job done faster:
- Always wear safety goggles when working with a weed eater.
- Make sure the string is securely attached to the eyelets before starting the weed eater.
- Cut the string to the desired length before threading it through the eyelets.
- Use the pliers to securely attach the string to the eyelets.
- Tighten the screws securely to ensure the string stays in place.
Troubleshooting: How to Fix Common Issues When Replacing String on a Weed Eater
If you run into any issues when replacing the string on your weed eater, here are some troubleshooting tips:
Jammed Spool
If your spool is jammed, use a flathead screwdriver to gently pry it open. If the spool still won’t open, try using pliers to hold it in place while you pry it open.
Not Enough String
If you don’t have enough string to complete the job, you may need to purchase a new spool of string. Make sure to measure the length of the string before purchasing a new spool.
Broken Handle
If the handle on your weed eater is broken, you may need to purchase a new one. Check with the manufacturer to see if they offer replacement handles.
Conclusion: Summary and Resources
Replacing the string on your weed eater doesn’t have to be a daunting task. With this step-by-step guide, you can easily replace the string on your weed eater in minutes. Just remember to gather all the necessary supplies, remove the old string, install the new string, and secure it in place. If you run into any issues, refer to the troubleshooting section for help.
For more information on how to replace the string on your weed eater, check out these resources:
- A Visual Guide to Replacing the String on a Weed Eater
-
(Note: Is this article not meeting your expectations? Do you have knowledge or insights to share? Unlock new opportunities and expand your reach by joining our authors team. Click Registration to join us and share your expertise with our readers.)