Introduction
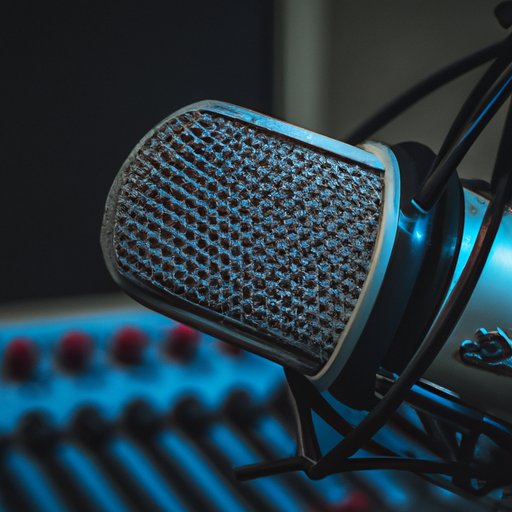
Playing music through your microphone can be a great way to share your musical talents with the world. Whether you’re a singer-songwriter, a beatmaker, or a multi-instrumentalist, you can use your microphone to record and share your music with others. In this article, we’ll discuss how to play music through your microphone and the various pieces of equipment you’ll need to do so.

Connecting Your Microphone Using an Audio Interface
The first step in playing music through your microphone is to connect it to your computer using an audio interface. An audio interface is a device that allows you to connect your microphone to your computer so you can record and playback audio. Most audio interfaces feature two inputs (one for your microphone and one for a line-level input such as a guitar or keyboard), two outputs (for headphones or studio monitors) and a USB port for connecting to your computer.
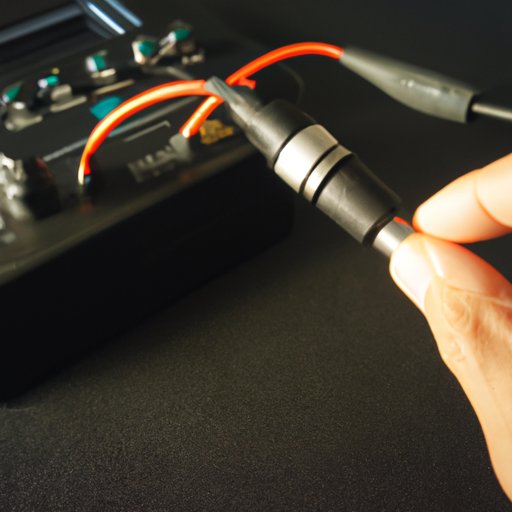
To connect your microphone to your audio interface, you’ll need an XLR cable. This is a type of cable that is commonly used for connecting microphones to audio interfaces. Once your microphone is connected to the audio interface, you can then connect the audio interface to your computer via a USB cable.

Recording and Saving Your Music
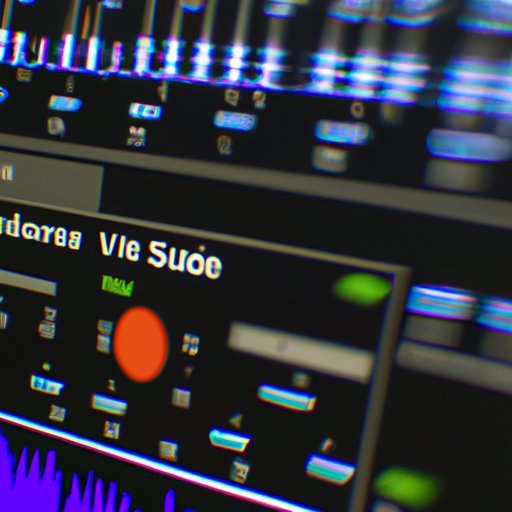
Once your microphone is connected to your computer, you’ll need to set up your recording software. There are many free and paid options available, but some of the most popular are Ableton Live, FL Studio, and Pro Tools. Once you’ve downloaded and installed your chosen recording software, you can then begin recording yourself playing music.
When recording your music, you’ll want to ensure that the levels are set correctly. You can adjust the levels in the recording software by setting the input level of the microphone to a comfortable level. Once you’ve recorded your performance, you can save the file as an audio file such as an MP3 or WAV file.
Installing a Virtual Instrument Plugin or Digital Audio Workstation (DAW)
If you’re looking to add additional sounds to your recordings, you may want to consider installing a virtual instrument plugin or digital audio workstation (DAW). Virtual instruments are software programs that allow you to create and manipulate sounds using a variety of tools. DAWs are more complex programs that allow you to record, edit, and mix multiple tracks of audio. Popular virtual instrument plugins and DAWs include Native Instruments Komplete, Propellerhead Reason, and Logic Pro.
Once you’ve installed your chosen virtual instrument plugin or DAW, you can begin adding sounds to your recordings. You can also use these programs to mix and master your recordings for a professional sound.

Adding Effects with a Vocal Effects Processor
Another way to enhance your recordings is to add effects with a vocal effects processor. Vocal effects processors are devices that allow you to add effects such as reverb, delay, and chorus to your vocals. Popular vocal effects processors include the Boss VE-5, TC-Helicon VoiceLive 3, and the Line 6 POD HD500X.
To use a vocal effects processor, you’ll need to connect it to your microphone and audio interface. You can then set up the processor to add effects to your recordings. Many vocal effects processors also come with presets that you can use to quickly add effects to your recordings.
Setting Up Your Microphone with a Live Audio Mixer
If you’re planning to perform live, you may want to consider setting up your microphone with a live audio mixer. An audio mixer is a device that allows you to control the levels of multiple audio sources such as microphones and instruments. Popular audio mixers include the Behringer X32, Mackie DL1608, and Yamaha MG10XU.
To use an audio mixer, you’ll need to connect your microphone to the mixer. You can then adjust the levels of the microphone to ensure that your performance is loud and clear. Some audio mixers also come with built-in effects that you can use to enhance your performance.
Connecting Your Microphone to an Amplifier and Speakers
Finally, you may want to consider connecting your microphone to an amplifier and speakers. This will allow you to amplify your performance and make it audible to a larger audience. There are many types of amplifiers and speakers available, ranging from small desktop amplifiers to large PA systems. You’ll need to decide which type of system is best suited for your needs.
To connect your microphone to an amplifier and speakers, you’ll need to use a microphone cable. Once the microphone is connected to the amplifier, you can then adjust the levels to ensure that your performance is loud and clear.
Conclusion
Playing music through your microphone is an easy and rewarding experience. By following the steps outlined in this article, you can easily connect your microphone to an audio interface, record and save your music, install a virtual instrument plugin or DAW, add effects with a vocal effects processor, set up your microphone with a live audio mixer, and connect your microphone to an amplifier and speakers. With the right equipment and a bit of practice, you’ll be able to share your musical talents with the world.
(Note: Is this article not meeting your expectations? Do you have knowledge or insights to share? Unlock new opportunities and expand your reach by joining our authors team. Click Registration to join us and share your expertise with our readers.)
