Introduction
Owning a car comes with the responsibility of maintaining it, both for safety and aesthetic reasons. One of the most visible parts of a car is the bumper, which if neglected, can make the entire car look drab and outdated. Painting the bumper is a great way of renewing your vehicle’s appearance without breaking the bank. In this article, we’ll guide you through a step-by-step process to paint an old car bumper by yourself.
Step-by-Step Guide to Painting an Old Car Bumper
The following are the steps you need to follow to successfully paint an old car bumper to appear new:
Preparing the Surface
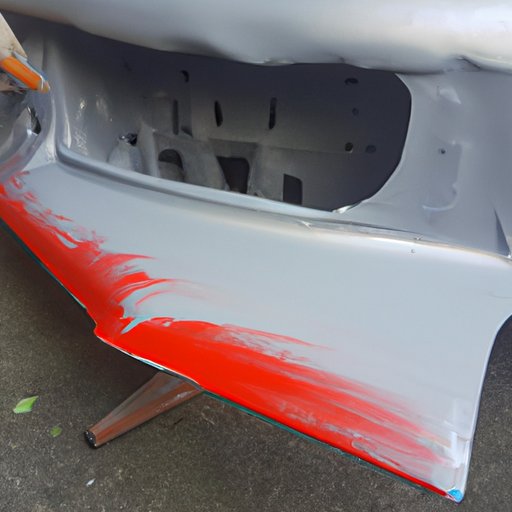
The first step to painting an old car bumper is to prepare the surface. It involves cleaning the bumper to remove any dirt, wax, or grease that may hinder proper paint adhesion. While cleaning, look for rust and dents that may require repairs. Once you’ve identified any damage, sand the bumper to smooth out any imperfections and create an even surface for paint application.
Choosing the Right Paint
When choosing the right paint for your car bumper, look for one that is specifically designed for automotive use. Paints that can withstand extreme temperatures and weather conditions are ideal for car bumpers. Some of the most recommended types of paints include acrylic enamel and urethane. With the right paint, your car bumper can look brand new.
Tools and Techniques
Proper use of spray guns, paintbrushes, and rollers is essential to achieve a quality finish when painting a car bumper. Using the right tools and techniques helps ensure that the paint dries correctly and adheres to the bumper surface. Some common techniques include holding the spray gun at the appropriate distance and angle, using back-and-forth movements when applying paint, and avoiding drips and runs.
Applying the Primer and Topcoat
When painting a car bumper, applying the primer and topcoat is a crucial step. The primer is responsible for creating a smooth surface for the topcoat, which gives the bumper its final color. Apply the primer evenly, ensuring that it dries thoroughly before applying the topcoat. The topcoat should also be applied evenly and allowed to dry between coats to achieve a smooth finish without any imperfections.
DIY Video Tutorial
To make the painting process more accessible, we have created a step-by-step video tutorial that visually guides you on painting a car bumper. The video shows you how to prep the surface, choose the right paint, use the tools properly, and apply the primer and topcoat for a perfect finish. Watch it to gain more insight and boost your confidence in your ability to paint a car bumper yourself.
Product Review and Comparison
There are different paints and coating products available in the market that you can use to paint a car bumper. However, not all of them offer the same quality, color accuracy, and durability. In this section, we’ll review different paints and coating products available based on their brand, type, quality, and price range. We’ll also compare their pros and cons, so you can choose the right product that suits your needs and budget.
Common Mistakes to Avoid
When painting a car bumper, several mistakes can ruin your paint job. It includes applying too much paint, not properly wet sanding your surface, neglecting to recoat your surface, and failing to mask properly before applying paint. Avoiding these common mistakes can save you time and money. We’ll provide tips on how to avoid these mistakes and ensure a smooth painting process.
Tips and Tricks
While painting a car bumper may seem daunting, there are tips and tricks you can use to make the entire process smoother and efficient. These tips include using a heat gun to dry paint faster, masking tape to protect areas that you do not want to be painted, and using high-quality paint sprayers. These tips and tricks can significantly improve your painting experience and guarantee that you achieve a professional finish on your car bumper.
Before and After Photo Gallery
We’ve compiled some pictures that showcase the transformative outcome of painting an old car bumper. The before and after photos depict how painting your bumper can make your entire car look good as new. Seeing the results of other DIY enthusiasts will inspire you to take up the painting challenge and renew your car’s appearance.
Q&A Session
We recognize that painting a car bumper can be a tricky process, and you may have many questions. In this section, we’ll host a Q&A session where you can submit your questions and get answers from an expert. Whether it’s the best type of paint to use or how to prep the surface, we’ll provide the most accurate answers to your concerns.
Conclusion
Painting an old car bumper will give your car an instant facelift. By following the step-by-step guide, using the right tools and techniques, and avoiding common mistakes, you’ll be able to paint your car bumper to appear new. The DIY video tutorial and before and after photo gallery will serve as further encouragement and inspiration. Transform the look of your car by taking up the challenge of painting your car bumper yourself.
(Note: Is this article not meeting your expectations? Do you have knowledge or insights to share? Unlock new opportunities and expand your reach by joining our authors team. Click Registration to join us and share your expertise with our readers.)
