Introduction
A wishing well is a structure that has been used throughout history as a way of asking for good luck or fortune. In many cultures, it was believed that throwing coins into a wishing well would bring about good luck or prosperity. Today, wishing wells are mostly used for decoration and can be found in gardens or public parks. This article will provide a step-by-step guide on how to make a wishing well out of wood.
Gather Materials
To make a wishing well, you will need the following materials:
- Wood (preferably cedar)
- Screws
- Buckets (2)
- Paint (optional)
- Rope
Describe the Steps
Once you have gathered all of the materials, it’s time to start building your wishing well. Here are the steps you should take:
1. Cutting the Wood
The first step is to cut the wood pieces to the desired size. You will need 4 pieces of wood for the base, 4 pieces for the sides, and 4 pieces for the top. All of the pieces should be cut to the same size so that the structure is even. You may also want to sand down any rough edges after cutting the wood.
2. Attaching the Buckets
The next step is to attach the buckets to the bottom of the wishing well. Take two of the pieces that were cut for the base and drill four holes in each piece. Then, place the buckets in the holes and secure them with screws. Make sure the buckets are securely attached and that there are no gaps between the buckets and the wood.
3. Painting the Wood
If desired, you can paint the wood pieces before assembling the wishing well. If you choose to do this, make sure to use outdoor paint that is specifically made for wood. It is best to apply two coats of paint to ensure that the color is even and that it will last longer.
4. Attaching the Rope
Once the paint is dry, the next step is to attach the rope to the top of the wishing well. Take the 4 pieces of wood that were cut for the top and drill two holes in each one. Place the rope through the holes and secure it with screws. Make sure the rope is tightly secured so it won’t come undone.
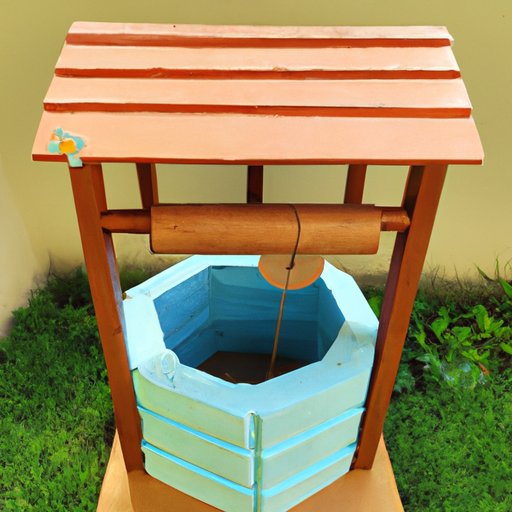
Showcase Your Design
After the wishing well is assembled, it’s time to show off your work! Take pictures of the finished product and share them on social media. You can also add decorations such as flowers or ribbons to make it look more attractive.
Offer Maintenance Tips
Once your wishing well is complete, you will need to maintain it to keep it looking its best. To do this, make sure to check the wood and rope periodically to make sure they are not damaged. Additionally, you should clean the buckets every few months to prevent them from becoming dirty or clogged.
Conclusion
Making a wishing well is a great way to add beauty and charm to your garden or yard. By following the steps outlined in this article, you can easily create your own unique wishing well. From gathering materials to showcasing the final product, you will have everything you need to make a beautiful wishing well.
(Note: Is this article not meeting your expectations? Do you have knowledge or insights to share? Unlock new opportunities and expand your reach by joining our authors team. Click Registration to join us and share your expertise with our readers.)