Introduction
Creating a rock candy science project at home is a fun and easy way to explore the fundamentals of chemistry. It is a great activity for children and adults alike, as it is simple to perform and yields impressive results. This article will provide a step-by-step guide to creating a rock candy science project at home, as well as an explanation of the chemistry behind the process. Additionally, tips and tricks for crafting the perfect rock candy science project will be explored. Finally, the benefits of making rock candy at home will be discussed.
Step-by-Step Guide to Creating a Rock Candy Science Project
The first step in creating a rock candy science project is to gather all the necessary materials. These include white granulated sugar, a heatproof container, water, a stirring utensil (such as a non-metallic spoon), a string, and food coloring (optional).
Once all the materials have been gathered, the next step is to prepare the sugar solution. To do this, add two cups of sugar to one cup of boiling water. Stir until the sugar has completely dissolved. If desired, food coloring can be added at this point. After the sugar has dissolved, allow the solution to cool before proceeding.
The third step is to suspend the string in the solution. Tie one end of the string around a pencil or wooden skewer, and then carefully lower the other end into the cooled sugar solution. Make sure the string does not touch the sides or bottom of the container. Place the container in a warm location and allow the solution to evaporate over several days.
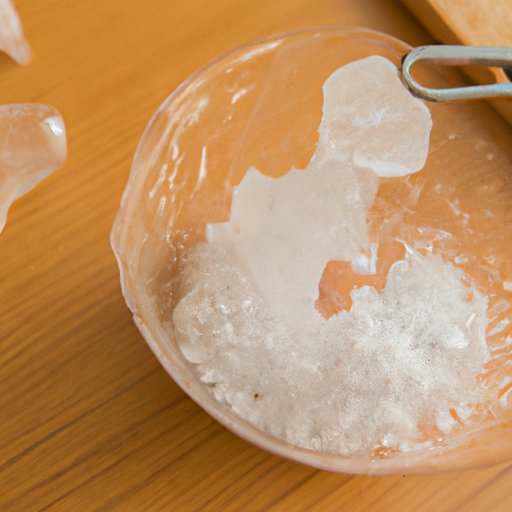
Once the solution has evaporated, the fourth step is to harvest the rock candy. Carefully remove the string from the container and inspect the rock candy. If the rock candy is not the desired size, place the string back in the solution and allow the solution to continue to evaporate until the desired size is achieved.
Understanding the Chemistry Behind a Rock Candy Science Project
At its core, a rock candy science project is a demonstration of the process of crystallization. Crystallization occurs when a liquid containing dissolved solids is allowed to evaporate. As the liquid evaporates, the solids become more concentrated and begin to form crystals. In the case of a rock candy science project, the solid is sugar and the liquid is water. The string acts as a nucleus for the sugar crystals, which attach themselves to the string as the solution evaporates.
Different types of sugar solutions can be used to create different types of rock candy. For example, using a higher concentration of sugar will result in larger crystals, while a lower concentration will result in smaller crystals. Additionally, adding food coloring to the solution will give the crystals a colorful hue.
Explaining the Benefits of Making Rock Candy at Home
One of the greatest benefits of making rock candy at home is the cost savings. The materials needed to make rock candy are very inexpensive and can easily be found at any grocery store. Additionally, the process of making rock candy is relatively quick and easy, so there is no need to spend money on expensive kits or supplies.
Another benefit of making rock candy at home is the educational value. Making rock candy is a great way for children to learn about the fundamentals of chemistry, as well as the process of crystallization. Additionally, the process of making rock candy encourages children to use their observation skills, as they must monitor the progress of the crystals over time.

Tips and Tricks for Crafting the Perfect Rock Candy Science Project
When crafting the perfect rock candy science project, there are a few tips and tricks to keep in mind. First, it is important to choose the right ingredients. White granulated sugar is the best type of sugar to use, as it has the highest concentration of sucrose molecules, which allows for larger crystals to form. Additionally, it is important to adjust the temperature of the solution. The ideal temperature range for crystal formation is between 60 and 70 degrees Fahrenheit.
Finally, it is important to select the proper container for the solution. Glass containers work best, as they allow for better visibility of the crystals as they grow. Plastic containers can also be used, but they should be avoided if possible.
Conclusion
Making rock candy at home is a great way to explore the fundamentals of chemistry and the process of crystallization. By following the steps outlined in this article, anyone can easily create a rock candy science project at home. Additionally, making rock candy at home offers cost savings and educational value, making it a great activity for children and adults alike. Finally, by keeping the tips and tricks outlined in this article in mind, anyone can craft the perfect rock candy science project.
(Note: Is this article not meeting your expectations? Do you have knowledge or insights to share? Unlock new opportunities and expand your reach by joining our authors team. Click Registration to join us and share your expertise with our readers.)