Introduction
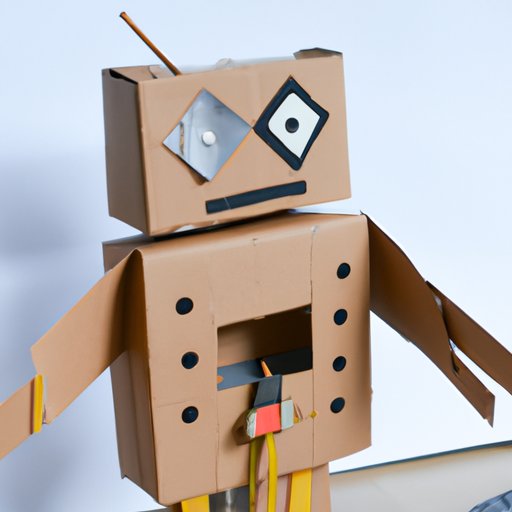
Cardboard robots are an easy and fun way to bring a little bit of mechanical life into your home. With just some cardboard, glue, and paint, you can craft a unique robot that is sure to be a hit with kids and adults alike. Whether you’re looking to get creative or just want to have a fun weekend project, crafting a cardboard robot is the perfect activity.
But what exactly is a cardboard robot? A cardboard robot is a robotic figure that is crafted out of cardboard and other recycled materials. It is typically built from scratch, giving the creator full control over the design and look of the robot. The possibilities for creating a unique and eye-catching robot are nearly endless.
Making a cardboard robot is also a great way to learn about robotics and engineering principles. Building a robot from scratch requires problem solving, creativity, and attention to detail. In the process, you’ll gain valuable experience in robotics and engineering that will serve you well in future projects.
Step-by-Step Guide to Crafting a Cardboard Robot
Ready to start building your own cardboard robot? Here’s a step-by-step guide to help you get started.
Gather Materials
Before you can begin crafting your robot, you’ll need to gather all the necessary materials. You’ll need cardboard, scissors, a pen or pencil, hot glue, paint, and any accessories you want to add on. You may also want to use a ruler or other measuring tool to ensure accuracy when cutting out pieces.
Cut Out the Pieces
Once you have all your materials ready, it’s time to start cutting out the pieces for your robot. Use your pen or pencil to draw out the shape of each piece, then cut it out with scissors. Be sure to leave enough material around the edges for the pieces to fit together. You may also want to practice cutting out pieces on scrap cardboard first.
Assemble the Pieces
Now it’s time to put all the pieces together. Start by connecting the arms and legs of your robot. Then, attach the head, torso, and other parts. If needed, use hot glue to secure the pieces in place. Once all the pieces are connected, you can start adding details like eyes and other features.
Decorate and Accessorize
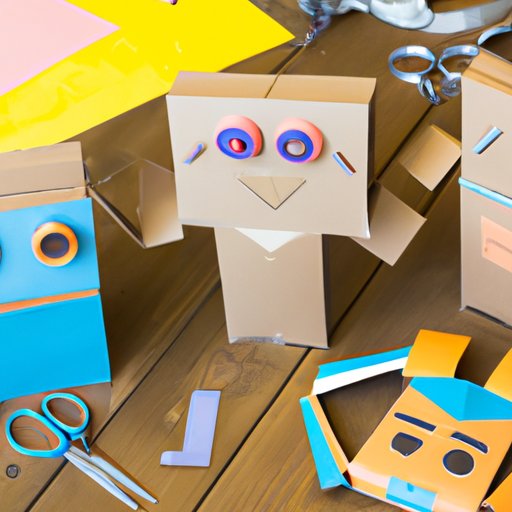
Finally, it’s time to decorate and accessorize your robot. Paint your robot in whatever colors you choose. You can also add any accessories you want, such as buttons, antennas, or other decorations. Let your creativity run wild and make your robot truly one-of-a-kind.
Create Your Own Cardboard Robot: A Beginner’s Guide
If you’re new to crafting robots out of cardboard, here’s a beginner’s guide to help you get started.
Identify Your Goals
Before you start building your robot, it’s important to know what you want to accomplish. Do you want to build a functional robot or just a decorative one? Are you looking to learn more about robotics and engineering, or just have a fun weekend project? Answering these questions will help you determine which materials and tools you need and the best way to approach your project.
Choose a Design
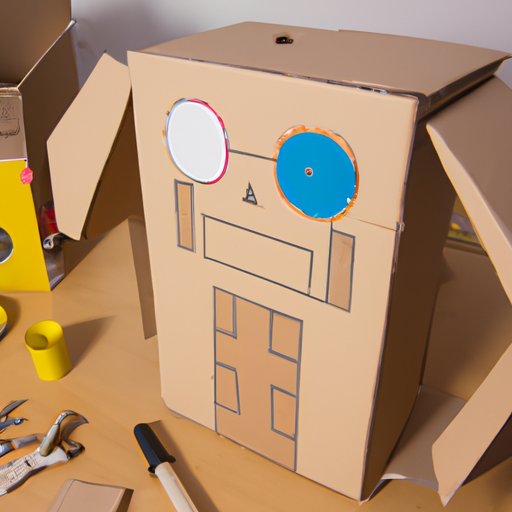
Once you’ve identified your goals, it’s time to choose a design for your robot. Look for inspiration online, or come up with your own unique design. Keep in mind that you’ll need to be able to cut out the pieces and assemble them, so try to keep your design simple and manageable.
Draw Out a Plan
Now that you have a design, it’s time to draw out a plan. Using a ruler or measuring tool, draw out the shapes of each piece on a piece of cardboard. This will help you visualize how each piece will fit together and give you a better idea of the size of your robot.
Follow the Plan
Once you have your plan drawn out, it’s time to start cutting out the pieces. Use scissors to cut out each piece, leaving enough material around the edges for the pieces to fit together. As you cut out each piece, lay them out in the same order as your plan to make sure everything fits together properly.
How to Build a Cardboard Robot from Scratch
If you’re feeling adventurous, why not try building a cardboard robot from scratch? Here’s a step-by-step guide to help you get started.
Select Quality Cardboard
The first step in building a cardboard robot from scratch is selecting quality cardboard. Look for thick, sturdy cardboard that won’t bend or tear easily. Avoid thin or flimsy cardboard, as it won’t hold up over time.
Draw Out the Robot’s Parts
Next, draw out the parts of your robot on the cardboard. Use a ruler or measuring tool to ensure accuracy. Don’t forget to leave extra material around the edges for the pieces to fit together.
Cut Out the Parts
Once you have all the pieces drawn out, it’s time to start cutting them out. Use scissors to carefully cut out each piece. If needed, you can use a knife or other sharp object to cut out complex shapes.
Assemble the Parts
Now it’s time to start putting your robot together. Start by connecting the arms and legs of your robot. Then, attach the head, torso, and other parts. If needed, use hot glue to secure the pieces in place.
Paint and Decorate
Once all the pieces are connected, it’s time to paint and decorate your robot. Paint your robot in whatever colors you choose. You can also add any accessories you want, such as buttons, antennas, or other decorations.
Design and Construct a Cardboard Robot in 10 Easy Steps
Ready to design and construct your own cardboard robot? Here’s a step-by-step guide to help you get started.
Start with a Template
The first step in designing and constructing a cardboard robot is to start with a template. Look online for free templates or draw out your own. Be sure to leave enough material around the edges for the pieces to fit together.
Cut Out the Pieces
Once you have a template ready, it’s time to start cutting out the pieces. Use scissors to cut out each piece, being careful to leave enough material around the edges for the pieces to fit together. As you cut out each piece, lay them out in the same order as your template to make sure everything fits together properly.
Assemble the Pieces
Now it’s time to start assembling the pieces. Start by connecting the arms and legs of your robot. Then, attach the head, torso, and other parts. If needed, use hot glue to secure the pieces in place.
Paint and Decorate
Once all the pieces are connected, it’s time to paint and decorate your robot. Paint your robot in whatever colors you choose. You can also add any accessories you want, such as buttons, antennas, or other decorations.
Add Accessories
Once your robot is painted and decorated, it’s time to add the finishing touches. Add any accessories you want, such as buttons, antennas, or other decorations. Be sure to securely attach all accessories to the robot to ensure they stay in place.
Test and Adjust
Once all the accessories are in place, it’s time to test and adjust your robot. Test out its movements and make any adjustments if needed. You may need to reinforce seams and corners with hot glue or other materials.
DIY Cardboard Robot: Tips and Tricks for Making It Quickly and Easily
Here are some tips and tricks to help you make a cardboard robot quickly and easily.
Use Hot Glue
Hot glue is a great way to secure pieces together and reinforce seams and corners. Be sure to use a low-temperature glue gun to avoid burning yourself or damaging the cardboard.
Go Bigger than You Expect
When drawing out the pieces for your robot, be sure to go bigger than you expect. This will give you extra material to work with when cutting and assembling the pieces.
Get Creative with Accessories
Adding accessories to your robot is a great way to make it unique. Get creative with your accessories and add whatever you think will look good. Buttons, antennas, and other decorations can really make your robot stand out.
Reinforce Seams and Corners
To ensure your robot is strong and durable, be sure to reinforce seams and corners with hot glue or other materials. This will help prevent the robot from falling apart over time.
Conclusion
Crafting a cardboard robot is a great way to get creative, learn about robotics and engineering, and have a fun weekend project. With just some cardboard, glue, and paint, you can make a unique and eye-catching robot of your own. From gathering materials to adding the finishing touches, follow this guide to create your own cardboard robot.
Building a robot from scratch takes patience and attention to detail, but the rewards are worth it. By following these steps, you can design and construct your own unique robot in no time.
(Note: Is this article not meeting your expectations? Do you have knowledge or insights to share? Unlock new opportunities and expand your reach by joining our authors team. Click Registration to join us and share your expertise with our readers.)