Introduction
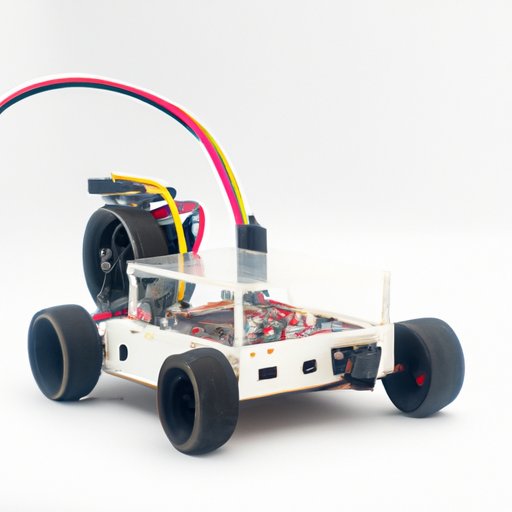
Robot cars have become a popular tool for learning electronics, programming, and mechanics. In this article, we will explore how to make a remote-controlled robot car at home. Whether you’re a beginner or advanced user, this guide will provide you with all the essential information and resources to create your own robot car that is tailored to your needs and interests.
Step-by-Step Guide
Creating a remote-controlled robot car may seem like a daunting task, but it can be done with a few simple steps. Here is a step-by-step guide to build your own remote-controlled robot car from scratch:
Step 1: Choose Your Chassis
The first step is to decide on the basic design for your robot car. You can use various materials such as wooden or plastic sheets, Lego blocks, or 3D printing to create a chassis. The shape of the chassis affects the overall performance of the car, so take this into consideration when choosing your material.
Step 2: Assemble the Motors and wheels
The next step is to assemble the motors and wheels. Most robot cars use two or four motors, which drive the wheels. You need motors, wheels, and gears to make the robot car move. Connect the motors to the wheels using gears and wires.
Step 3: Install the Microcontroller
The microcontroller is the brain of the robot car. It controls the motors and communicates with the remote control. The popular microcontrollers for robot cars are Arduino, Raspberry Pi, and Makeblock. Choose a suitable microcontroller based on your skill level, availability, and budget.
Step 4: Wiring and Soldering
Wiring and soldering are essential skills needed to build a robot car. You need to connect the motors, sensors, microcontroller, and power source using wires and solder
Step 5: Programming Microcontroller and Remote Control
Programming the microcontroller and remote control is the final step. Use open-source programming languages like C++, Python, and Scratch to write the code. Program the microcontroller to respond to remote control commands and control the movement of the robot car.
Materials List
Building a robot car from scratch requires various materials. Here is a list of items you need to create your own remote-controlled robot car:
- Chassis (wood, plastic, or 3D printed)
- DC motors
- Wheels with gear
- L298N motor driver
- Arduino Microcontroller
- Breadboard
- 9V or 12V battery
- Connecting wires
- Soldering Iron
- Soldering wire
- Remote control and receiver
Pre-Assembled Kit Options
If you’re not comfortable building your remote-controlled robot car from scratch, you can use pre-assembled kits to make the process easier. Here are some kits that you can use to build your robot car:
These kits come with all the necessary materials included, and you only have to assemble the parts and program the microcontroller. They are good options for beginners who want to skip the hassle of purchasing and installing individual components.
Video Tutorials
Learning how to make a remote-controlled robot car is easier with the help of video tutorials. Here are some recommended video tutorials that will guide you through the building process:
These videos provide a more visual representation of the building process, making it easier for beginners to understand the steps. You can follow along with the video while building your own robot car.
Customization Options
Customizing your robot car is one of the fun parts of building it. Here are some customization options that you can explore to make your robot car unique:
- Change the color of the chassis
- Add LED lights to the wheels
- Create a robotic arm that can pick and move objects
- Change the wheel type for off-road capabilities
- Change the shape of the chassis for balance or aerodynamics
Experimenting with different customizations can give your robot car a personality of its own, and you might discover new ways to use it.
Modes of Propulsion
There are different modes of propulsion for robot cars, each with their benefits and drawbacks. Here are some modes of propulsion for remote-controlled robot cars:
- Wheeled Robot Car
- Tracked Robot Car
- Flying Robot Car/Drones
- Walking Robot Car
- Swimming Robot Car
Each of these modes of propulsion has different requirements in terms of materials, assembly, and programming. Consider the intended purpose of your robot car and the environment in which it will operate before choosing the mode of propulsion.
Advanced Tips and Tricks
For advanced users, here are some tips and tricks to further enhance your robot car’s performance:
- The use of sensors can allow the robot car to avoid obstacles or follow a particular object or line.
- Using advanced microcontrollers such as the Nvidia Jetson or Google Coral Accelerator can enable the option of Machine Learning and AI Applications on your Robot Car.
- Adding additional electronics like servos, RC receivers, RC ESCs and other sensors increases the functionality of the car.
These advanced tips and tricks require a deeper understanding of electronics and programming. You can use them to unlock new possibilities and make your robot car more complex.
Conclusion
Making a remote-controlled robot car is not as difficult as it may seem. With this step-by-step guide, you can build a robot car that is tailored to your needs and interests. You can choose to build the robot car from scratch or use pre-assembled kits. Customize your robot car with different colors, shapes, and sizes. Experiment with different modes of propulsion to explore different environments. Remember to have fun and learn along the way, and you will have a perfect robot car in no time.
(Note: Is this article not meeting your expectations? Do you have knowledge or insights to share? Unlock new opportunities and expand your reach by joining our authors team. Click Registration to join us and share your expertise with our readers.)