Introduction
Whether you’re a hobbyist, a parent looking to spend quality time with your child, or simply someone interested in learning a new skill, making your own RC car can be a fun and rewarding experience. With a little creativity and some technical know-how, you can build your own remote-controlled vehicle at home.
This article aims to provide a comprehensive guide on how to make your own RC car at home, from choosing the right materials to putting it all together. Along the way, we’ll also share tips and tricks to help you achieve better performance and avoid common mistakes.
Step-by-Step Guide
Before we dive in, let’s take a look at the materials and tools you’ll need to get started.
Materials
– RC car kit or spare parts (depending on your chosen method)
– Motor
– Battery
– Electronic speed controller (ESC)
– Steering servo
– Radio system
– Paint (optional)
Tools
– Screwdrivers
– Pliers
– Wire cutters
– Soldering iron
– Drill
Now that you’ve got everything you need, let’s get started!
1. Choose your method: There are several ways to make an RC car at home, including using a kit, 3D printing, or using spare parts from old toys or electronics. Choose the method that works best for you based on your skill level, resources, and budget.
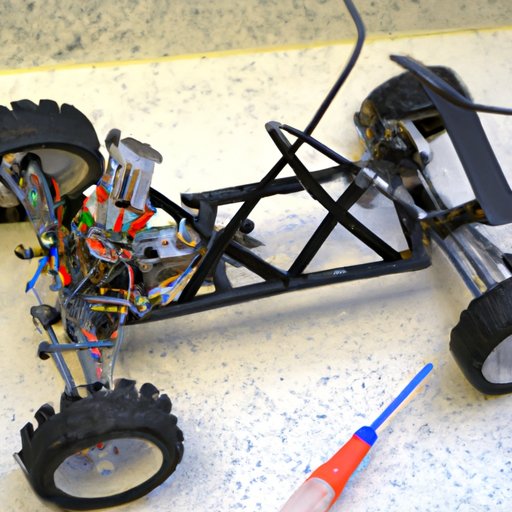
2. Assemble the chassis: Start by assembling the chassis, the foundation of your RC car. Follow the instructions provided in your kit or use spare parts to create a base.
3. Add the motor: Once the chassis is complete, add the motor. Make sure it is securely attached and properly aligned with the wheels.
4. Install the battery: The battery powers your car, so make sure it is connected properly with the motor and ESC.
5. Add the ESC: The ESC (electronic speed controller) controls the speed of the motor. Install it according to the manufacturer’s instructions, and make sure it is compatible with your motor and battery.
6. Install the steering servo: The steering servo controls the direction of your RC car. Secure it in place and connect it to the radio system.
7. Add the radio system: The radio system is what allows you to control your RC car remotely. Make sure it is connected to the ESC and steering servo, and follow the instructions to set the frequency.
8. Paint and decorate (optional): Once the technical aspects are complete, you can add a personal touch to your RC car by painting and decorating it however you like.
Comparison Article
Now that we’ve covered the basic method for making an RC car at home, let’s take a look at some alternative methods and compare their pros and cons.
Using a Kit
Pros:
– Easy to use with clear instructions
– All necessary parts included
– Simplifies the build process
Cons:
– Limited customization options
– Expensive compared to other methods
– May not be suitable for advanced users
3D Printing
Pros:
– Offers complete customization options
– Affordable for those with access to a 3D printer
– Great for creating unique designs
Cons:
– Requires a 3D printer and knowledge of 3D modeling
– Parts may not be as durable as commercial parts
– May not be suitable for beginners
Using Spare Parts
Pros:
– Affordable if you have spare parts lying around
– Offers customization options
– Good for eco-conscious users
Cons:
– Compatibility issues may arise
– May require additional tools and resources
– Limited options for users without ample spare parts
Which method you choose ultimately depends on your skill level, resources, and preferences.
Tips and Tricks
Here are some insider tips and tricks to help you make the most of your DIY RC car experience:
– Use high-quality parts for better performance
– Choose a motor with the right power and speed for your needs
– Opt for a lightweight chassis to improve handling and speed
– Use a high-capacity battery for longer running time
– Keep spare parts on hand for quick repairs
– Regularly clean and maintain your RC car for optimal performance
DIY Video
For visual learners, we’ve created a video tutorial to accompany our written guide. Follow along and see each step in action!
Personal Experience Piece
As someone who has made several RC cars at home, I can attest to the joy and satisfaction that comes with building your own vehicle from scratch. My personal tip is to take your time and don’t rush the process. Enjoy the experience and embrace any challenges that may arise. With enough patience and effort, you’ll have a personalized RC car to call your own in no time!
Conclusion
From assembling the chassis to installing the radio system, making an RC car at home is a fun and rewarding experience. By following our step-by-step guide, utilizing our tips and tricks, and comparing various methods, you’ll be well on your way to creating a personalized remote-controlled vehicle.
(Note: Is this article not meeting your expectations? Do you have knowledge or insights to share? Unlock new opportunities and expand your reach by joining our authors team. Click Registration to join us and share your expertise with our readers.)