Introduction
If you’re a car enthusiast or simply enjoy DIY home improvement projects, you may be interested in building your own car ramps. Homemade car ramps can be a cost-effective and efficient solution for routine maintenance tasks like oil changes, tire rotations, and general vehicle inspections. They also come in handy when you need to lift your vehicle off the ground for repairs. In this article, we’ll provide you with step-by-step instructions on how to make homemade car ramps, along with tips, ideas, safety precautions, and frequently asked questions, as well as a video tutorial, comparison article, and case study to help you get started.
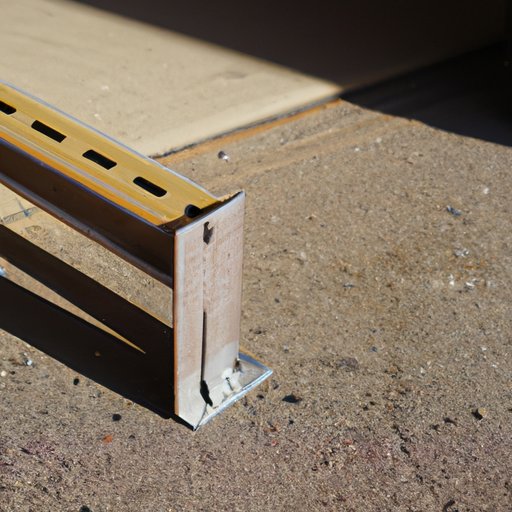
Step-by-step instructions
Before getting started with construction, you should make sure you have all of the necessary materials and tools on hand. Here are the materials you’ll need:
- 4 pieces of 2×10 or 2×12 boards, at least 4 feet long each
- 16 wood screws, 3 inches long
- Drill or screwdriver
- Saw or circular saw
- Ruler or measuring tape
Once you have all materials, follow these steps:
- Measure and cut two pieces of the boards to be 4 feet long each
- Measure and cut the other two boards to be 3 feet 9 inches long each
- Place the 4-foot boards parallel to each other, 3 feet apart
- Place the 3-foot 9-inch boards perpendicular to the 4-foot boards, 10 inches apart
- Screw the 3-foot 9-inch boards into the 4-foot boards, using two screws per joint
- Repeat the process for the other side of the ramp
- Test the stability of the ramps to make sure they can support the weight of your vehicle before use
It’s important to note that these instructions are for ramps that can handle a typical car. Adjustments may be necessary for heavier vehicles.
Themed article
If you’re looking to add some character to your homemade car ramps, you might consider personalizing them with unique themes or designs. One option is to use scrap wood, which not only adds charm but also saves money. Alternatively, you could paint the ramps in creative ways to match your garage decor or show off your personality. It’s also important to maintain your ramps by storing them in a dry and clean location, cleaning them regularly, and inspecting them for wear and tear to prevent accidents.
Video tutorial
Visual learners may prefer a video tutorial for building homemade car ramps. You can find various video tutorials on YouTube that provide detailed instructions on how to make the ramps in a step-by-step process. These videos also offer demonstrations of the proper usage of homemade ramps and answer frequently asked questions to help beginners avoid mistakes.
Comparison article
When it comes to materials for constructing homemade car ramps, there are several options available. Wood is a common choice due to its affordability and ease of use, but metal and concrete can also be used for a more durable and long-lasting solution. Additionally, plastic and aluminum ramps offer a lightweight alternative to traditional ramp materials. When deciding what material to use, consider the weight of your vehicle, the type of maintenance tasks you’ll be using the ramps for, and your budget.
Safety-focused article
While homemade car ramps can be a great alternative to store-bought ramps, safety should always be a top priority. When constructing ramps, make sure to secure the joints and test the stability beforehand to prevent accidents. Additionally, it’s important to consider weight limits, support structures, and material durability to ensure that the ramps can handle the weight of your vehicle without collapsing. Remember to never place any body part under the vehicle while it’s supported by ramps and always work on a level surface. Follow these guidelines to ensure safe and effective usage of homemade car ramps.
Case study article
One example of a successful homemade car ramp is a story of a car enthusiast who constructed custom wooden ramps for his vintage car. He faced some challenges with the stability of the ramps due to the uneven garage floor, but with some simple adjustments, he was able to achieve a secure setup. The ramps proved to be a convenient and cost-effective solution for regular maintenance tasks, and they added charm to his garage setup. Lessons learned include the importance of choosing quality materials, ensuring the proper weight limits, and checking the stability of the ramps.
Interactive article
For readers who like to customize their DIY projects, an interactive guide for building homemade car ramps can be helpful. This guide allows the reader to select different options for ramp size, durability, and texture based on their needs and vehicle specifications. By providing a range of options, the reader can design a custom ramp that is both functional and visually appealing.
Conclusion
By following these step-by-step instructions, brainstorming personalized themes, viewing a video tutorial, exploring comparison articles, and studying safety tips, you can make your own homemade car ramps. Whether you’re a car enthusiast or just need to lift your vehicle for maintenance, homemade ramps can be a cost-effective and efficient solution. Remember to always prioritize safety precautions and maintaining your ramps to prolong their life for years to come.
(Note: Is this article not meeting your expectations? Do you have knowledge or insights to share? Unlock new opportunities and expand your reach by joining our authors team. Click Registration to join us and share your expertise with our readers.)