Introduction
Electric cars are becoming increasingly popular due to their environmental benefits, low running costs, and modern features. Building an electric car at home is a great way to save money and customize your ride. This article will provide a step-by-step guide on how to make an electric car at home.
Research and Understand Electric Car Technology
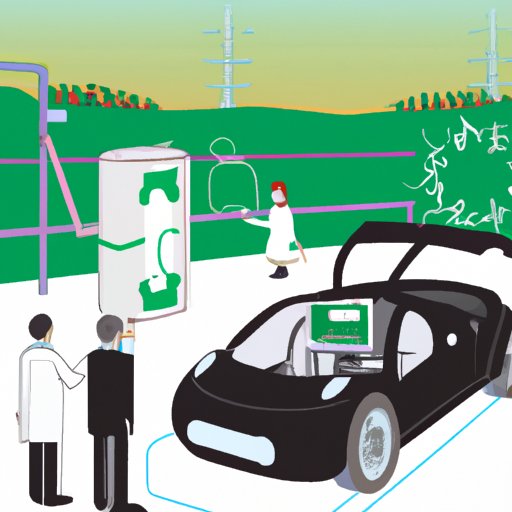
Before you begin building an electric car at home, it’s important to understand the technology behind it. Research the different components of an electric car, such as the motor, battery pack, and wiring. Learn about the safety protocols and legal requirements associated with building an electric car. It’s also wise to familiarize yourself with the processes for registering and insuring your vehicle.
Gather Materials and Tools Needed to Build an Electric Car
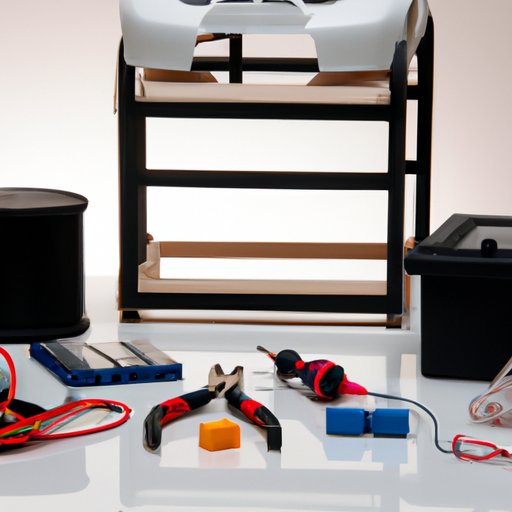
Once you’ve done your research, it’s time to gather the materials and tools needed to build an electric car. Identify the materials and tools based on your research and then source them. Depending on the design of your electric car, you may need items such as metal sheets, nuts and bolts, screws, a welding machine, saws, drills, wrenches, and other hand tools.
Design the Chassis of Your Electric Car
The next step in building an electric car is to design the chassis. Choose a chassis design that best suits your needs and create a plan for it. Once you have a plan, you can start assembling the chassis. This may involve cutting the metal sheets to size, welding pieces together, and attaching fittings with nuts and bolts.

Install the Motor and Battery Pack
Once the chassis is complete, it’s time to install the motor and battery pack. Select a motor and battery pack that is suitable for your electric car. Ensure that the motor and battery pack are compatible with the chassis and other components. Install the motor and battery pack according to the manufacturer’s instructions.
Connect the Electrical Components
Next, you will need to wire the electrical components of your electric car. This involves connecting the motor, battery pack, and other components. Use the appropriate wiring and connectors for the job. Test the wiring to ensure that everything is working properly.
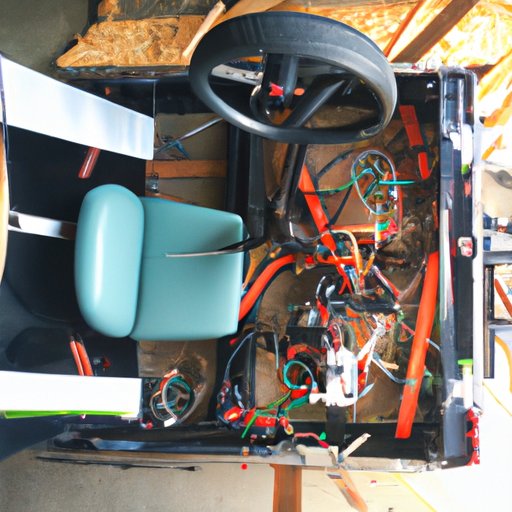
Assemble the Body and Interior of the Electric Car
Now that the chassis and electrical components are installed, it’s time to assemble the body and interior of your electric car. Choose body and interior components such as seats, dashboard, and steering wheel. Assemble these components according to the manufacturer’s instructions.
Test and Enjoy Your Home-Built Electric Car
Once the electric car is fully assembled, it’s time to take it for a test drive. Check all the components and systems to ensure they are working properly. Troubleshoot any issues that arise. Finally, enjoy your new electric car!
Conclusion
Building an electric car at home is a great way to save money and customize your ride. This article provided a step-by-step guide on how to make an electric car at home. First, research and understand the technology behind electric cars. Next, gather the materials and tools needed to build an electric car. Design the chassis, install the motor and battery pack, connect the electrical components, and assemble the body and interior.
(Note: Is this article not meeting your expectations? Do you have knowledge or insights to share? Unlock new opportunities and expand your reach by joining our authors team. Click Registration to join us and share your expertise with our readers.)