Introduction
Car dashboard polish is used to keep the interior of your car looking shiny and new. It can help protect against fading, cracking, and other damage caused by sunlight or temperature changes. Making your own car dashboard polish at home is a great way to save money while still keeping your car looking great.
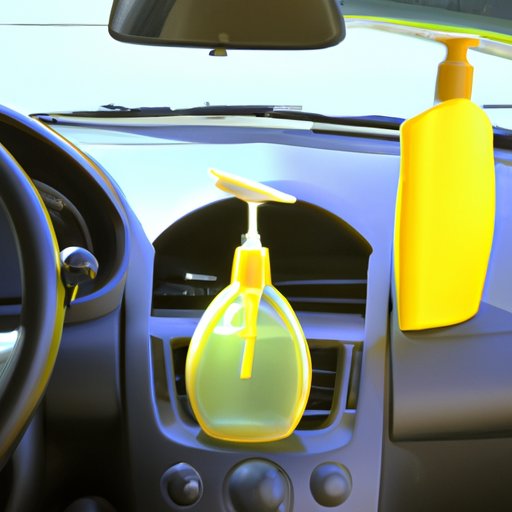
Gather Materials
Before you begin making your car dashboard polish, make sure you have all the materials you need. You’ll need some type of wax, such as carnauba wax or beeswax; rubbing alcohol; and dish soap. These items should be available at any local store.
Combine Ingredients
Once you’ve gathered all the materials, it’s time to start mixing them together. Begin by melting the wax in a double boiler. Once it’s melted, add 1 cup of rubbing alcohol and 1 tablespoon of dish soap. Stir the mixture until it’s blended together.
Apply Polish
Once the ingredients are combined, it’s time to apply the polish. Start by wiping down the dashboard with a damp cloth. This will remove any excess dirt or dust. Then, apply the polish to the dashboard in small circles. Make sure to cover the entire area evenly.
Remove Excess Polish
Once the polish has been applied, it’s time to wipe away any excess. Use a damp cloth to gently remove any excess polish. Be careful not to scrub too hard, as this could damage the dashboard.
Finish
Once you’ve wiped away the excess polish, it’s time to finish up. Add a light coat of wax to the dashboard and then buff it to a shine. This will help protect the dashboard from future damage.
Clean Up
Once you’ve finished, it’s important to clean up. Dispose of any rags or cloths used in the process. Also, store any remaining polish in a safe place where it won’t be exposed to extreme temperatures or sunlight.
Conclusion
Making your own car dashboard polish at home is a great way to save money while still keeping your car looking great. All you need is wax, rubbing alcohol, and dish soap. Follow the steps outlined above to mix the ingredients, apply the polish, remove any excess, and finish up with a light coat of wax. With just a few simple steps, you can have a beautiful, shiny dashboard in no time.
(Note: Is this article not meeting your expectations? Do you have knowledge or insights to share? Unlock new opportunities and expand your reach by joining our authors team. Click Registration to join us and share your expertise with our readers.)