Introduction
Making a wireless remote control car can be a fun and educational project for adults and children alike. With some basic materials and careful instructions, anyone can build their own RC car in no time. This article will provide an overview of the steps needed to build a remote control car at home.
A. Overview of the Problem
The main problem when building a remote control car is finding all the necessary components. The most important parts are the frame, motors, and electronics, as well as batteries and a controller. In addition, wiring and soldering skills may be required to properly assemble the parts.
B. Purpose of the Article
The purpose of this article is to provide step-by-step instructions on how to make a wireless remote control car at home. By following these instructions, readers should be able to build their own RC car successfully.
C. Audience
This article is intended for adults and older children who are interested in learning how to make a remote control car. Basic knowledge of electronics, wiring, and soldering is recommended, but not required.
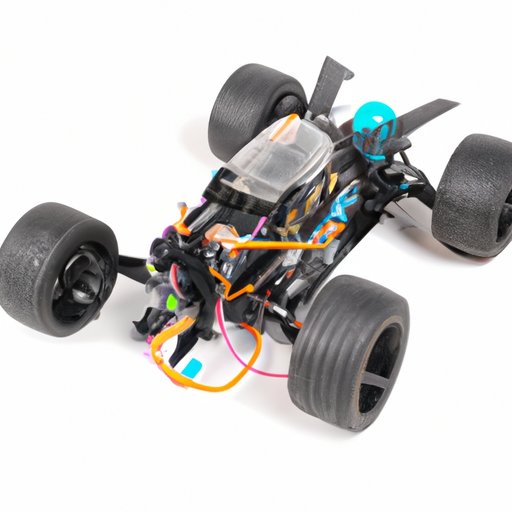
Gather Materials
The first step in building a remote control car is to gather all the necessary materials. Below is a list of the items needed to build a basic RC car:
- Frame
- Motors
- Electronics (controller, receiver, etc.)
- Batteries
- Remote Control
- Wiring and Soldering Tools
Assemble Frame
Once all the materials have been gathered, the next step is to assemble the frame. Depending on the type of frame being used, the exact process may vary. However, the general idea is to connect the pieces together with screws or glue. Make sure to follow the instructions carefully, as any mistakes could lead to issues later on.
Install Motors and Electronics
After the frame is assembled, the next step is to install the motors and electronics. This requires attaching the motors to the frame and connecting them to the electronic components. Make sure to check the instructions that come with the motors and electronics to ensure everything is installed correctly.
Connect Wires to Remote Control
Once the motors and electronics are installed, the next step is to connect the wires to the remote control. This involves attaching the wires to the appropriate ports on the remote control. Again, make sure to follow the instructions carefully to ensure everything is connected properly.
Program the Remote Control
The next step is to program the remote control. This is done by setting the desired speed and direction for each motor. Depending on the type of remote control being used, the exact process may vary. However, most remotes can be programmed easily using the included software.
Test the Car
Once the remote control is programmed, the next step is to test the car. This can be done by placing the car on a flat surface and turning it on. If everything is working correctly, the car should move in the desired direction. If there are any issues, try troubleshooting them before continuing.
Conclusion
Making a wireless remote control car can be a fun and educational project. By following the instructions in this article, anyone can build their own RC car in no time. From gathering materials to programming the remote control, readers will learn step-by-step how to create their own RC car.
(Note: Is this article not meeting your expectations? Do you have knowledge or insights to share? Unlock new opportunities and expand your reach by joining our authors team. Click Registration to join us and share your expertise with our readers.)