Introduction
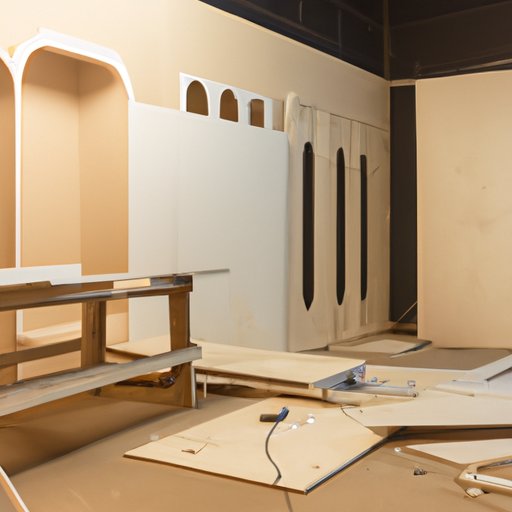
A theater flat is an essential part of any stage production. It is a painted, lightweight piece of scenery that can be used to create a backdrop or partition off areas of the stage. Building a theater flat is a great way for amateur theater groups or hobbyists to save money on their productions. With a few simple tools and some basic knowledge, you can construct your own theater flat for any size stage.
Definition of a Theater Flat
A theater flat is a painted piece of scenery that is used to provide a background or to divide the stage into different sections. It is typically made from plywood and is lightweight enough to be moved around easily during production. The most common sizes are 8′ x 4′ or 10′ x 4′, but they can be constructed in any size depending on the needs of the production.
Reasons for Building a Theater Flat
There are several reasons why building your own theater flat may be beneficial. First, it can save money. Purchasing a premade flat can be expensive, especially if you need multiple flats for a production. By constructing your own, you can save money while still achieving the desired look. Second, building a flat allows you to customize the design to fit the exact needs of your production. You can decide on the size, shape, and details of the flat, giving you complete control over the final product. Lastly, constructing a flat gives you a sense of pride and accomplishment. There is nothing quite like seeing your hard work come to life on the stage.

Research the Different Types of Theatrical Flats and Their Construction Methods
Before beginning the construction process, it is important to research the different types of theatrical flats and their construction methods. This will help you determine what type of flat you need and the best materials and techniques to use.
Types of Flats
The two most common types of theater flats are full-size and cut-down. Full-size flats are built with straight edges and are used to form the walls of a set. Cut-down flats, also known as “cutouts”, have angled or curved edges and are used to create doorways or windows. Both types of flats can be constructed using the same methods.
Construction Materials
The most common material used to construct a theater flat is plywood. It is lightweight, strong, and relatively inexpensive. When choosing plywood, it is important to select a grade that is suitable for the project. For example, if the flat will be painted, it is best to choose a grade that is smooth and free of knots. Other materials that may be necessary include screws, nails, wood glue, paint, and primer.

Determine the Size and Shape of the Flat You Need
Once you have researched the different types of flats and the materials needed for the project, it is time to determine the size and shape of the flat. This will depend on the needs of the production, so be sure to measure the area where the flat will be placed before making any decisions.
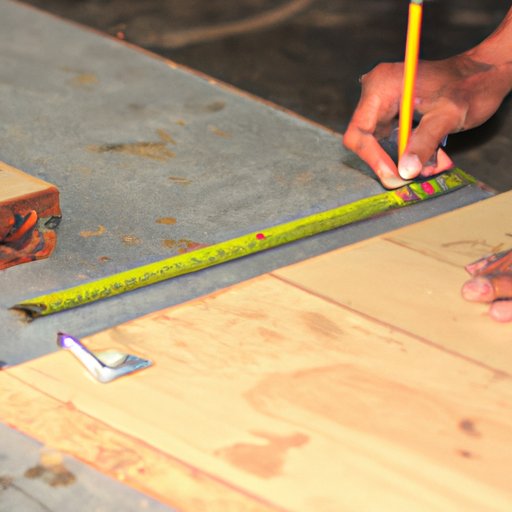
Measurements
Begin by measuring the space in which the flat will be placed. This will help you determine the height, width, and depth of the flat. If you are creating a cut-down flat, you will also need to measure the angles of the walls or doorways. It is important to get accurate measurements in order to ensure the flat fits properly in the desired space.
Design Considerations
When designing the flat, consider the overall look of the set. Think about the colors, textures, and patterns that will be used. If the flat will be painted, be sure to choose a color scheme that complements the rest of the set. Also, consider any additional details that you may want to add, such as trim, molding, or other accents.
Gather Your Supplies for the Project
Now that you have determined the size and shape of the flat, it is time to gather the necessary supplies. Make sure to have all of the materials on hand before beginning the construction process.
List of Necessary Materials
The following materials are needed to construct a theater flat:
- Plywood
- Screws
- Nails
- Wood glue
- Paint
- Primer
Where to Purchase Supplies
These materials can be purchased at any local home improvement store or online. Be sure to shop around for the best prices and quality materials.
Cut the Plywood to the Desired Measurements
Once you have gathered the necessary supplies, it is time to begin cutting the plywood to the desired measurements. This step requires precision and accuracy, so be sure to take your time.
Tools Needed
In order to cut the plywood, you will need the following tools:
- Circular saw
- Measuring tape
- Pencil
- Straight edge
Safety Precautions
Be sure to wear safety goggles and gloves when operating the circular saw. Also, make sure to secure the plywood to the work surface to prevent slipping or shifting during the cutting process. Finally, have someone nearby to assist you if needed.

Assemble the Pieces of Plywood Together
Once the plywood is cut to the desired measurements, it is time to assemble the pieces together. This step requires patience and attention to detail in order to ensure a secure and stable structure.
Joining Techniques
The most common technique for joining pieces of plywood is using wood glue. Apply a generous amount of glue to the edges of the pieces and press them firmly together. Clamps can also be used to hold the pieces in place until the glue dries. Another option is to use screws or nails to join the pieces. This method provides a stronger joint, but it is more time consuming and requires additional tools.
Fastening Options
Once the pieces are joined, you may need to fasten them to each other. This can be done using screws, nails, or staples. Make sure to use an appropriate fastener for the material being used. For example, if the flat is made of plywood, use wood screws or nails.
Paint the Flat and Add Finishing Touches
Now that the flat is assembled, it is time to give it a finished look. Painting the flat is a great way to add color and texture to the set. It can also help hide any imperfections or flaws in the construction.
Priming and Painting
Before painting, it is important to prime the flat. Primer helps the paint adhere to the plywood and prevents it from chipping or peeling. Once the primer is dry, you can apply the desired paint color. Be sure to use a high-quality paint that is designed for use on wood.
Adding Details
Once the paint is dry, you can add any desired details. This could include trim, molding, or other accents. These elements can add dimension and interest to the flat, giving it a more professional appearance.
Secure the Flat to the Stage Floor or Framework
The last step is to secure the flat to the stage floor or framework. This is an important step, as it ensures the flat stays in place during the performance.
Mounting Options
The most common method of mounting a theater flat is using screws or nails. If the flat is being mounted to a wooden floor, use wood screws or nails. If the flat is being mounted to a metal framework, use lag bolts or toggle bolts. Be sure to use an appropriate fastener for the material being used.
Securing the Flat
Once the flat is mounted, it is important to secure it in place. This can be done using clamps, straps, or ropes. Be sure to use a secure method that will keep the flat from shifting or falling during the performance.
Conclusion
Building a theater flat is an achievable task for anyone with basic knowledge of carpentry and a few simple tools. By researching the different types of flats and their construction methods, gathering the necessary supplies, and following the steps outlined above, you can construct a sturdy and attractive flat for your next production. The benefits of building your own flat are numerous, from cost savings to customization.
(Note: Is this article not meeting your expectations? Do you have knowledge or insights to share? Unlock new opportunities and expand your reach by joining our authors team. Click Registration to join us and share your expertise with our readers.)