
Introduction
Robotic hands are becoming increasingly popular as a DIY project and for their practical applications in manufacturing, robotics, and other fields. A robotic hand is any type of mechanical device that is designed to replicate the motions of a human hand. This article will provide a comprehensive overview of how to build a robotic hand, from selecting the right materials to troubleshooting common problems. Additionally, this article will explore the science behind robotic hands and discuss how 3D printing can be used to create custom designs.
Step-by-Step Guide to Building a Robotic Hand
Building a robotic hand involves several steps, including choosing the right materials, constructing the hand, connecting all components, and testing the robotic hand. The following sections provide a detailed guide to each of these steps.
Choosing the Right Materials
The first step in creating a robotic hand is to choose the right materials. Depending on the desired application and budget, you can choose from a variety of materials, such as plastic, metal, or even fabric. Plastic is usually the most affordable option, but it may not be strong enough for some applications. Metal is a more durable option, but it can be expensive. Fabric can also be used to construct a robotic hand, but it is usually limited to light-duty applications.
Constructing the Hand
Once the materials have been chosen, the next step is to construct the robotic hand. This involves assembling the individual components and ensuring that they fit together properly. This can be done by either soldering or bolting the components together. Soldering is the preferred method for metal components, while bolting works better for plastic components. It is important to ensure that all components are securely attached to avoid any potential problems.
Connecting All Components
Once the robotic hand has been constructed, the next step is to connect all components. This involves attaching wires to the motors, sensors, and other components. It is important to ensure that all connections are secure and that no loose wires are present. Additionally, it is important to check the polarity of the connections to ensure that the robotic hand will function correctly.
Testing the Robotic Hand
Once all components have been connected, the next step is to test the robotic hand. This involves powering up the hand and checking its functionality. If everything is working correctly, then the robotic hand is ready to be used. However, if there are any issues, then it is important to identify and troubleshoot them before attempting to use the robotic hand.
Exploring the Science Behind Robotic Hands
In order to understand how to build a robotic hand, it is important to explore the science behind them. Robotic hands come in a variety of shapes and sizes and can be used for a variety of tasks. There are two main types of robotic hands: open-source and closed-source. Open-source robotic hands are typically cheaper and easier to customize, while closed-source robotic hands are more expensive and require specialized software.
Types of Robotic Hands
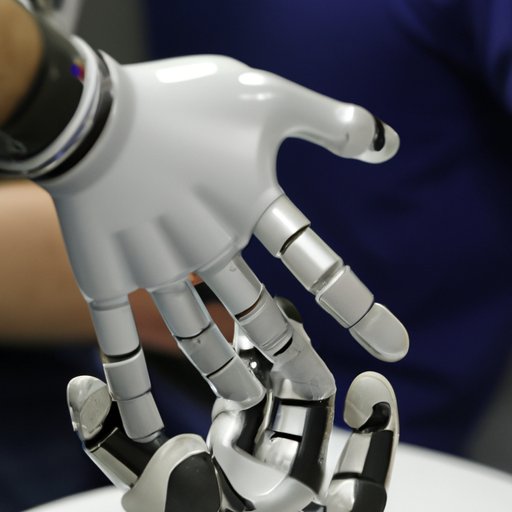
Robotic hands can be divided into two main categories: anthropomorphic and non-anthropomorphic. Anthropomorphic robotic hands are designed to mimic the shape and motions of a human hand, while non-anthropomorphic robotic hands are designed for specific tasks, such as gripping or lifting objects. Both types of robotic hands can be constructed using a variety of materials and components.
The Mechanics of Robotic Hands
The mechanics of robotic hands involve the use of actuators and sensors. Actuators are responsible for controlling the movements of the robotic hand, while sensors provide feedback to the robot about its environment. Actuators can be powered by electricity, pneumatics, or hydraulics, and can be programmed to move the robotic hand in a specific way. Sensors can detect changes in temperature, pressure, and other environmental conditions.
Sensors and Actuators
Sensors and actuators are essential components of any robotic hand. Sensors detect changes in the environment, while actuators control the movements of the robotic hand. The type of sensors and actuators used will depend on the specific application. For example, infrared sensors can be used to detect heat, while servomotors can be used to control the movement of the robotic hand.
DIY Robotic Hand: Parts and Assembly
Once the materials and components have been selected, the next step is to assemble the robotic hand. This involves identifying the necessary parts and assembling them in the correct order. Additionally, it is important to follow all safety instructions when assembling the robotic hand.
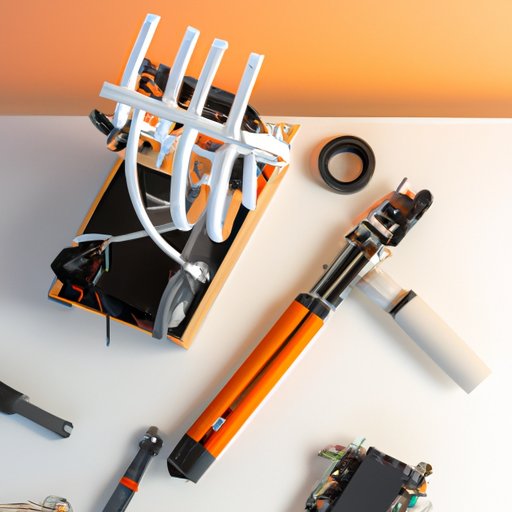
Identifying the Necessary Parts
The first step in assembling a robotic hand is to identify the necessary parts. These include motors, sensors, actuators, screws, nuts, and bolts. Additionally, it is important to identify any additional components that may be needed, such as wiring, controller boards, and batteries.
Assembling the Parts
Once all the necessary parts have been identified, the next step is to assemble them. This involves connecting the motors, sensors, and actuators to the controller board. Additionally, it is important to ensure that all connections are secure and that no loose wires are present. Once all components have been connected, the robotic hand is ready to be tested.
Troubleshooting Common Problems
It is important to troubleshoot any problems that may arise during the assembly process. Common problems include loose connections, incorrect wiring, and faulty components. It is important to identify and resolve any issues before attempting to use the robotic hand.
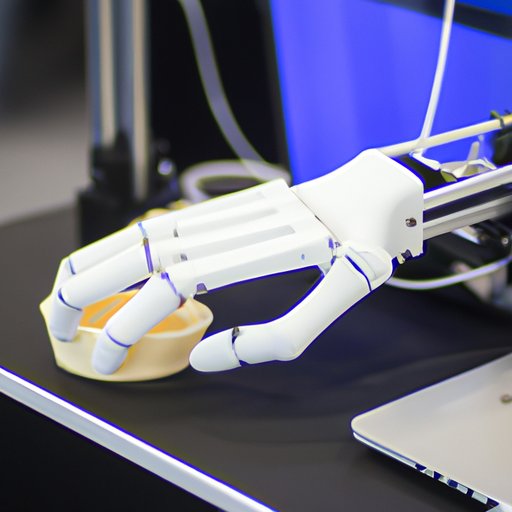
Creating a Robotic Hand with 3D Printing
3D printing is becoming an increasingly popular way to create custom robotic hands. 3D printing offers a number of advantages, such as a faster design process and lower costs. Additionally, 3D printing allows for greater customization and flexibility when designing a robotic hand.
Benefits of 3D Printing
3D printing offers a number of advantages over traditional manufacturing methods. It is faster and cheaper than traditional methods, and it allows for greater customization of parts. Additionally, 3D printing eliminates the need for expensive tooling, which can save time and money. Finally, 3D printing is an eco-friendly solution, as it reduces waste and energy consumption.
Design Considerations
When designing a robotic hand with 3D printing, it is important to consider the desired application and budget. Additionally, it is important to consider the type of material that will be used for the robotic hand. Different materials offer different levels of strength and durability, so it is important to select the right one for the application.
Setting Up a 3D Printer
Once the design is complete, the next step is to set up a 3D printer. This involves selecting the right printer, installing the necessary software, and preparing the files for printing. Additionally, it is important to ensure that the printer is set up correctly and that all safety measures are taken.
Programming a Robotic Hand for Different Tasks
Once the robotic hand has been constructed and tested, the final step is to program it for different tasks. This involves understanding the hardware and software of robotic hands and programming them for specific tasks. Programming a robotic hand requires knowledge of robotics programming and an understanding of the hardware and software of robotic hands.
Basic Principles of Robotics Programming
Robotics programming involves understanding the basic principles of robotics and applying them to programming. These principles include understanding the environment, developing algorithms, and creating simulations. Additionally, it is important to have an understanding of the hardware and software of robotic hands.
Understanding the Hardware and Software of Robotic Hands
In order to program a robotic hand, it is important to understand the hardware and software of robotic hands. This includes understanding the motors, sensors, actuators, and controllers. Additionally, it is important to understand the programming language used to program the robotic hand.
Programming a Robotic Hand for Specific Tasks
Once the hardware and software of robotic hands are understood, the next step is to program the robotic hand for specific tasks. This involves writing code to control the robotic hand and programming it to perform specific tasks. Additionally, it is important to test the robotic hand to ensure that it is functioning correctly.
Conclusion
This article provided a comprehensive overview of how to build a robotic hand. From choosing the right materials to programming the robotic hand for specific tasks, this article covered all the steps involved in creating a robotic hand. Additionally, this article explored the science behind robotic hands and discussed the potential of 3D printing for creating custom designs. Building a robotic hand can be a fun and rewarding experience, and it provides a great opportunity to learn about robotics and engineering.
Creating your own robotic hand can be a great way to learn about robotics and engineering. With the right materials and components, anyone can build a functional robotic hand. Additionally, 3D printing can be used to create custom designs, allowing for greater customization and flexibility. By following the steps outlined in this article, anyone can create their own robotic hand.
(Note: Is this article not meeting your expectations? Do you have knowledge or insights to share? Unlock new opportunities and expand your reach by joining our authors team. Click Registration to join us and share your expertise with our readers.)