Introduction
Robots are machines that can be programmed to perform a variety of tasks. They have been used in industry for decades to perform repetitive or dangerous tasks, but they are also becoming increasingly popular among hobbyists who want to build their own robots. With the right materials and a bit of know-how, it is possible to make a robot at home using everyday items.
Step-by-Step Guide to Making a Robot from Household Items
Making a robot from household items is a fun and rewarding project. To get started, you will need to gather the necessary materials and create a plan for building the robot. Once you have a plan in place, you can begin constructing the frame of the robot and assembling the electronic components. Finally, you will need to program the robot and test it to make sure it is functioning properly.
Gather the Necessary Materials
The first step in building a robot from household items is to gather the necessary materials. You will need a motor, a power source (such as batteries), wires, sensors, and other components depending on the type of robot you are building. You may also need tools such as pliers, screwdrivers, and soldering iron.
Create a Plan for Building the Robot
Once you have gathered the necessary materials, the next step is to create a plan for building the robot. This plan should include a list of all the components that are needed, the steps for assembling them, and any safety precautions you need to take. Additionally, you should consider the size and complexity of your robot. This will help you determine which materials and components are best suited for the project.
Construct the Frame of the Robot
Once you have a plan in place, you can begin constructing the frame of the robot. Depending on the type of robot you are building, this could involve cutting pieces of wood, plastic, or metal and drilling holes for mounting the components. Be sure to use the correct tools and take proper safety precautions when working with materials.
Assemble the Electronic Components
After the frame of the robot has been constructed, you can begin assembling the electronic components. This includes connecting the motors, sensors, and other components to the frame. Be sure to read the instructions carefully and follow the manufacturer’s guidelines for wiring the components correctly.
Program the Robot
Once the frame and components are assembled, you can begin programming the robot. Depending on the type of robot you are building, this could involve writing code or using graphical programming languages. If you are new to programming, there are many resources available to help you get started.
Test and Troubleshoot the Robot
Once the robot is programmed, it is time to test it and make sure it is functioning properly. Run the robot through its paces and check for any errors or issues. If there are any problems, you may need to troubleshoot the robot to identify and fix the issue.
How to Build Your Own Robot Using Everyday Materials
Building a robot from everyday materials is a great way to learn about robotics and engineering. To get started, you will need to choose the type of robot you want to build and consider the size and complexity of your project. Once you have done this, you can select the materials you will need for the project, design the body of the robot, connect the wires, program the robot, and test it.
Choose the Type of Robot You Want to Build
The first step in building a robot from everyday materials is to decide what type of robot you want to build. Do you want to build a humanoid robot or a wheeled robot? Will it be able to move or just stay in one spot? Answering these questions will help you determine the type of materials you will need for the project.
Consider the Size and Complexity of Your Robot
The size and complexity of your robot will also play a role in the materials you need for the project. For example, if you are building a small, simple robot, you may be able to use everyday objects such as paper clips and rubber bands. However, if you are building a larger, more complex robot, you may need to purchase additional components such as motors and sensors.
Select the Materials You Need for the Project
Once you have determined the type and size of the robot you want to build, you can begin selecting the materials you need for the project. Some of the most common materials used to build robots include wood, plastic, metal, electronics components, and wire. You may also need tools such as pliers, screwdrivers, and soldering iron.
Design the Body of the Robot
Designing the body of the robot is an important part of the process. You will need to decide how the robot will look, where the components will be located, and how the robot will move. You can draw up a plan for the robot on paper or use computer-aided design software.
Connect the Wires
Once the body of the robot is designed, you can begin connecting the wires. Depending on the type of robot you are building, this could involve soldering, crimping, or simply plugging the wires into the correct ports. Be sure to read the instructions carefully and take proper safety precautions when working with electricity.
Program the Robot
The next step is to program the robot. This could involve writing code or using graphical programming languages. If you are new to programming, there are many resources available to help you get started. You may also want to consult a robotics expert for assistance.
Test and Troubleshoot the Robot
Once the robot is programmed, the final step is to test it and make sure it is functioning properly. Run the robot through its paces and check for any errors or issues. If there are any problems, you may need to troubleshoot the robot to identify and fix the issue.
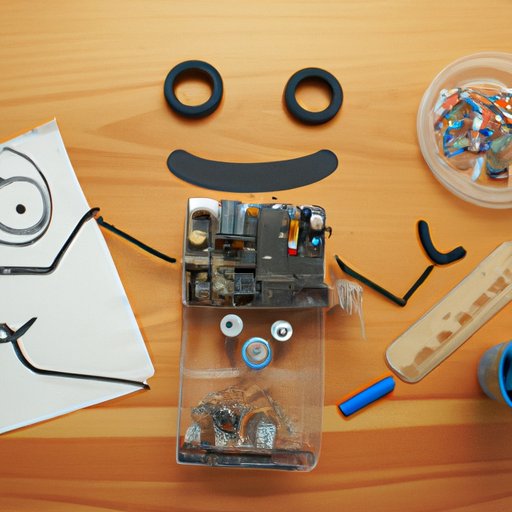
The Basics of Building a Robot with Common Household Objects
Building a robot with common household objects is a great way to learn about robotics and engineering. To get started, you will need to choose the type of robot you want to build, identify the tools and materials you will need, make a plan for building the robot, construct the frame of the robot, attach the motors, sensors, and other components, program the robot, and test it. With the right materials and a bit of know-how, it is possible to make a robot at home using everyday objects.
Choose the Type of Robot You Want to Build
The first step in building a robot from everyday materials is to decide what type of robot you want to build. Do you want to build a humanoid robot or a wheeled robot? Will it be able to move or just stay in one spot? Answering these questions will help you determine the type of materials you will need for the project.
Identify the Tools and Materials You Will Need
Once you have chosen the type of robot you want to build, you will need to identify the tools and materials you will need for the project. These could include wood, plastic, metal, electronics components, and wire. You may also need tools such as pliers, screwdrivers, and soldering iron.
Make a Plan for Building the Robot
The next step is to make a plan for building the robot. This plan should include a list of all the components that are needed, the steps for assembling them, and any safety precautions you need to take. Additionally, you should consider the size and complexity of your robot. This will help you determine which materials and components are best suited for the project.
Construct the Frame of the Robot
Once you have a plan in place, you can begin constructing the frame of the robot. Depending on the type of robot you are building, this could involve cutting pieces of wood, plastic, or metal and drilling holes for mounting the components. Be sure to use the correct tools and take proper safety precautions when working with materials.
Attach the Motors, Sensors, and Other Components
Once the frame of the robot has been constructed, you can begin attaching the motors, sensors, and other components. Be sure to read the instructions carefully and follow the manufacturer’s guidelines for wiring the components correctly.
Program the Robot
Once the frame and components are assembled, you can begin programming the robot. Depending on the type of robot you are building, this could involve writing code or using graphical programming languages. If you are new to programming, there are many resources available to help you get started.
Test and Troubleshoot the Robot
Once the robot is programmed, it is time to test it and make sure it is functioning properly. Run the robot through its paces and check for any errors or issues. If there are any problems, you may need to troubleshoot the robot to identify and fix the issue.
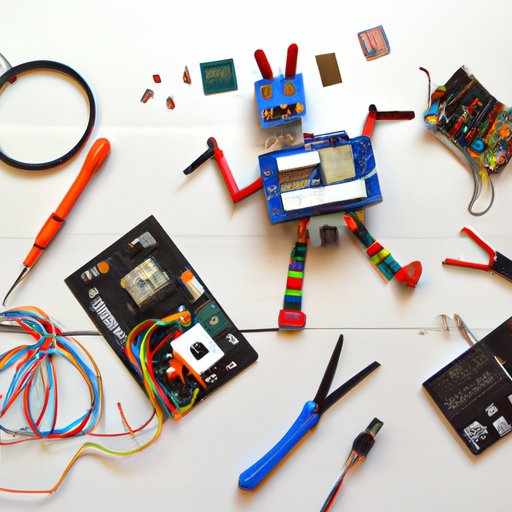
Crafting a Robot with Simple Supplies Found around the Home
Building a robot with simple supplies found around the home is a great way to learn about robotics and engineering. To get started, you will need to identify the supplies needed for the project, gather the necessary materials, design the body of the robot, assemble the electronic components, program the robot, and test it.
Identify the Supplies Needed for the Project
The first step in building a robot from home supplies is to identify the supplies you will need for the project. These could include wood, plastic, metal, electronics components, and wire. You may also need tools such as pliers, screwdrivers, and soldering iron.
Gather the Necessary Materials
Once you have identified the supplies you need, the next step is to gather the necessary materials. Be sure to double-check that you have everything you need before beginning the project. Additionally, you should consider the size and complexity of your robot. This will help you determine which materials and components are best suited for the project.
Design the Body of the Robot
Designing the body of the robot is an important part of the process. You will need to decide how the robot will look, where the components will be located, and how the robot will move. You can draw up a plan for the robot on paper or use computer-aided design software.
Assemble the Electronic Components
Once the body of the robot is designed, you can begin assembling the electronic components. This includes connecting the motors, sensors, and other components to the frame. Be sure to read the instructions carefully and follow the manufacturer’s guidelines for wiring the components correctly.
Program the Robot
The next step is to program the robot. This could involve writing code or using graphical programming languages. If you are new to programming, there are many resources available to help you get started. You may also want to consult a robotics expert for assistance.
Test and Troubleshoot the Robot
Once the robot is programmed, the final step is to test it and make sure it is functioning properly. Run the robot through its paces and check for any errors or issues. If there are any problems, you may need to troubleshoot the robot to identify and fix the issue.
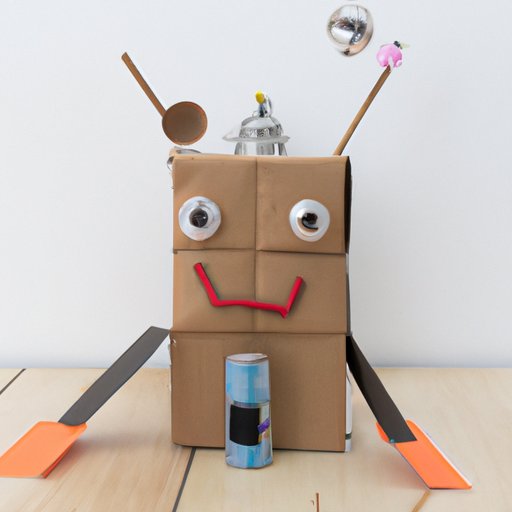
Creating a Robot with Recycled Materials in Your Home
Building a robot from recycled materials is a great way to learn about robotics and engineering while reducing waste. To get started, you will need to gather materials that can be recycled, design the body of the robot, assemble the electronic components, program the robot, and test it.
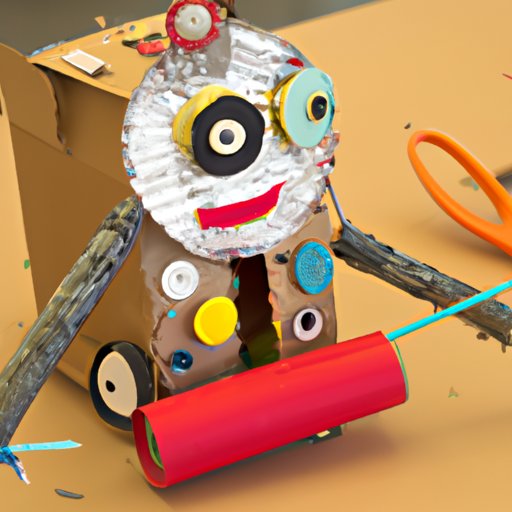
Gather Materials That Can Be Recycled
The first step in building a robot from recycled materials is to gather materials that can be recycled. Examples of materials that can be recycled include cardboard, plastic bottles, and aluminum cans. You may also be able to find other materials such as electronics components, wires, and tools at local thrift stores or online.
Design the Body of the Robot
Designing the body of the robot is an important part of the process. You will need to decide how the robot will look, where the components will be located, and how the robot will move. You can draw up a plan for the robot on paper or use computer-aided design software.
Assemble the Electronic Components
Once the body of the robot is designed, you can begin assembling the electronic components. This includes connecting the motors, sensors, and other components to the frame. Be sure to read the instructions carefully and follow the manufacturer’s guidelines for wiring the components correctly.
Program the Robot
The next step is to program the robot. This could involve writing code or using graphical programming languages. If you are new to programming, there are many resources available to help you get started. You may also want to consult a robotics expert for assistance.
Test and Troubleshoot the Robot
Once the robot is programmed, the final step is to test it and make sure it is functioning properly. Run the robot through its paces and check for any errors or issues. If there are any problems, you may need to troubleshoot the robot to identify and fix the issue.
Conclusion
Making a robot from household items is a fun and rewarding project. By following the steps outlined in this article, you can easily make a robot from common materials.
(Note: Is this article not meeting your expectations? Do you have knowledge or insights to share? Unlock new opportunities and expand your reach by joining our authors team. Click Registration to join us and share your expertise with our readers.)