Introduction
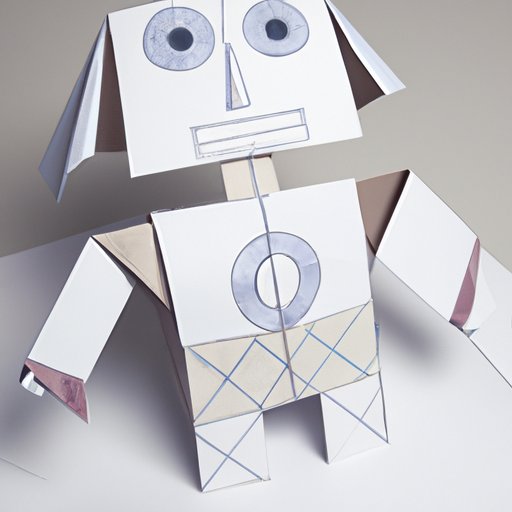
Robotics is an ever-evolving field that has become increasingly popular in recent years. From robotic arms to self-driving cars, robots are being used in many different ways to help make our lives easier. But did you know that you can make your own robot from paper? Paper robots are not only fun to make, but they can also help teach us about the basics of robotics and programming. In this article, we will explore the steps and process of making a paper robot, as well as provide tips and tricks for crafting a creative paper robot.
Step-by-Step Instructions for Creating a Paper Robot
Making a paper robot requires some basic supplies and a bit of creativity. Here is a step-by-step guide for creating your own paper robot:
Gather Materials
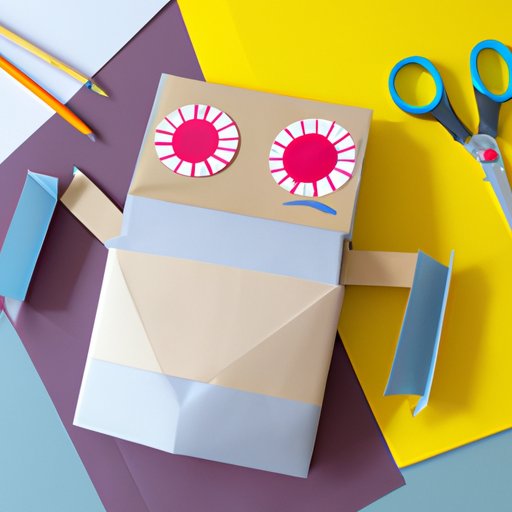
Before getting started, it is important to gather all the necessary materials. You will need paper, scissors, glue, tape, markers, and any other decorative elements such as googly eyes or stickers. You may also want to have a ruler or other measuring device on hand to ensure accuracy when cutting and folding the paper.
Designing the Robot
Once you have gathered the materials, it is time to start designing your robot. Think about what you want your robot to look like and draw a rough sketch of its shape. Consider adding details such as arms, legs, and facial features. This will help you visualize what your robot will look like when it is finished.
Cutting and Folding the Paper
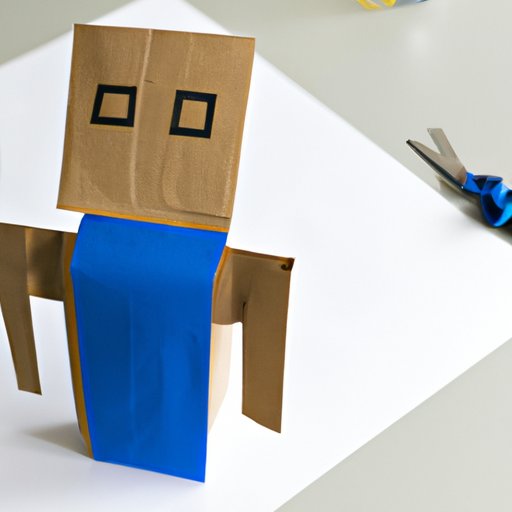
Once you have a basic design, it is time to cut and fold the paper. Using your sketch as a guide, cut out the pieces of paper that will make up the body of your robot. Then, use scissors and a ruler to fold each piece into the desired shape. This can be a bit tricky, so take your time and be careful not to tear the paper.
Assembling the Robot
Now that the pieces are cut and folded, it is time to assemble them. Start by gluing the pieces together to form the body of the robot. Once the body is complete, add any additional details such as arms, legs, and facial features. Finally, use tape to secure any loose pieces and give your robot a finished look.
Exploring the Possibilities of Paper Robots: Tips and Tricks
Now that you know the basics of creating a paper robot, it is time to explore the possibilities. Here are a few tips and tricks to help you create a unique and creative paper robot:
Thinking Outside the Box
When creating a paper robot, don’t be afraid to think outside the box. Try incorporating unusual shapes or unexpected colors into your design. This will help make your robot stand out from the crowd.
Using Decorative Elements
Adding decorative elements such as googly eyes, stickers, or sequins can help bring your robot to life. These elements can also be used to give your robot a unique look and personality.
Making the Robot Move
The last step in creating a paper robot is making it move. To do this, you will need to incorporate some basic robotics principles. For example, you can use servos or motors to control the movements of your robot. With a bit of practice, you can even program your robot to perform certain tasks.
Crafting a Creative Paper Robot: A Guide for Beginners
If you are new to paper robots, there are a few things you should keep in mind. Here is a guide for beginners to help you get started:
Choosing the Right Paper
When selecting paper for your robot, it is important to choose the right type. Heavy cardstock or poster board works best as it is more durable and less likely to tear. You may also want to consider using colored or patterned paper to give your robot a unique look.
Selecting Colors and Shapes
Choosing the right colors and shapes can help make your robot stand out. Think about the overall look you want to achieve and select colors and shapes that complement each other. If you are having trouble deciding, look online for inspiration.
Incorporating Artistic Details
Adding artistic details to your robot is a great way to make it unique. Consider using paint, markers, or glitter to create patterns or designs. You can also use buttons, beads, or fabric scraps to give your robot an extra special touch.
Designing Your Own Paper Robot: A Comprehensive Guide
Designing your own paper robot can be a challenging yet rewarding experience. Here is a comprehensive guide to help you get started:
Brainstorming Ideas
Before you start designing your robot, it is important to brainstorm ideas. Think about what kind of robot you want to make, such as a humanoid robot or a robotic arm. Also, consider what functions you would like your robot to have, such as walking or talking. This will help you determine the shape and size of your robot.
Researching Robotics
Once you have an idea of the type of robot you want to make, it is time to do some research. Read up on the basics of robotics and programming so that you understand how robots work. This will help you design a robot that functions properly.
Testing Designs
Before committing to a design, it is important to test it out. Use paper and other materials to create a prototype of your robot and see if it works. This will allow you to make any adjustments before you start building the final version.
Robotics 101: How to Make a Simple Paper Robot
Making a simple paper robot is a great way to learn about robotics and programming. Here is a guide to help you get started:
Planning the Robot’s Design
Before you begin building your robot, it is important to plan its design. Think about what functions you want your robot to have and how it should look. This will help you determine the shape and size of your robot.
Constructing the Robot
Once you have a plan, it is time to start building your robot. Use paper and other materials to construct the body of the robot. Be sure to follow the instructions carefully to ensure that your robot will function properly.
Programming the Robot
The last step in creating a paper robot is programming it. This involves writing code to control the robot’s movements and functions. With a bit of practice, you can program your robot to perform certain tasks.
Conclusion
Creating a paper robot is a great way to learn about robotics and programming. By following the steps outlined in this article, you can make your own robot from paper. From gathering materials to assembling the robot, the process is relatively straightforward. Additionally, there are many possibilities for customizing your robot with decorative elements and artistic details. With a bit of practice, you can craft your own unique paper robot.
As technology continues to evolve, so does the world of robotics. Paper robots provide a great introduction to the basics of robotics and programming, and can also be used to explore more advanced concepts. As the possibilities are endless, paper robots are sure to remain popular for many years to come.
(Note: Is this article not meeting your expectations? Do you have knowledge or insights to share? Unlock new opportunities and expand your reach by joining our authors team. Click Registration to join us and share your expertise with our readers.)