
Introduction
Robots are becoming increasingly prevalent in our everyday lives. From robotic vacuum cleaners to automated manufacturing lines, robots are helping us automate tedious tasks and make our lives easier. But what if you wanted to build a robot yourself? It might seem like a daunting task, but with the right materials and some basic know-how, you can create a fully functional robot at home.
But first, let’s take a look at what a robot is. A robot is a machine that is capable of performing a variety of tasks autonomously or semi-autonomously. This means that the robot can be programmed to perform certain tasks without any human intervention. Robots can also be programmed to interact with their environment, such as navigating around obstacles or responding to voice commands.
The benefits of building a robot at home are numerous. Not only will you gain an understanding of robotics and programming, but you’ll also have the satisfaction of creating something entirely from scratch. Plus, you can use your homemade robot for a variety of tasks, from cleaning up the house to entertaining guests.
Step-by-Step Guide to Building a Robot at Home
Now that you know what a robot is and why you should build one at home, let’s take a look at how to go about doing it. Here’s a step-by-step guide to building a robot from scratch.
Gather the Necessary Materials
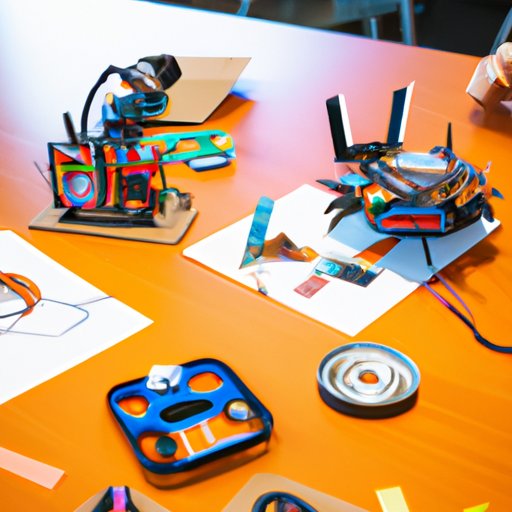
The first step in building a robot is gathering all the necessary materials. You’ll need a frame, motors, sensors, wiring, a power source, and a computer or microcontroller. Depending on the type of robot you’re building, you may also need additional components such as wheels, tracks, or other moving parts.
Assemble the Robot Frame
Once you have all your materials, the next step is to assemble the robot’s frame. This can be done using a variety of materials, such as wood, metal, or plastic. The frame will act as the foundation for the rest of the robot, so make sure that it is sturdy and well-constructed.
Install the Motor and Sensors
Next, you’ll need to install the motor and sensors. Motors provide the robot with movement, while sensors allow it to detect its environment and interact with it accordingly. Depending on the type of robot you’re making, you may need different types of motors and sensors.
Connect the Wiring
Once the motors and sensors are installed, you’ll need to connect them to the frame with wiring. Make sure to use quality wiring and connectors to ensure that your robot won’t experience any electrical issues.
Install the Power Source
In order to power your robot, you’ll need to install a power source. This can be either a battery or a power outlet. If you’re using a battery, make sure to choose one that is powerful enough to run your robot for an extended period of time.
Program Your Robot
The final step in building a robot is to program it. Depending on the type of robot you’re making, this could involve writing code, setting up sensors, or developing algorithms. Programming your robot will enable it to perform tasks autonomously or semi-autonomously.
Exploring Different Materials for Homemade Robots
When it comes to building a robot at home, there are a variety of materials you can use. Here are some of the most common materials used to construct homemade robots:
Common Household Items
One of the easiest ways to build a robot is to use common household items. These include wood, cardboard, plastic, wire, and glue. With these materials, you can create a basic frame and attach motors, sensors, and other components.
3D Printing Materials
If you want to create a more complex robot, you can use 3D printing materials. These materials, such as ABS and PLA plastic, can be used to create intricate parts for your robot. 3D printing is also relatively inexpensive, making it a great option for those on a budget.
Off-the-Shelf Parts
Another option for building a robot is to purchase off-the-shelf parts. These parts, such as motors, sensors, and wiring, can be found online or at your local electronics store. By buying these parts, you can save time and money compared to building everything from scratch.
Tips and Tricks for Assembling a Robot from Scratch
Building a robot from scratch can be a challenging task, but here are some tips and tricks to help make the process easier:
Take Your Time
Building a robot requires patience and attention to detail. Take your time when assembling the parts and double-check all connections before moving on to the next step.
Test Each Component Before Moving On
Before you start connecting the components together, make sure to test each component individually. This will ensure that all the parts are working properly before you begin the assembly process.
Use a Quality Soldering Iron
Soldering is essential when constructing a robot, so make sure to use a quality soldering iron. This will ensure that all connections are secure and won’t come apart during operation.

Creating an A.I. Brain for Your Robot
Once your robot is assembled, the next step is to give it an artificial intelligence (A.I.) brain. To do this, you’ll need to research artificial intelligence algorithms, choose the right software platform, and develop your own algorithm.
Research Artificial Intelligence Algorithms
The first step in creating an A.I. brain for your robot is to research artificial intelligence algorithms. There are a variety of algorithms available, so make sure to do your research and find one that fits your needs.
Choose the Right Software Platform
Once you’ve chosen an algorithm, you’ll need to decide on a software platform. There are several popular platforms available, such as Arduino and Raspberry Pi, so make sure to pick the one that best suits your needs.
Develop Your Own Algorithm
Finally, you’ll need to develop your own algorithm. This will involve coding and programming your robot to respond to its environment and perform tasks autonomously.
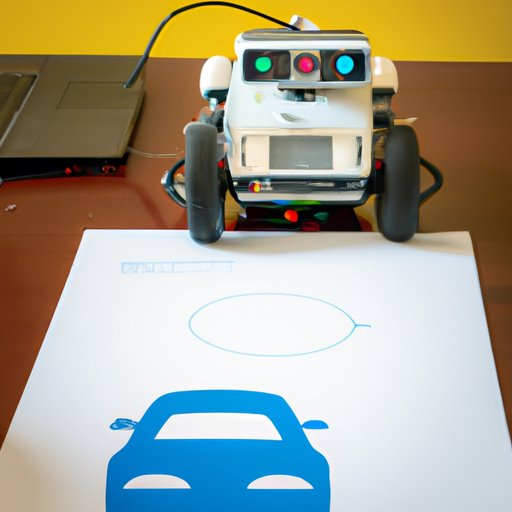
Programming Your Robot for Autonomous Navigation
Once your robot has an A.I. brain, the next step is to program it for autonomous navigation. To do this, you’ll need to understand the basics of robotics programming, map out your robot’s environment, and set up its navigation system.
Understand the Basics of Robotics Programming
Before you can program your robot for autonomous navigation, you’ll need to understand the basics of robotics programming. This includes learning about sensors, motors, and programming languages such as C++ or Python.
Map Out Your Robot’s Environment
Once you’ve mastered the basics of robotics programming, you’ll need to map out your robot’s environment. This involves creating a virtual environment that your robot can navigate through. You can use software such as ROS (Robot Operating System) to create this virtual environment.
Set Up Your Robot’s Navigation System
Finally, you’ll need to set up your robot’s navigation system. This involves programming your robot to recognize objects in its environment and respond to them accordingly. You can use algorithms such as SLAM (Simultaneous Localization and Mapping) to help your robot navigate its environment.
Conclusion
Building a robot from scratch can be a daunting task, but with the right materials and some basic know-how, anyone can do it. By following the steps outlined in this guide, you can create a fully functional robot at home. From gathering the necessary materials to programming your robot for autonomous navigation, you’ll learn a lot along the way and have the satisfaction of knowing that you created something entirely from scratch.
If you ever get stuck or need help with building a robot, there are plenty of resources available online. Forums such as Reddit and Stack Exchange are great places to ask questions and get advice from experienced robot builders. You can also find tutorials and other helpful resources on websites such as Instructables and Hackaday.
(Note: Is this article not meeting your expectations? Do you have knowledge or insights to share? Unlock new opportunities and expand your reach by joining our authors team. Click Registration to join us and share your expertise with our readers.)