Introduction
Paper robots are a fun and creative way to explore the world of robotics. With just a few simple materials, you can make your own paper robot that is unique and full of personality. Whether you’re a beginner or an experienced crafter, there are plenty of ways to customize and personalize your paper robot. Read on to learn more about the process of making a paper robot and get a step-by-step guide for creating your own.
What is a Paper Robot?
A paper robot is a robotic construct made out of paper and other craft supplies. It can be as simple or as complex as you want it to be. You can use templates or draw your own designs to create a robot with its own unique look and personality. You can also add motors and battery power to make your robot move. The possibilities are endless.
Benefits of Making a Paper Robot
Making a paper robot is a great way to get creative and have fun. It’s also a great way to learn about robotics and engineering concepts. According to a study by the National Science Foundation, “building paper robots helps children develop problem-solving skills, encourages them to think outside the box and sparks their imagination.” Plus, it’s a great way to bond with family and friends. So grab your supplies and let’s get started!
Step-by-Step Guide: Create a Fun Paper Robot
Before you start crafting your paper robot, you’ll need to gather some supplies. You’ll need paper, scissors, glue, tape, markers, paint, glitter, and any other embellishments you want to use. Once you have all your materials, follow these steps to make your own paper robot.
Gather Materials Needed
You’ll need paper, scissors, glue, tape, markers, paint, glitter, and any other embellishments you want to use. It’s important to make sure you have everything you need before you start so you don’t have to stop in the middle of the project.
Follow Instructions for Crafting a Clever Paper Robot from Scratch
The first step is to figure out what kind of robot you want to make. Do you want to use a template or draw your own designs? Once you’ve decided, you can start putting together the pieces. Cut out the shapes and glue them together to form the body and limbs of your robot. Make sure to leave space for motors and battery power if you plan on making your robot move.
Assemble the Pieces into a Robot
Once all the pieces are cut and glued together, it’s time to assemble your robot. Put the pieces together and secure them with tape or glue. You can also use additional materials such as string or wire to make the joints more secure. Once the robot is assembled, it’s time to get creative and add details.
From Concept to Creation: Making a Paper Robot
Making a paper robot is a creative process that can take your concept and turn it into a real-life creation. Here are some tips for turning your ideas into reality.
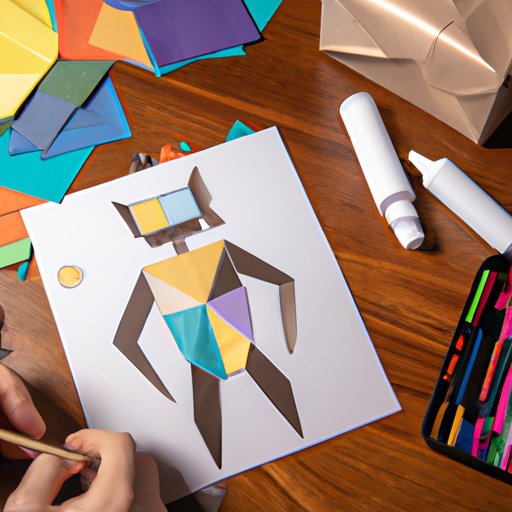
Brainstorm Ideas for the Design
Before you start crafting, take some time to brainstorm ideas for your robot’s design. Think about what kind of robot you want to make and what features you want it to have. This will help you come up with a unique design that reflects your creativity.
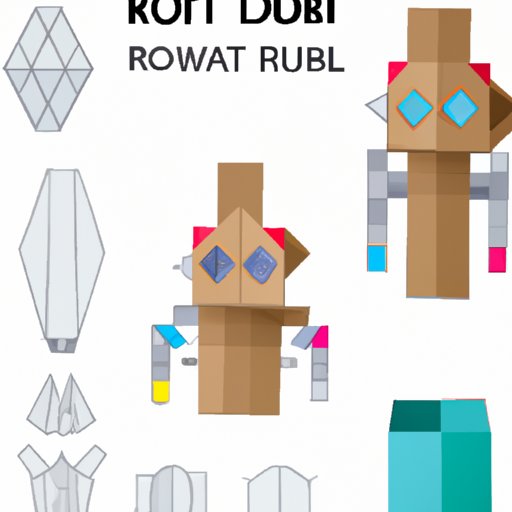
Use Templates or Draw Your Own Designs
Once you have an idea of what you want to make, you can either find a template online or draw your own designs. If you choose to draw your own, use graph paper so you can be precise when cutting out the pieces. You can also use software such as Adobe Illustrator to create your designs.
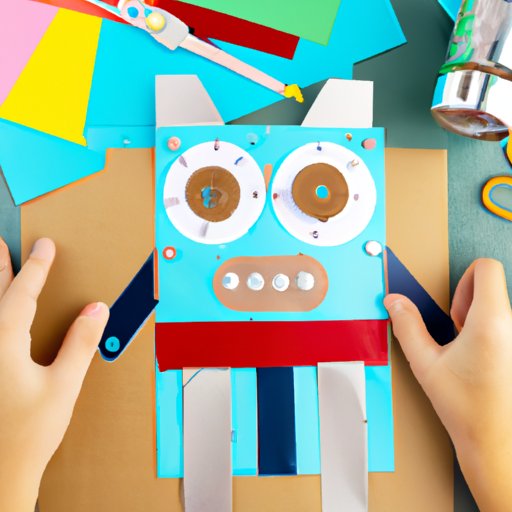
Put Together the Pieces and Add Details
Now it’s time to put together all the pieces and give your robot character. Use markers to draw eyes, noses, mouths, and other details. You can also add accessories such as hats, bows, and other items to give your robot some personality. Finally, use paint, glitter, and other embellishments to bring your robot to life.
Get Creative: How to Make a Paper Robot
Once you’ve crafted your robot, you can add even more features to make it unique. Here are some ideas for customizing and personalizing your paper robot.
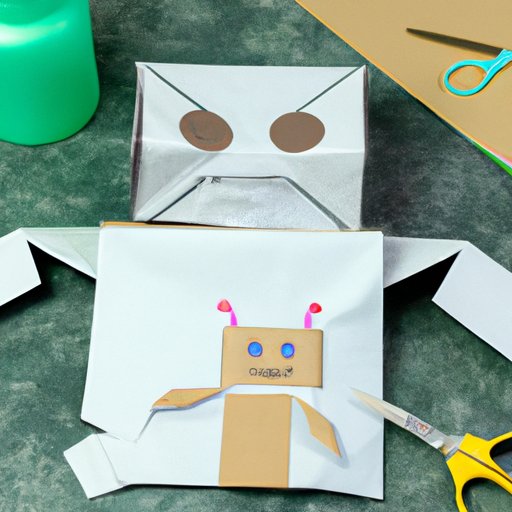
Customize the Robot with Accessories
Add accessories such as hats, bows, and other items to give your robot some personality. You can also use wires or string to make your robot’s arms and legs move. Finally, use markers, paint, and glitter to add even more character to your robot.
Decorate the Robot with Paint, Glitter, and Other Embellishments
Give your robot a unique look by decorating it with paint, glitter, and other embellishments. You can use paint to give the robot a metallic finish or glitter to make it sparkle. You can also use markers to draw faces, symbols, and other details.
Create Unique Movements with Motors and Battery Power
To make your robot move, you can add motors and battery power. Motors allow your robot to move its arms and legs, while battery power gives it the energy it needs. You can use a single motor for basic movements or multiple motors for more complex movements.
DIY Paper Robot: A Simple Tutorial
Ready to start crafting your paper robot? Here is a simple tutorial to get you started.
Start with an Easy Template
If you’re new to paper crafting, start with an easy template. You can find a variety of templates online that come with step-by-step instructions. This makes it easier to get started and gives you a good foundation for creating your own designs.
Assemble the Pieces
Once you have all the pieces cut out, it’s time to assemble the robot. Use tape or glue to secure the pieces together. Make sure to leave some space for motors and battery power if you plan on making your robot move.
Personalize the Robot
Now it’s time to give your robot some personality. Use markers, paint, glitter, and other embellishments to customize your robot. You can also add accessories such as hats and bows to make it even more unique.
Unleash Your Imagination: Designing a Paper Robot
Designing a paper robot is a great way to unleash your creativity. Here are some tips for coming up with unique designs and showcasing your creations.
Choose a Theme
When designing your robot, think about a theme or idea that you want to explore. Maybe you want to design a robot that looks like a superhero or a robot that has a certain color scheme. This will help you come up with a unique design that reflects your creativity.
Think Outside the Box
Don’t be afraid to think outside the box when it comes to designing your robot. Instead of using a template, try drawing your own designs. You can also add features such as moving arms and legs or lights to make your robot stand out.
Showcase Your Creation
Once you’ve finished your robot, showcase your creation by displaying it in your home or office. You can also share it with friends and family or enter it in competitions. No matter how you decide to show off your robot, you’ll be proud of the end result.
Conclusion
Making a paper robot is a fun and creative way to explore the world of robotics. With a few simple materials and a little bit of imagination, you can make your own paper robot that is full of personality. From brainstorming ideas to assembling the pieces, this article provides a step-by-step guide for creating your own paper robot. So grab your supplies and get crafting!
Summary of Key Points
In this article, we explored how to make a paper robot. We discussed the supplies needed, the steps for crafting a robot from scratch, and tips for customizing and personalizing your creation. We also provided a simple tutorial for getting started. With these tips, you can create your own unique paper robot in no time!
Final Thoughts on Making a Paper Robot
Making a paper robot is a great way to get creative and have fun. It’s also a great way to learn about robotics and engineering concepts.
(Note: Is this article not meeting your expectations? Do you have knowledge or insights to share? Unlock new opportunities and expand your reach by joining our authors team. Click Registration to join us and share your expertise with our readers.)