Introduction
When you’re wearing a hat, it should fit snugly and comfortably on your head. But sometimes, the hat might be too tight or too loose, or the brim might not be shaped correctly. If you’ve got a hat that needs a bit of work, don’t worry — there are plenty of ways to make it fit better. In this article, we’ll explore some of the best solutions for making a hat fit better.
Adjust the Hat’s Brim
One of the most common issues with hats is that the brim isn’t correctly shaped. This can cause the hat to look sloppy or uneven. Fortunately, you can easily adjust the brim to make the hat fit better. Here are two methods that you can use.
Use Fingers to Shape the Brim
The simplest way to adjust the brim is to use your fingers. Gently shape the brim by pressing down on it with your hands. Use your thumbs to flatten the brim, and your fingers to curve it slightly. Be sure to apply even pressure so that the brim maintains its shape.
Use an Iron to Make the Brim Flat
If the brim is still not flat enough, you can use an iron to flatten it out. Place the brim on a flat surface and cover it with a thin cloth. Use the iron on low heat to press down on the brim. Be careful not to use too much heat, as this can damage the hat.
Use a Hair Dryer to Reshape the Hat
If the hat is too tight or too loose, you can use a hair dryer to reshape it. The heat from the hair dryer will help the material to stretch, allowing you to make the hat fit better. Here are a few tips for using a hair dryer on a hat.
Heat the Hat to Ensure a Better Fit
Start by heating up the hat with the hair dryer. Hold the hair dryer about 12 inches away from the hat and move it around the hat in a circular motion. Be sure to keep the hair dryer moving so that the heat is evenly distributed.
Avoid Overheating the Hat
Be careful not to overheat the hat. If the hat starts to feel too hot, stop heating it and let it cool down before continuing. You should also avoid using too much heat, as this could damage the hat.

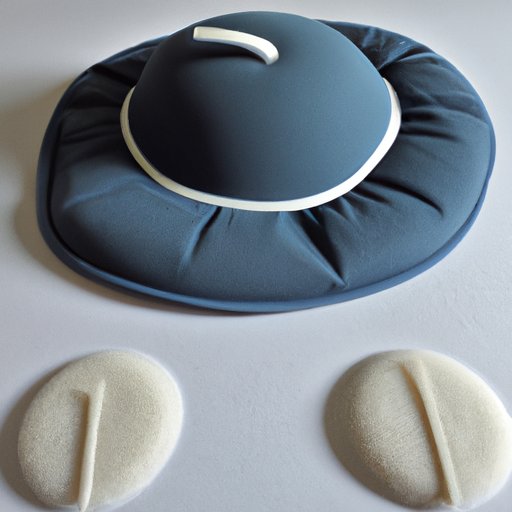
Add Padding to the Inside of the Hat
If the hat is too loose, you can add padding to the inside to make it fit better. Here’s how to do it.
Choose the Right Type of Padding
The type of padding you use will depend on the type of hat you’re working with. For baseball caps, you can use foam padding or batting. For felt hats, you can use fabric scraps or batting. Be sure to choose a material that won’t damage the hat.
Secure the Padding Inside the Hat
Once you’ve chosen your padding material, cut it into small strips and place them inside the hat. Use a needle and thread to secure the padding in place. This will help the hat fit more snugly and comfortably.

Use a Sweatband to Make the Hat Tighter
If the hat is too loose, you can add a sweatband to make it tighter. Here’s how to do it.
Choose the Right Size for the Sweatband
The size of the sweatband should be slightly smaller than the circumference of the hat. Measure the circumference of the hat and then choose a sweatband that’s slightly smaller. This will ensure that the sweatband fits snugly inside the hat.
Attach the Sweatband to the Hat
Once you’ve chosen the right size for the sweatband, attach it to the inside of the hat. Use a needle and thread to sew the sweatband in place. This will help the hat fit more snugly on your head.

Change the Size of the Hat with Sewing or Stitching
If all else fails, you can always change the size of the hat by sewing or stitching. Here’s how to do it.
Choose the Right Thread and Needle
First, choose the right thread and needle for the job. A strong, durable thread is best, such as polyester or nylon. Choose a needle that’s appropriate for the type of fabric you’re working with. For example, if you’re working with a cotton hat, use a sharp needle.
Sew or Stitch the Hat to the Desired Fit
Once you’ve chosen the right thread and needle, start sewing or stitching the hat. Start at the back of the hat and work your way around, sewing or stitching in small increments until you reach the desired fit. Be sure to use even stitches so that the hat fits properly.
Conclusion
As you can see, there are plenty of ways to make a hat fit better. From adjusting the brim to adding padding, you can easily customize your hat for a perfect fit. Keep in mind that you may need to experiment with different methods to find the one that works best for your hat. With a bit of patience and practice, you’ll be able to make your hat fit like a glove!
Summary of the Solutions
In this article, we explored several solutions for making a hat fit better. These included adjusting the brim, using a hair dryer to reshape the hat, adding padding to the inside, using a sweatband to make the hat tighter, and changing the size of the hat with sewing or stitching.
Tips on How to Make a Hat Fit Better
To make sure your hat fits perfectly, here are a few tips to keep in mind:
- Be gentle when shaping the brim to avoid damaging the hat.
- Don’t overheat the hat when using a hair dryer.
- Choose the right type of padding for the hat.
- Choose a sweatband that’s slightly smaller than the circumference of the hat.
- Choose the right thread and needle for sewing or stitching.
(Note: Is this article not meeting your expectations? Do you have knowledge or insights to share? Unlock new opportunities and expand your reach by joining our authors team. Click Registration to join us and share your expertise with our readers.)