Introduction
Whether you’re just getting into the world of RVing or you’ve been camping for years, it’s important to know how to level a travel trailer. Having a properly leveled trailer is essential for a comfortable camping experience and can help to prevent damage to both the trailer and its furnishings. In this article, we’ll explain the importance of leveling a travel trailer and provide a step-by-step guide on how to do it correctly.
Prepare the Site
The first step in leveling your travel trailer is to make sure the area is level and free of debris. If you’re setting up on a campground or other paved surface, use a level or tape measure to ensure the ground is even. If you’re camping on grass or another softer surface, you may need to use a shovel or rake to remove any rocks or sticks and level out the area.
Use Jacks
Once you’ve found a level spot, you can start to level your trailer using jacks. Place one jack at each corner of the trailer, making sure they are firmly connected to the frame. Then, adjust the jacks until the trailer is level from side to side, front to back, and from top to bottom. This is an important step, as unevenness in any direction can cause discomfort during your stay.
Check with a Level
Even after adjusting the jacks, it’s important to double-check that the trailer is level in all directions. To do this, use a bubble level or a carpenter’s level. Place the level along the length of the trailer, then rotate it 90 degrees and check the width. Finally, place the level across the roof of the trailer to check that it is level from side to side. If the trailer is not level in any direction, adjust the jacks accordingly.
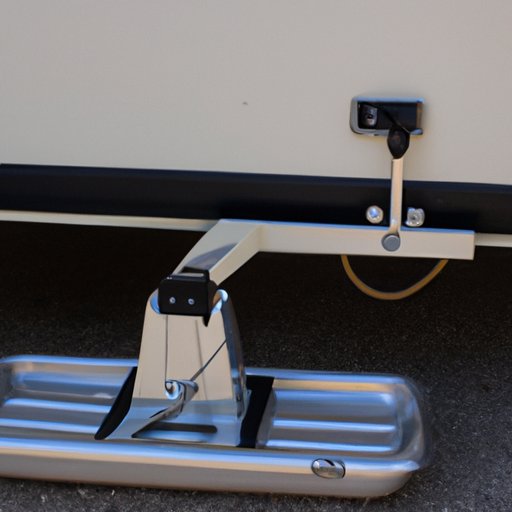
Adjust the Hitch
Now that the trailer is level, you’ll want to adjust the hitch so that the trailer remains level when it is connected to the tow vehicle. To do this, raise or lower the hitch ball until the trailer is perfectly level when it is attached. You may need to repeat this step if you are towing the trailer over uneven terrain.
Add Blocks
If, after adjusting the jacks and the hitch, the trailer is still not perfectly level, you can add blocks beneath the low side of the trailer to raise it up and level it out. Be sure to place the blocks in an area that is free of debris and debris. Make sure the blocks are firmly placed beneath the trailer and that they won’t shift or move when you drive away.
Use Chocks
Finally, once the trailer is level, you’ll want to place chocks on the tires to keep the trailer from rolling or shifting. Chocks should be placed on both the front and the rear tires of the trailer. This will help to keep the trailer secure and level while you enjoy your camping trip.
Conclusion
Leveling a travel trailer isn’t difficult, but it is an important step in ensuring a comfortable camping experience. By following these steps, you can quickly and easily level your trailer and be ready to hit the road. Make sure to double-check your work with a level, and don’t forget to add blocks and chocks to the tires before you drive away. With a few simple steps, you can have your trailer perfectly level in no time.
(Note: Is this article not meeting your expectations? Do you have knowledge or insights to share? Unlock new opportunities and expand your reach by joining our authors team. Click Registration to join us and share your expertise with our readers.)