
Introduction
Window wells are a great way to let natural light into your basement without sacrificing security. But, when it comes to keeping out water, dirt, debris and pests, they need protection. This is where window well covers come in. In this article, we’ll explore everything you need to know about installing window well covers, from gathering the necessary materials to understanding local building codes.
Overview of Window Well Covers
Window well covers are designed to keep out water, debris, animals and other unwanted elements. They also provide insulation for your home and help reduce energy costs. Depending on your needs, there are several types of window well covers available, including metal, plastic, fabric and mesh. Each type has its own advantages and disadvantages, so be sure to do your research before making a purchase.
Overview of the Problem
Installing window well covers can be a tricky task. It requires precision measurement and knowledge of local building codes. If not done correctly, the cover could be too large or too small, leading to potential flooding or air infiltration. Additionally, improper installation can result in weakened structural integrity and costly repairs down the line.
Step-by-Step Guide to Installing Window Well Covers
Before beginning the installation process, make sure you have all the necessary tools and materials. This includes a tape measure, screws and nails, level, drill, and window well cover. Once you have everything you need, you’re ready to begin.
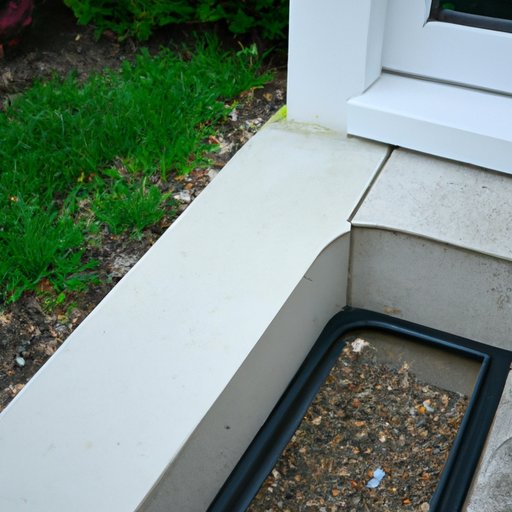
Preparing the Area
The first step is to prepare the area. Make sure the window well is free of debris and any obstacles that could get in the way of the installation. This includes removing rocks, dirt, and weeds. You’ll also want to make sure the window well is clean and dry before proceeding.
Measuring and Marking the Site
Once the area is prepped, it’s time to measure and mark the site. Using a tape measure, take precise measurements of the window well opening. Be sure to measure both the length and width, as well as the depth. Once you have all the measurements, mark the area with a pencil or marker.
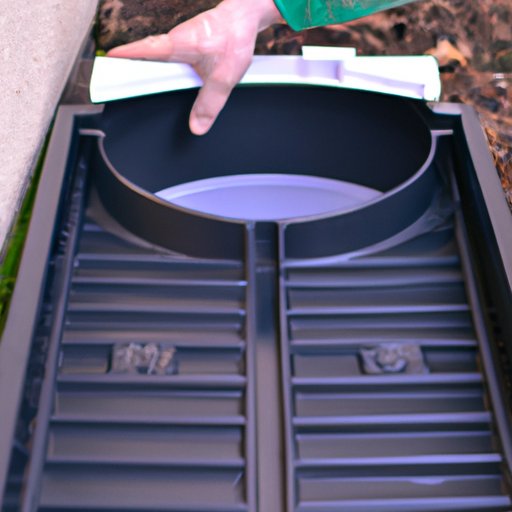
Securing the Cover
Now that the area is marked, it’s time to secure the cover. Depending on the type of cover you purchased, the installation process may vary slightly. Generally, you’ll need to attach the cover to the window well frame using screws or nails. Make sure the cover is securely fastened to the frame and that it won’t move or shift once installed.
Finishing Touches
The last step is to add the finishing touches. This may include adding caulk or sealant around the edges of the cover to ensure a tight fit. You may also want to add foam weatherstripping to the inside of the cover to further protect against air infiltration. Once all the necessary adjustments have been made, your window well cover installation is complete.
How to Easily Install Window Well Covers in Under an Hour
Installing window well covers doesn’t have to be complicated or time consuming. With the right tools, materials and instructions, you can easily install window well covers in under an hour. Here’s what you need to do:
Gather Necessary Tools and Materials
Gather all the necessary tools and materials before beginning. This includes a tape measure, screws and nails, level, drill, and window well cover. Make sure you have enough of each item for the job.
Follow Step-by-Step Guide
Next, follow the step-by-step guide outlined above. This includes preparing the area, measuring and marking the site, securing the cover, and adding the finishing touches.
Double Check for Accuracy
Finally, double check your work for accuracy. Make sure the cover is firmly attached to the frame and that all the measurements are correct. You don’t want to have to redo the installation because of an inaccurate measurement.
DIY Window Well Cover Installation Tips
Installing window well covers doesn’t have to be difficult. Here are some tips to keep in mind when tackling this project on your own:
Use High Quality Covers
When buying window well covers, make sure to purchase high quality materials. Cheap covers can be more prone to breaking and may not last as long as more expensive ones. Doing your research ahead of time can save you money in the long run.
Take Time to Measure
Accurate measurements are essential for a successful installation. Take your time and make sure all measurements are correct before proceeding. This will help avoid costly mistakes down the line.
Securely Anchor Covers
Once the cover is in place, make sure it is securely anchored to the window well frame. This will help prevent shifting or movement, which can lead to air infiltration or flooding.
What You Need to Know Before Installing Window Well Covers
Before beginning the installation process, there are a few things you should consider. Understanding local building codes, considering material durability, and taking precautions against flooding are all important steps in ensuring a successful installation.
Understand Local Building Codes
Check with your local building codes before beginning the installation process. This will help ensure that the cover meets all requirements and regulations in your area.
Consider Material Durability
When selecting a window well cover, consider the material’s durability. Some materials may be more resistant to extreme temperatures, UV rays, and other elements. Choosing a durable material can help extend the life of your cover.
Take Precautions Against Flooding
Finally, take precautions against flooding. This may include sealing the edges of the cover with caulk or adding foam weatherstripping to the inside. These steps can help prevent water from entering the window well.
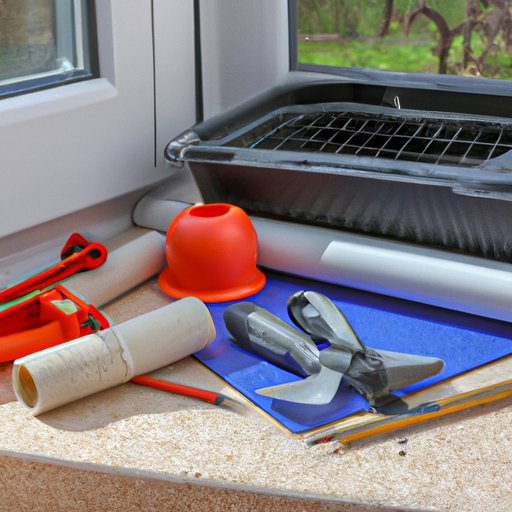
Tools and Materials Necessary for Installing Window Well Covers
Installing window well covers requires certain tools and materials. Here’s a list of what you’ll need:
Tape Measure
A tape measure is necessary for taking accurate measurements of the window well opening. Make sure the measurements are precise before proceeding.
Screws and Nails
You’ll need screws and nails to secure the cover to the window well frame. Make sure you have enough of each item for the job.
Level
Using a level ensures that the cover is installed properly and won’t shift or move once in place.
Drill
A drill is necessary for drilling holes for the screws and nails. Make sure you have the right size drill bit for the job.
Window Well Cover
Last but not least, you’ll need a window well cover. Be sure to choose a cover that meets your needs and fits the measurements of the window well opening.
Simple Instructions for Installing Window Well Covers
Installing window well covers doesn’t have to be complicated. Here are some simple instructions for getting the job done quickly and efficiently:
Prepare the Area
Clear away any debris, rocks, dirt, and weeds from the window well. Make sure the area is clean and dry before proceeding.
Measure and Mark
Using a tape measure, take precise measurements of the window well opening. Mark the area with a pencil or marker.
Secure the Cover
Attach the cover to the window well frame using screws or nails. Make sure it is securely fastened and won’t move or shift once installed.
Finish with Finishing Touches
Add caulk or sealant around the edges of the cover and foam weatherstripping to the inside. These steps will help ensure a tight fit and provide extra protection against air infiltration.
Expert Advice on Installing Window Well Covers
Installing window well covers can be tricky, so it’s best to consult a professional if you’re unsure of the process. Here are some expert tips to keep in mind:
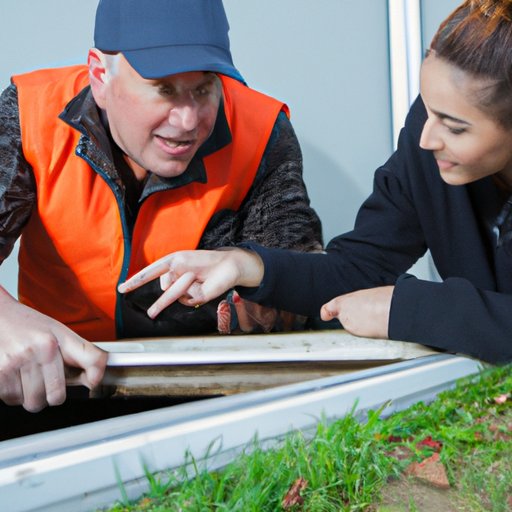
Hire a Professional
If you’re unfamiliar with the installation process, consider hiring a professional. A qualified contractor can help ensure the job is done correctly and efficiently.
Follow Manufacturer Guidelines
Be sure to follow the manufacturer’s guidelines when installing the cover. This will help ensure a successful installation and avoid any potential issues down the line.
Utilize Proper Safety Precautions
Finally, use proper safety precautions when handling tools and materials. Wear protective gear, such as gloves and eye protection, and follow the manufacturer’s safety instructions.
Conclusion
Installing window well covers is a great way to protect your home from water, dirt, debris, and pests. With the right tools, materials, and instructions, you can easily install window well covers in under an hour. Be sure to understand local building codes, consider material durability, and take precautions against flooding for a successful installation.
(Note: Is this article not meeting your expectations? Do you have knowledge or insights to share? Unlock new opportunities and expand your reach by joining our authors team. Click Registration to join us and share your expertise with our readers.)