Introduction
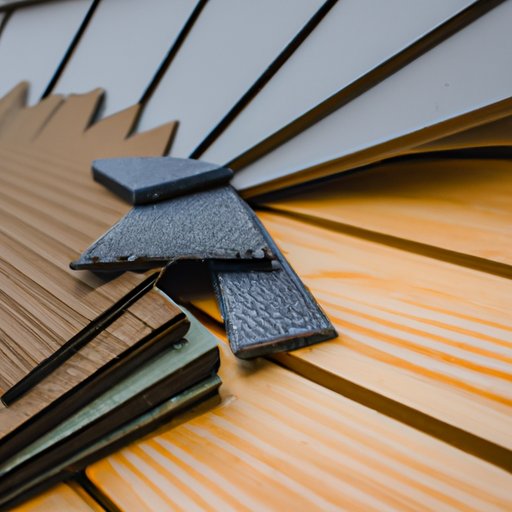
Architectural shingles are one of the most popular roofing materials used in residential homes. They are made of asphalt and feature a three-dimensional structure that gives them a unique texture and appearance. With proper installation, architectural shingles can provide a stylish look and added protection for your home.
This article will provide a step-by-step guide to installing architectural shingles, as well as tips and advice for those who are new to the process or attempting it as a DIY project.
Step-by-Step Guide to Installing Architectural Shingles
Installing architectural shingles requires careful preparation and planning. Before starting, you should make sure that you have all the necessary supplies and tools, and that you understand local building codes and regulations. Follow these steps to install architectural shingles on your roof.
1. Preparation and Planning
Before beginning the installation process, measure the area where you plan to install the shingles. This will help you determine how many shingles you need and the amount of supplies required. You should also check the roof for any damage or weak spots that may need to be addressed before installation. Additionally, you should consult local building codes to ensure that your installation meets all requirements.
2. Gather Supplies
Once you’ve determined the area to be covered and inspected the roof for any potential problems, it’s time to gather the supplies needed for installation. You will need roofing felt paper, shingles, nails, sealants, and other materials. Make sure to purchase high-quality materials to ensure proper installation.
3. Layout the Shingles
Once you have all the supplies, you can begin laying out the shingles. Start at the bottom of the roof and work your way up. Make sure to overlap each course of shingles by at least 2 inches to ensure a secure fit.
4. Install the Starter Course
The starter course is the first row of shingles. It should be installed along the eaves of the roof and should be laid out with the tabs facing down. The starter course should be secured with nails and sealed with a compatible sealant.
5. Install Remaining Shingles
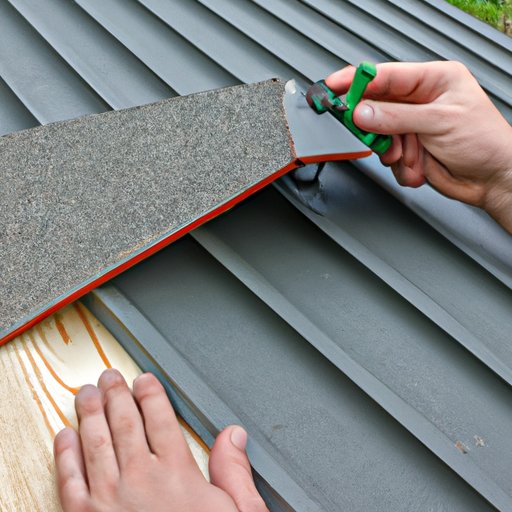
Once the starter course has been installed, you can begin laying the remaining shingles. Make sure to overlap each course by at least 2 inches, and use a chalk line to ensure a straight line. Secure the shingles with nails, making sure to hit the nail heads below the shingle surface.
6. Secure Shingles with Nails
After you’ve laid out the shingles, it’s time to secure them with nails. Use a hammer to lightly tap the nails into place, making sure that the nail heads are below the shingle surface. This will help prevent water from seeping through the roof.
7. Seal the Shingles
Sealing the shingles is an important step in the installation process. You should use a compatible sealant to fill any gaps between the shingles and the roof. This will help protect the roof from water damage and extend the life of the shingles.
8. Final Touches
Once the shingles have been secured and sealed, you can add the final touches. You should inspect the roof for any loose nails or sealant gaps, and repair them if necessary. You should also clean up any debris or leftover materials.
A Beginner’s Guide to Installing Architectural Shingles
If you’re new to installing architectural shingles, there are a few things you should know. First, it’s important to understand the basics of the installation process. Read the instructions carefully and make sure you understand the necessary steps.
It’s also important to use safety gear when installing shingles. Wear protective clothing, gloves, and eye protection to avoid injury. Additionally, make sure to follow all local building codes and regulations.
How to Install Architectural Shingles in 5 Simple Steps
Installing architectural shingles doesn’t have to be complicated. Here are five simple steps to help you get started.
1. Prepare for Installation
Before installing the shingles, measure the area to be covered and inspect the roof for any damage or weak spots. Additionally, make sure to understand local building codes and gather all the necessary supplies.
2. Lay Out the Shingles
Once you have the supplies, you can begin laying out the shingles. Start at the bottom of the roof and work your way up, overlapping each course by at least 2 inches.
3. Install the Starter Course
The starter course should be installed along the eaves of the roof and should be laid out with the tabs facing down. Secure the starter course with nails and seal with a compatible sealant.
4. Install the Remaining Shingles
Once the starter course is in place, you can begin laying the remaining shingles. Overlap each course by at least 2 inches and secure with nails.
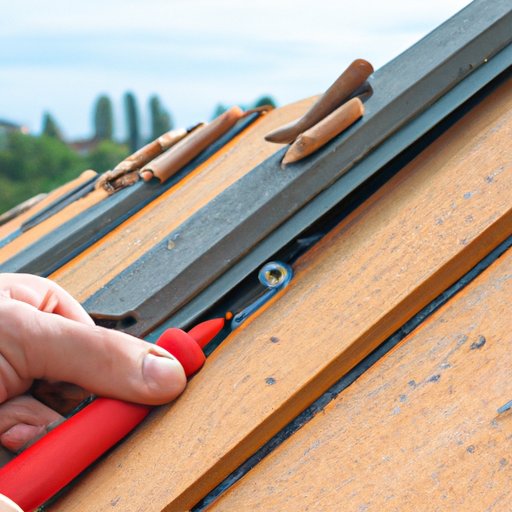
5. Secure the Shingles with Nails
Once all the shingles have been laid, use a hammer to lightly tap the nails into place. Make sure the nail heads are below the shingle surface to prevent water from seeping through the roof.
Installation Tips for Installing Architectural Shingles
Installing architectural shingles requires careful attention to detail. Here are a few tips to help you get the job done right.
Choose Quality Materials
When purchasing supplies for installation, make sure to choose high-quality materials. Cheap materials can lead to poor installation and may cause future problems.
Measure Twice, Cut Once
Before cutting any shingles, make sure to measure twice and cut once. This will help ensure that the shingles fit properly and reduce the risk of mistakes.
Make Sure to Overlap Correctly
It’s important to make sure that each course of shingles overlaps correctly. Overlapping too little can leave gaps between the shingles, while overlapping too much can cause the shingles to buckle.
Consider Using Adhesive
Adhesive can be used to help secure the shingles and reduce the risk of leaks. However, make sure to use a compatible adhesive to ensure a secure fit.
DIY: Installing Architectural Shingles for Your Home
Installing architectural shingles can be a challenging task, especially for those who are new to the process or attempting it as a DIY project. Here are some tips to help you get started.
Gather Necessary Tools and Materials
Before beginning, make sure that you have all the necessary tools and materials. This includes roofing felt paper, shingles, nails, sealants, and other materials.
Do an In-Depth Inspection
Inspect the roof for any damage or weak spots that may need to be addressed before installation. Additionally, make sure to understand local building codes and regulations.
Get Familiar with Local Regulations
Make sure to familiarize yourself with local building codes and regulations. This will help ensure that your installation meets all requirements.
Know When to Call a Professional
Installing architectural shingles can be a difficult and dangerous task. If you’re not confident in your abilities, it’s best to call a professional for help.
Conclusion
Installing architectural shingles on your roof can be a daunting task. However, with the right preparation and knowledge, you can successfully install shingles and protect your home. Be sure to read the instructions carefully, use quality materials, and follow local building codes. Additionally, if you’re not comfortable with the task, don’t hesitate to call a professional.
(Note: Is this article not meeting your expectations? Do you have knowledge or insights to share? Unlock new opportunities and expand your reach by joining our authors team. Click Registration to join us and share your expertise with our readers.)