Introduction
Growing your own mushrooms is an exciting and rewarding experience! Not only will you have the satisfaction of watching your fungi grow, but you’ll also be able to enjoy delicious mushrooms in all kinds of dishes. This article will provide a step-by-step guide on how to grow your own mushrooms to eat, from researching the types of mushrooms to providing optimal growing conditions.
Researching Mushrooms
Before you start growing your own mushrooms, it’s important to do some research on what type of mushroom you’d like to grow. Different types of mushrooms require different environments, so you’ll need to make sure you’re providing the right conditions for your chosen variety. Some popular edible mushrooms include shiitake, oyster, maitake, and enoki mushrooms. Once you’ve chosen your type of mushroom, you can move on to the next step.
Obtaining Supplies
The next step is to obtain the necessary supplies for growing your mushrooms. You can purchase a mushroom-growing kit which contains all the materials you need, such as a container, substrate, and mushroom spawn. Alternatively, you can purchase each item separately. Whichever option you choose, make sure that you’re getting quality materials that are free of contaminants.
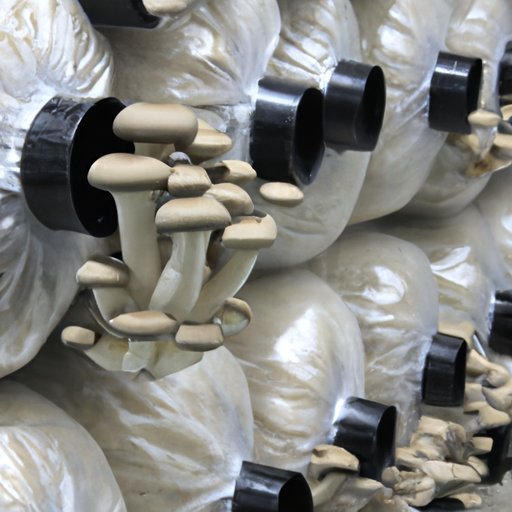
Preparing Substrate
Once you have all the necessary supplies, it’s time to prepare the substrate. The substrate is the material that the mushrooms will grow on. It can be made of wood chips, straw, compost, or even coffee grounds. Make sure the substrate is chopped up into small pieces and mixed together thoroughly. If you’re using a mushroom-growing kit, the substrate will likely already be prepared.
Sterilizing Substrate
The next step is to sterilize the substrate. This is important because it will kill any contaminants that could hinder the growth of your mushrooms. To sterilize the substrate, you can use a pressure cooker or oven. Make sure to follow the directions carefully and use protective gear such as gloves and a face mask.
Inoculating Substrate
Once the substrate has been sterilized, it’s time to inoculate it with the mushroom spawn. The spawn is essentially a starter culture of the mushroom mycelium. You can purchase this online or at a local gardening store. When you’re ready to inoculate the substrate, make sure to wear gloves and use a clean knife or spoon. Place the spawn onto the substrate and mix it in thoroughly.
Providing Optimal Growing Conditions
Now that the substrate has been inoculated, you need to provide the optimal growing conditions for your mushrooms. These include moisture, light, and temperature. Make sure the substrate is kept moist, but not too wet. The ideal temperature range is between 65-75°F. Additionally, you should provide indirect light, either natural or artificial. With these conditions in place, your mushrooms should start to grow within one to two weeks.
Conclusion
Growing your own mushrooms is a satisfying and delicious experience. By following the steps outlined in this article, you’ll be well on your way to enjoying your own home-grown fungi.
(Note: Is this article not meeting your expectations? Do you have knowledge or insights to share? Unlock new opportunities and expand your reach by joining our authors team. Click Registration to join us and share your expertise with our readers.)