Introduction
A trip lever tub drain is an essential part of any bathroom. It’s responsible for draining water out of the bathtub, allowing you to bathe without worrying about flooding the floor. Unfortunately, these drains can become clogged or damaged over time, leading to slow drainage or even complete blockage. When that happens, it’s important to know how to fix a trip lever tub drain.
In this article, we’ll discuss the definition of a trip lever tub drain, overview common issues and solutions, provide a step-by-step guide for replacing the drain, explain how to unclog it, troubleshoot and repair problems, and offer DIY tips for fixing it. We’ll also cover what you need to know when replacing a trip lever tub drain and provide some clever hacks for getting the job done.

Definition of a Trip Lever Tub Drain
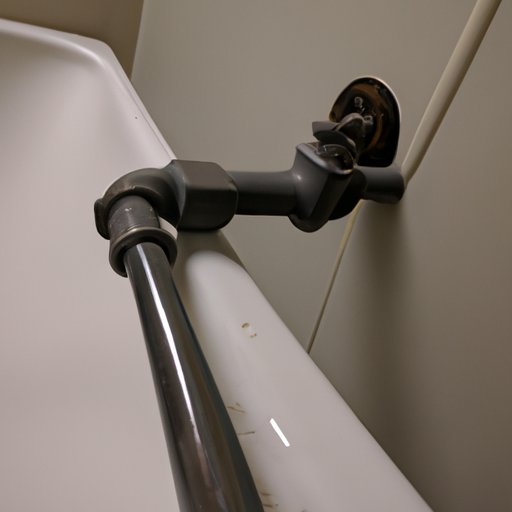
A trip lever tub drain is a type of bathtub drain that uses a spring-loaded plunger to open and close the drain. The trip lever is usually located on the side of the tub, near the faucet, and has two positions: up for open and down for closed. When the lever is in the up position, it releases the plunger, allowing water to drain out of the tub. When the lever is in the down position, it pushes the plunger into the drain, blocking the flow of water.
Overview of Issues and Solutions
Trip lever tub drains can experience a variety of issues, from clogs to broken parts. Fortunately, there are several solutions available for these common problems. Here’s a quick overview of some of the most common issues and their solutions:
- Clogs – Use a plunger, auger, or chemical cleaner to remove clogs.
- Leaks – Replace worn or damaged parts or reseal the drain.
- Stuck Lever – Use a lubricant or replace the lever.
- Slow Draining – Clean the trap, use a drain cleaner, or remove the clog.
Step-by-Step Guide to Replacing a Trip Lever Tub Drain
If you’re having trouble with your trip lever tub drain, you may need to replace it entirely. Here’s a step-by-step guide to help you do just that:
Gathering the Necessary Tools
Before you get started, you’ll need to gather the necessary tools for the job. This includes a basin wrench, pliers, a screwdriver, and a replacement trip lever tub drain. Make sure you have all the necessary tools before beginning the installation process.
Removing the Old Drain
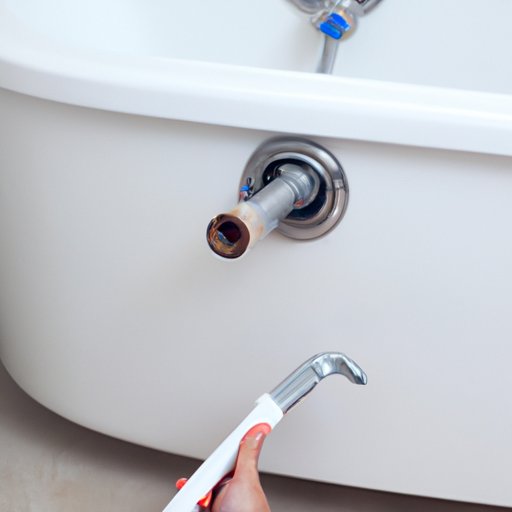
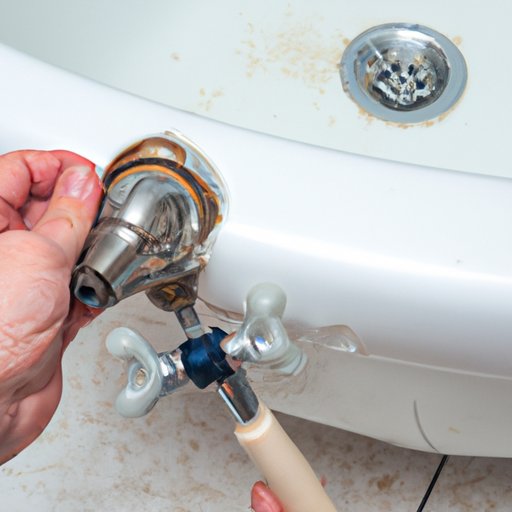
Once you have the tools you need, you can begin removing the old drain. Start by unscrewing the trip lever from the wall. Then, use the basin wrench to loosen the nuts holding the drain in place. Once the nuts are loose, you can pull the drain out of the tub.
Installing the New Drain
Next, it’s time to install the new drain. Begin by attaching the gasket to the underside of the drain. Then, slide the drain into the hole in the tub and secure it with the nuts. Finally, attach the trip lever to the wall and tighten it with the screwdriver.
Testing the New Drain
Once the drain is installed, you should test it to make sure it’s working properly. To do this, fill the tub with water and then pull the lever to see if the water drains. If the water drains quickly, the drain is working properly. If not, you may need to adjust the lever or check for other potential problems.

How to Unclog a Trip Lever Tub Drain
If your trip lever tub drain is clogged, don’t worry—it’s a relatively easy problem to fix. Here’s how to unclog a trip lever tub drain:
Identifying the Clog
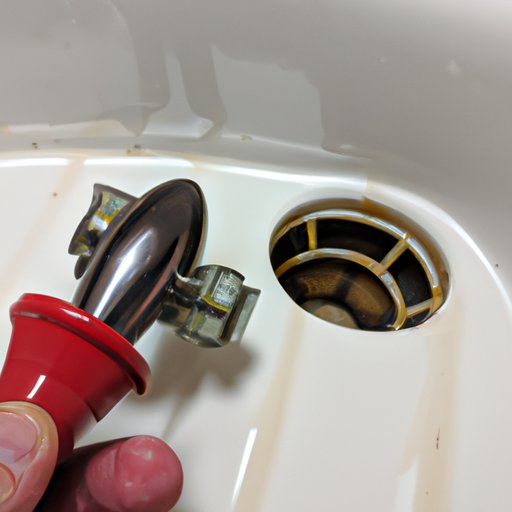
The first step is to identify the clog. You can do this by using a flashlight to look inside the drain. If you can see the clog, use a pair of pliers to remove it. If you can’t see the clog, you may need to use a plunger or auger to dislodge it.
Removing the Clog
Once you’ve identified the clog, it’s time to remove it. If the clog is small and accessible, you can try using a plunger to dislodge it. If the clog is farther down the drain, you may need to use an auger or a chemical cleaner to break it up. Be sure to follow the manufacturer’s instructions when using chemicals.
Preventing Future Clogs
Finally, it’s important to take steps to prevent future clogs. This means avoiding putting things like hair, soap scum, and food down the drain. You should also regularly clean the trap and use a drain cleaner to keep the pipes clear.
Troubleshooting and Repairing a Trip Lever Tub Drain
Sometimes, your trip lever tub drain will require more than just unclogging. Here are some common problems and their solutions:
Common Problems and Solutions
- Leaky drain – Try tightening the nuts or resealing the drain.
- Stuck lever – Use a lubricant or replace the lever.
- Broken parts – Replace the broken parts.
Best Practices for Maintenance
To keep your trip lever tub drain in good condition, it’s important to practice regular maintenance. This includes cleaning the trap regularly, running hot water down the drain occasionally, and using a drain cleaner every few months. By taking these simple steps, you can help ensure your drain stays in good condition for years to come.
DIY Tips for Fixing a Trip Lever Tub Drain
If you’re looking for a quick fix for your trip lever tub drain, you’re in luck. Here are some DIY tips for fixing common problems:
Quick Fixes for Common Problems
- Leaky drain – Try tightening the nuts or using plumber’s tape.
- Stuck lever – Use WD-40 or olive oil to lubricate the lever.
- Slow draining – Pour boiling water down the drain to clear the clog.
Creative Solutions for Unusual Problems
If you’re dealing with an unusual problem, you may need to get creative. For example, if the trip lever is stuck in the open position, you can try using a rubber band or zip tie to hold it in place. You can also use a wire hanger to remove hair clogs or a vacuum to suck out debris.

Replacing a Trip Lever Tub Drain: What You Need to Know
If you’re replacing your trip lever tub drain, there are a few things you need to know. First, make sure you choose the right parts for your specific model. Also, be sure to read the instructions carefully to understand the installation requirements.

Clever Hacks for Fixing a Trip Lever Tub Drain
If you’re in a pinch, there are several clever hacks you can use to fix your trip lever tub drain. For example, you can use a piece of string to pull out a clog or a coat hanger to remove debris. You can also use an old toothbrush to clean the trap or a rag to wipe away excess water.
Conclusion
Trip lever tub drains can be tricky to fix, but with the right knowledge and tools, it’s possible. In this article, we discussed the definition of a trip lever tub drain, provided a step-by-step guide for replacing it, explained how to unclog it, troubleshoot and repair problems, and offered DIY tips for fixing it. We also covered what you need to know when replacing a trip lever tub drain and provided some clever hacks for getting the job done. With this information, you can take care of your trip lever tub drain with confidence.
(Note: Is this article not meeting your expectations? Do you have knowledge or insights to share? Unlock new opportunities and expand your reach by joining our authors team. Click Registration to join us and share your expertise with our readers.)
