Introduction
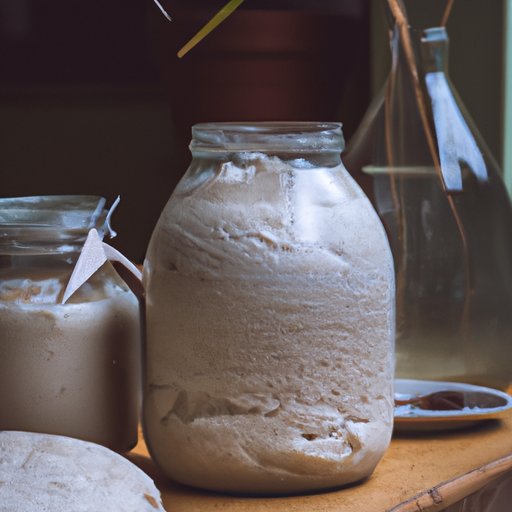
Sourdough starter is a mixture of flour and water that is used to make breads and other baked goods. It is made by combining flour and water together and allowing it to ferment over time. The fermentation process creates a unique flavor and texture in the dough. While many people use fresh sourdough starter in their recipes, some prefer to dry it out and store it for longer periods of time. In this article, we will explore how to dry sourdough starter for long-term storage.
Step-by-Step Guide to Drying Sourdough Starter
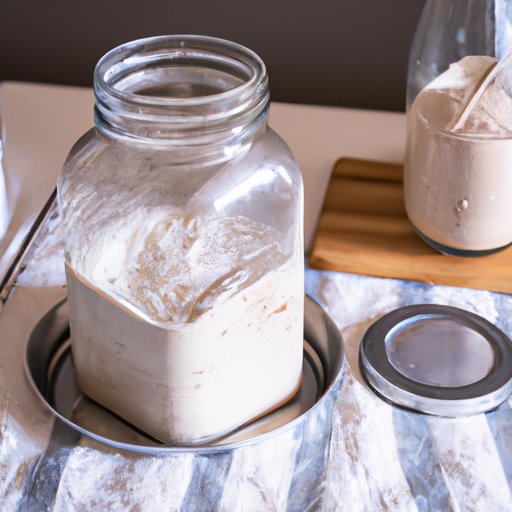
Before you begin the process of drying your sourdough starter, there are a few steps that you should take to ensure the best results. First, you need to prepare the starter. This involves mixing equal parts of flour and water until a thick paste forms. Then, you should cover the starter with a damp cloth and allow it to sit at room temperature for 12-24 hours. This will give the starter time to ferment and create the desired flavor and texture.
Once the starter has had time to ferment, you can begin the dehydration process. To do this, spread the starter evenly on a parchment paper-lined baking sheet. Place the baking sheet in an oven preheated to its lowest setting and bake for 2-3 hours. When the starter is completely dry and crumbly, remove it from the oven and let it cool before transferring it to an airtight container.
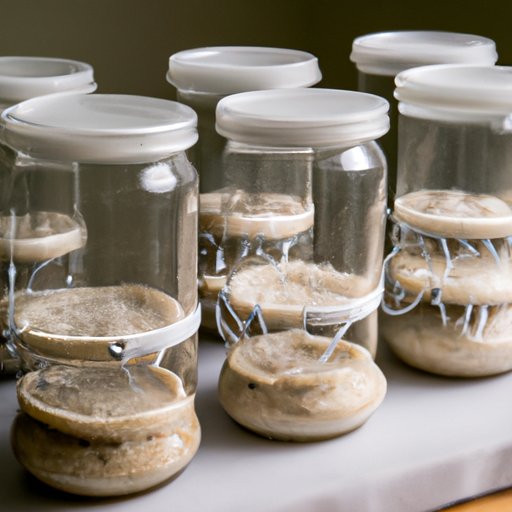
Finally, you can store the dried starter for future use. Make sure to keep it in an airtight container or vacuum-sealed bag to prevent any moisture from getting in. It is also important to label the container with the date of dehydration so you know when to replace the starter.

The Basics of Drying Sourdough Starter
There are several benefits to drying sourdough starter. For starters, it allows you to store the starter for longer periods of time. This means you don’t have to worry about making a new batch every few days or weeks. Additionally, since the starter has already been fermented, you don’t have to wait for it to rise before using it in your recipes.
When it comes to drying sourdough starter, there are two main methods: oven drying and air drying. Oven drying is the most popular method because it is quick and easy. It involves spreading the starter on a parchment paper-lined baking sheet and baking it in an oven preheated to its lowest setting for 2-3 hours. Air drying, on the other hand, is a slower process that requires more patience. To air dry the starter, spread it on a parchment paper-lined baking sheet and leave it out in a cool, dry place. Depending on the humidity level, air drying can take anywhere from 2-5 days.
How to Preserve Your Sourdough Starter with Drying
When drying sourdough starter, it’s important to follow a few best practices for long-term storage. First, make sure the starter is completely dry before storing it. If it is still moist, the starter can become moldy or spoil over time. Additionally, be sure to store the starter in an airtight container or vacuum-sealed bag. This will help prevent any moisture from getting in and ruining the starter.
It is also important to consider the pros and cons of different drying techniques. Oven drying is the quickest and most efficient way to dry the starter, but it is also the most energy-intensive method. Air drying is slower, but it requires less energy and produces a more flavorful end product. Ultimately, the decision of which method to use depends on your own preference and what works best for you.
Tips on Drying Sourdough Starter for Long-Term Storage
In order to ensure successful dehydration, it’s important to pay attention to moisture levels and temperature control. Too much moisture can cause the starter to spoil, while too little moisture can cause it to dry out and become unusable. Additionally, the temperature of the oven should not exceed 140°F (60°C). This will help prevent the starter from burning or becoming too dry.

DIY: How to Easily Dry Sourdough Starter at Home
Drying sourdough starter at home is easy and doesn’t require any special equipment. All you need is some parchment paper, a baking sheet, and an oven. First, prepare the starter by mixing equal parts of flour and water until a thick paste forms. Cover the starter with a damp cloth and let it sit at room temperature for 12-24 hours. Once the starter has had time to ferment, spread it evenly on a parchment paper-lined baking sheet and place it in an oven preheated to its lowest setting. Bake the starter for 2-3 hours, or until it is completely dry and crumbly. Finally, transfer the dried starter to an airtight container and label it with the date of dehydration.
Conclusion
Drying sourdough starter is an easy and efficient way to store it for long-term storage. By following the step-by-step guide above, you can easily dry your starter at home without any special equipment. Additionally, you should pay attention to moisture levels and temperature control to ensure successful dehydration. With these tips, you can preserve your sourdough starter for months or even years.
(Note: Is this article not meeting your expectations? Do you have knowledge or insights to share? Unlock new opportunities and expand your reach by joining our authors team. Click Registration to join us and share your expertise with our readers.)
