Introduction
Drawing a star may seem like a daunting task, but it can be surprisingly easy once you understand the basic steps. A star is defined as a symmetrical shape made up of five or more points connected by straight or curved lines. With the right guidance, you can learn how to draw a star in no time!
This article will provide a step-by-step tutorial on how to draw a star, with pictures and helpful tips to illustrate each step of the process. We’ll also showcase examples from professional artists on how to draw a star from different angles. By the end of this article, you’ll have a better understanding of how to draw a star that looks realistic and impressive.
Step-by-Step Tutorial on How to Draw a Star
To get started, let’s break down the steps involved in drawing a star. There are three main components: creating the basic shape of the star, using lines to refine the shape, and adding color and detail. Each of these steps will be discussed in more detail below.
Create the Basic Shape of the Star
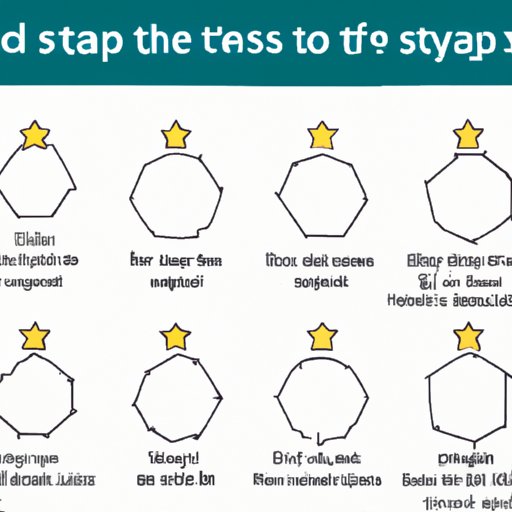
The first step in drawing a star is to create its basic shape. This can be done by drawing a series of intersecting lines that form a pentagon or hexagon. It’s important to make sure the lines are even and symmetrical so that the star looks balanced and proportional. To get an idea of what the basic shape should look like, take a look at the following examples:

Use Lines to Refine the Star’s Shape
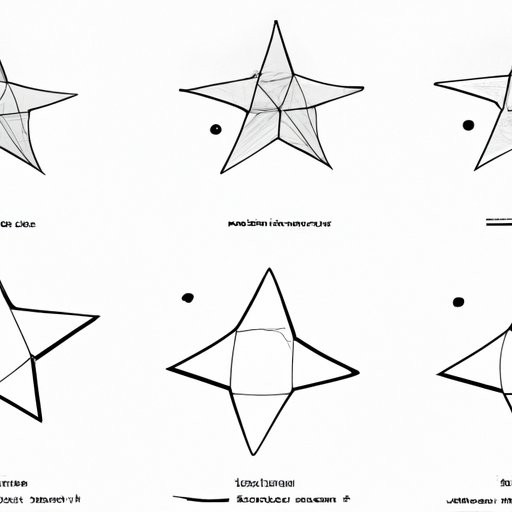
Once the basic shape of the star has been established, it’s time to refine it using lines. This involves connecting the points of the star with curved or straight lines to give it a smoother, more refined appearance. Again, it’s important to make sure the lines are even and symmetrical so that the star looks balanced and proportional. Here are some examples of how lines can be used to refine the shape of a star:

Add Color and Detail to the Star
The final step in drawing a star is to add color and detail. This involves blending colors to create depth and dimension, adding highlights and shadows to enhance the star’s appearance, and applying different textures to make the star look realistic. Here are some examples of how color and detail can be added to a star drawing:

Helpful Tips for Drawing Stars of Different Sizes
When drawing stars of different sizes, there are a few tips to keep in mind. First, it’s important to use the appropriate line thickness for each size of star. For example, a larger star will require thicker lines than a smaller one. Additionally, it’s important to use proportion to keep the stars in perspective. This means that if you’re drawing a small star, you should make sure the other elements in the drawing (such as the background) are also in proportion. Lastly, it’s important to create balance between different parts of the star. This means that each point should be the same size and shape, and each line should be the same length and width.
Demonstrate Techniques for Adding Color and Detail to a Star Drawing
Adding color and detail to a star drawing can help make it look more realistic and impressive. One way to do this is by blending colors to create depth and dimension. Start by choosing two or more colors that work well together. Then, use shading and highlighting techniques to blend them together. Another way to add color and detail is by adding highlights and shadows. This can be done by using lighter and darker shades of the same color to create the illusion of light reflecting off the star. Finally, you can apply different textures to the star to make it look more realistic. This can be done by using a variety of brush strokes, such as cross-hatching or stippling.
Offer Advice on How to Draw a Star from Any Angle
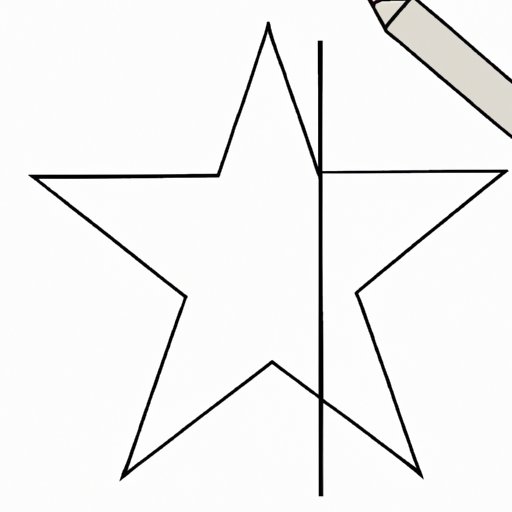
Drawing a star from any angle can be challenging, but it’s not impossible. The key is to analyze the object from different angles and determine the most flattering viewpoint. Once you’ve decided which angle is best, use guidelines to achieve an accurate drawing. This can be done by lightly sketching out the shape of the star before adding details. This will help ensure that the star looks balanced and proportional from any angle.
Showcase Examples from Professional Artists on How to Draw a Star
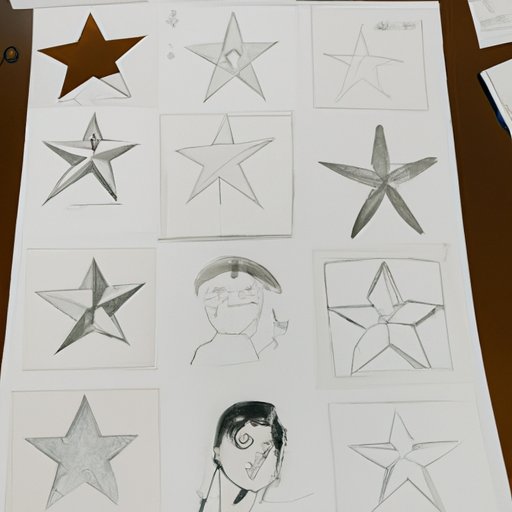
It’s always helpful to look at examples from professional artists when learning how to draw a star. By comparing different artistic approaches, you can gain insight into why certain techniques work better than others. Examining the final results of the artist’s work can also help you visualize how your own star drawing might look. Here are a few examples of how professional artists draw stars:

Conclusion
Drawing a star doesn’t have to be intimidating. By following the steps outlined in this article, you can learn how to draw a star that looks realistic and impressive. Remember to start by creating the basic shape of the star, then use lines to refine the shape, and finally add color and detail. You should also keep in mind helpful tips for drawing stars of different sizes, such as using the appropriate line thickness and creating balance between different parts of the star. Finally, don’t forget to showcase examples from professional artists on how to draw a star to get inspiration for your own drawings.
(Note: Is this article not meeting your expectations? Do you have knowledge or insights to share? Unlock new opportunities and expand your reach by joining our authors team. Click Registration to join us and share your expertise with our readers.)