Introduction
Robotic arms are mechanical devices designed to mimic human arm movements. They are used in a variety of industries, from manufacturing to medical care, and have become increasingly popular in recent years due to advances in technology. Learning how to draw a robotic arm can be a great way to hone your artistic skills and create interesting artwork.
Step-by-Step Guide to Drawing a Robotic Arm
Drawing a robotic arm can seem like an intimidating task, but with a few simple steps it is possible to create a detailed and realistic illustration. Here is a step-by-step guide to help you get started:
Gather the Necessary Materials
The first step in any drawing project is to gather the necessary materials. For drawing a robotic arm, you will need paper, pencils, erasers, rulers, and other drawing tools. If you plan to add color to your illustration, you may also want to use colored pencils, markers, or paints.
Analyze the Anatomy of a Robotic Arm
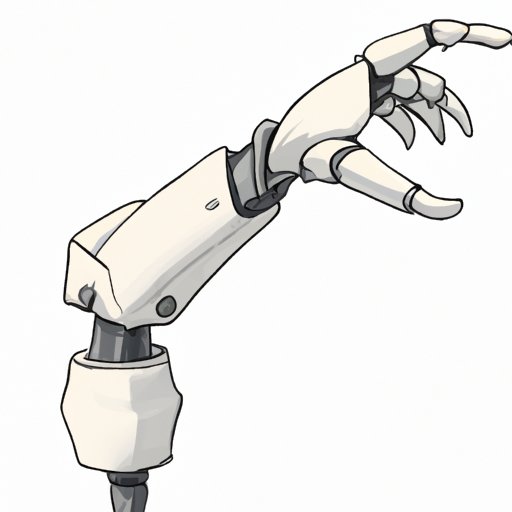
Before you begin drawing, it is important to understand the anatomy of a robotic arm. Take a look at reference images to familiarize yourself with the different parts of the arm, such as the shoulder joint, elbow joint, and wrist joint. This will help you create a more accurate illustration.
Create the Basic Shape of the Arm
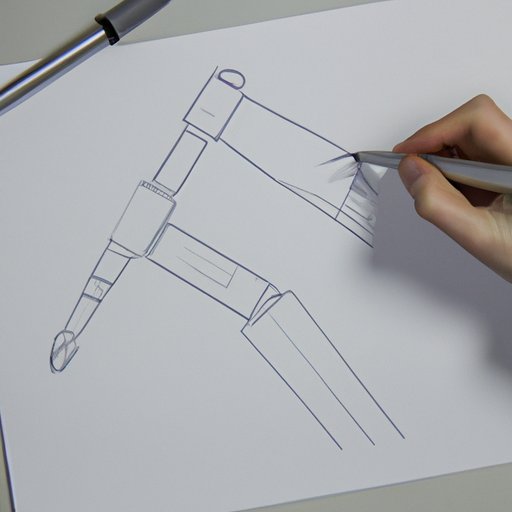
Once you have gathered your materials and analyzed the anatomy of a robotic arm, you can begin sketching out the basic shape. Start by drawing two circles for the shoulder joints, then draw curved lines connecting them. Next, draw two more circles for the elbow joints, then connect these with lines. Finally, draw two circles for the wrist joints and connect them with lines.
Add Details and Features
Now that you have created the basic shape of the arm, you can start adding details and features. You may want to draw the individual components of the arm, such as gears, motors, and cables. You can also add details like bolts and screws to give your arm a realistic look.
Drawing a Robotic Arm for Beginners
Drawing a robotic arm can be a daunting task, especially if you are just starting out. Here are some tips to help beginners get started:
Start With Simple Shapes
If you’re new to drawing, it can be helpful to start with simple shapes. Instead of attempting to draw a realistic robotic arm right away, try drawing the arm using basic shapes like circles, squares, and rectangles. This will help you get a feel for the proportions and angles of the arm before moving on to more complex details.
Use Reference Images
When drawing a robotic arm, it is essential to use reference images. Look at photos of real robotic arms to get a better idea of the anatomy and features. This will help you create a more accurate illustration.
Practice, Practice, Practice
Like any other skill, drawing takes practice and patience. Don’t be discouraged if your first attempt doesn’t turn out perfectly; keep practicing and refining your technique until you achieve the desired result. According to a study published in Psychological Science, “The most successful learners dedicate more time to deliberate practice, which involves breaking down complex tasks into smaller components and focusing on improving each component.”
How to Draw a Robotic Arm from Scratch
Drawing a robotic arm from scratch can be a challenging but rewarding endeavor. Here are some tips to help you get started:
Establish the Perspective
Before you start sketching, it is important to establish the perspective of your illustration. Are you drawing the arm from the front, side, or back? This will determine the angle of the arm and the placement of the joints.
Sketch Out the Basic Shapes
Once you have established the perspective, you can start sketching out the basic shapes of the arm. Draw two circles for the shoulder joints, two more circles for the elbow joints, and two more circles for the wrist joints. Connect the circles with curved lines to create the basic shape of the arm.
Define the Joints and Features
Now that the basic shape of the arm is in place, you can start adding details and defining the joints and features. Draw the individual components of the arm, such as gears, motors, and cables. Add bolts and screws to give your arm a realistic look.
Add Shading and Highlights
Finally, you can add shading and highlights to your illustration. Use darker lines to define shadows and lighter lines to create highlights. These will bring your illustration to life and make it look more realistic.
Tips and Tricks for Drawing a Realistic Robotic Arm
Creating a realistic robotic arm requires attention to detail. Here are some tips to help you achieve a more believable illustration:
Pay Attention to Proportion
When drawing a robotic arm, it is important to pay attention to proportion. Make sure the size and placement of the joints are accurate, as this will affect the overall look of the arm.
Use Different Line Weights
Using different line weights can help make your illustration look more realistic. For example, you can use thicker lines to outline the main shapes of the arm and thinner lines to add details and features.
Incorporate Textures and Patterns
Textures and patterns can also help make your illustration look more believable. Try drawing cables, wires, and gears with a cross-hatching technique or use a stippling effect to create the illusion of metal surfaces.
Creating a Cartoon-Style Robotic Arm
If you’re looking for a more whimsical approach to drawing a robotic arm, you may want to consider a cartoon-style illustration. Here are some tips to help you get started:
Simplify the Design
The key to creating a cartoon-style robotic arm is to simplify the design. Instead of drawing each individual component of the arm, focus on the basic shapes and outlines. This will help make your illustration look more stylized and cartoon-like.
Utilize Bright Colors
Colors can also help bring your cartoon-style illustration to life. Try using bright colors like blues, greens, and purples to make your robotic arm stand out.
Add Exaggerated Features
Finally, don’t be afraid to add exaggerated features to your illustration. You can draw larger-than-life bolts and screws or give the arm an extra-long reach. The possibilities are endless!
Mastering the Art of Drawing a Robotic Arm
Drawing a robotic arm is a complex task, but with practice and patience, it is possible to create a realistic and believable illustration. Here are some tips to help you perfect your technique:
Study the Anatomy of a Robotic Arm
It is important to understand the anatomy of a robotic arm before attempting to draw one. Take a look at reference images to familiarize yourself with the different parts of the arm, such as the shoulder joint, elbow joint, and wrist joint. This will help you create a more accurate illustration.
Experiment With New Techniques
Don’t be afraid to experiment with new techniques. Try using different line weights, textures, and patterns to create a more realistic robotic arm. You may even want to incorporate color into your illustration.
Refine the Details
Finally, take the time to refine the details of your illustration. Pay attention to the placement and size of the joints, and add shading and highlights to bring your arm to life.
Conclusion
Drawing a robotic arm can be a challenging but rewarding task. In this article, we discussed the basics of drawing a robotic arm, from gathering the necessary materials to mastering the art of drawing a realistic illustration. We also covered tips and tricks for drawing a cartoon-style robotic arm. Remember to practice, experiment, and refine the details of your illustrations to achieve the desired result.
(Note: Is this article not meeting your expectations? Do you have knowledge or insights to share? Unlock new opportunities and expand your reach by joining our authors team. Click Registration to join us and share your expertise with our readers.)